The best photo spots in Sedona are not limited to difficult hikes or remote trails. Some of my favorite views required only a short walk, while others were accessible directly from a scenic overlook, restaurant, or roadside pullout.
This guide covers the Sedona photography locations I visited during my trip, including iconic red rock views, easy photography hikes, creekside scenery, architecture, and a few locations that look completely different from the landscapes Sedona is known for.
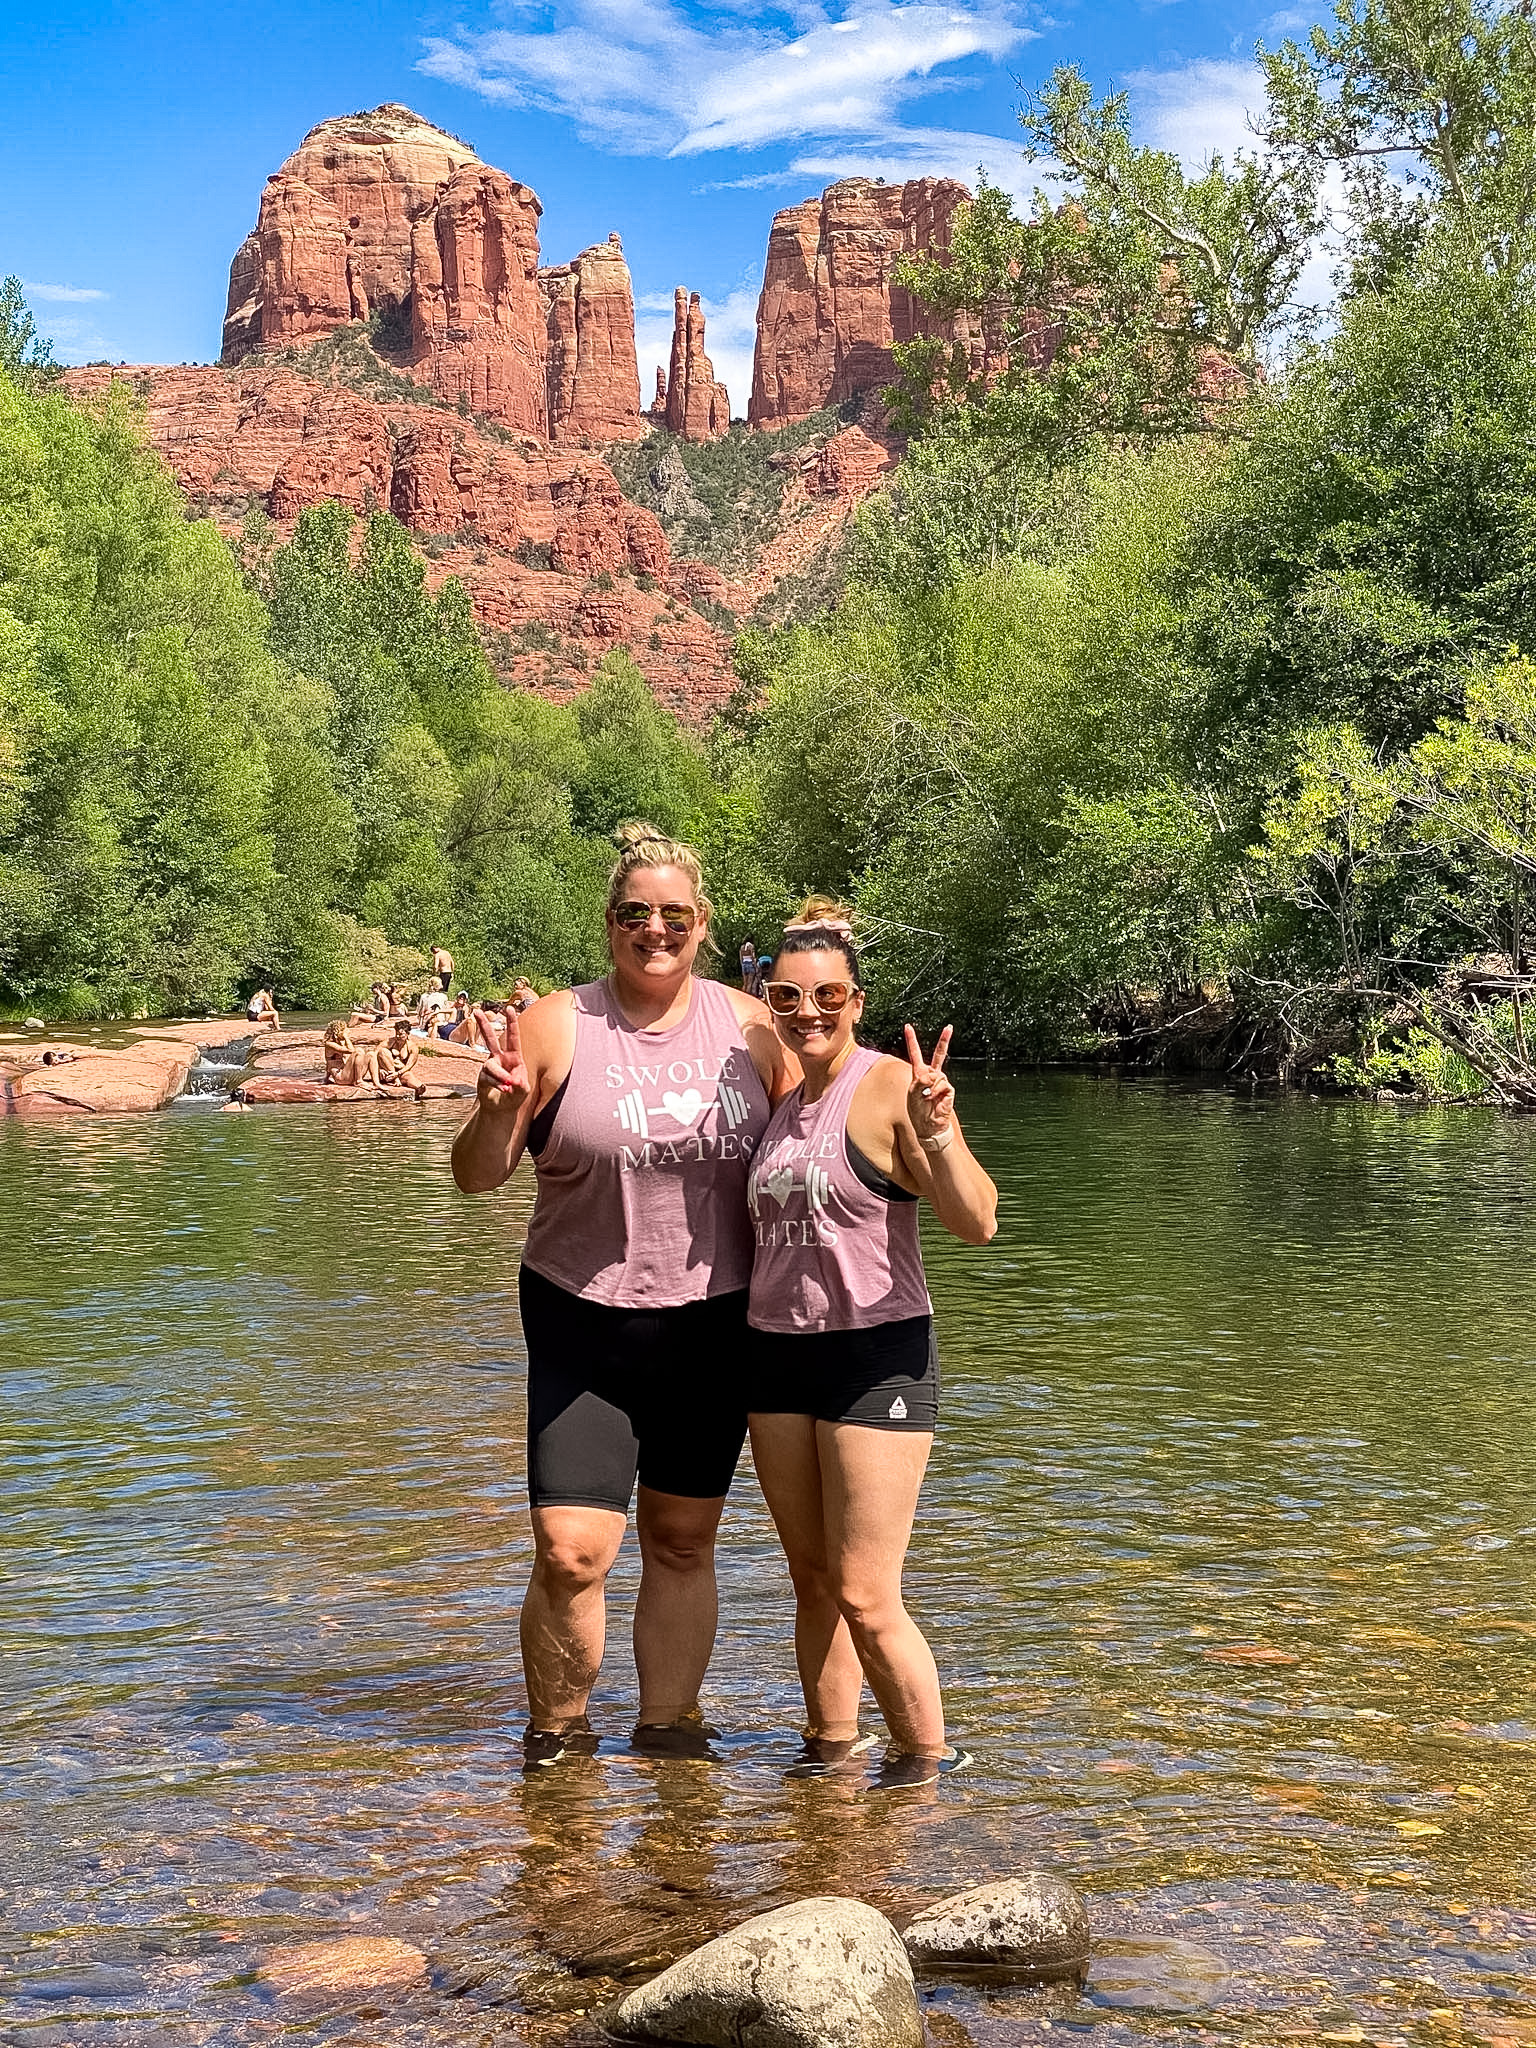
If I could recommend only one place to take photos in Sedona, it would be Crescent Moon Ranch at Red Rock Crossing.
This is where you can photograph one of Sedona’s most iconic views: Cathedral Rock reflected in Oak Creek. Depending on the water level and lighting, the reflection can be absolutely stunning.
The combination of Cathedral Rock, flowing water, and cottonwood trees gives you more variety than many of the other Sedona photography locations. You are not limited to one obvious viewpoint or one specific photo.
Even if you do not hike the nearby Baldwin Trail, you can walk around the creek and find plenty of beautiful compositions. Some photos can focus on Cathedral Rock, while others can include the trees, water, and smaller details along Oak Creek.
Visit during golden hour when the warmer light brings out the rich red and orange colors in Cathedral Rock. The changing light can also make the reflections in the creek more noticeable.
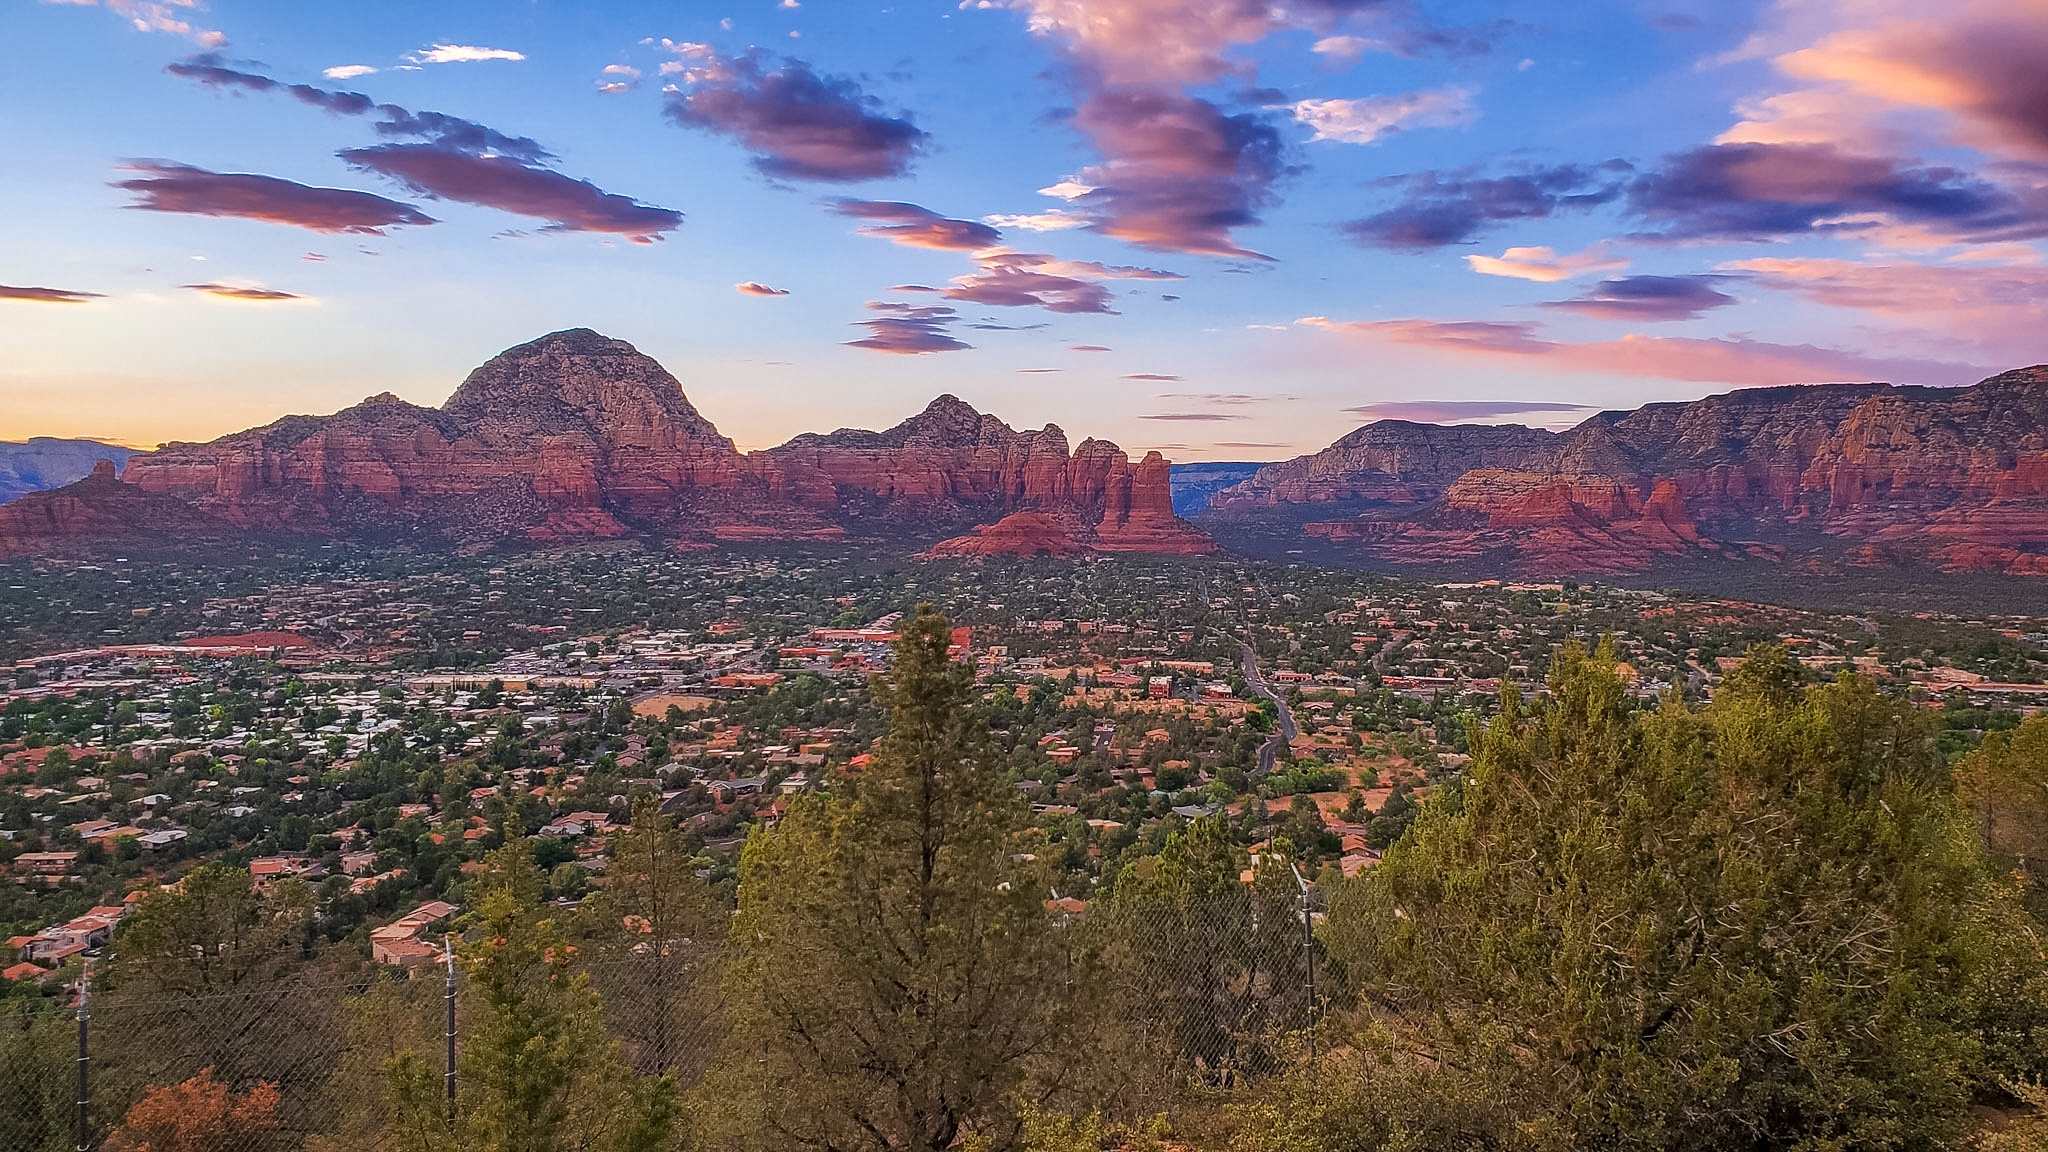
Airport Mesa Scenic Overlook is one of the easiest places to photograph Sedona’s red rocks without committing to a hike.
The overlook provides sweeping views across Sedona and several of its well-known formations. Because the view is so open, this is a good location for panoramic photos, wide-angle landscape shots, and pictures that show how the red rocks surround the town.
It is especially beautiful near sunset when the rocks begin glowing in deeper shades of orange and red.
We arrived at approximately 6:45 p.m. (in June) for sunset and still found parking available. The crowd had started to build, but it never felt overly crowded during our visit.
Sunset is understandably popular, so I would still allow extra time for parking and finding a comfortable place to take photos. Arriving before the best light also gives you time to photograph the landscape as the colors gradually change.
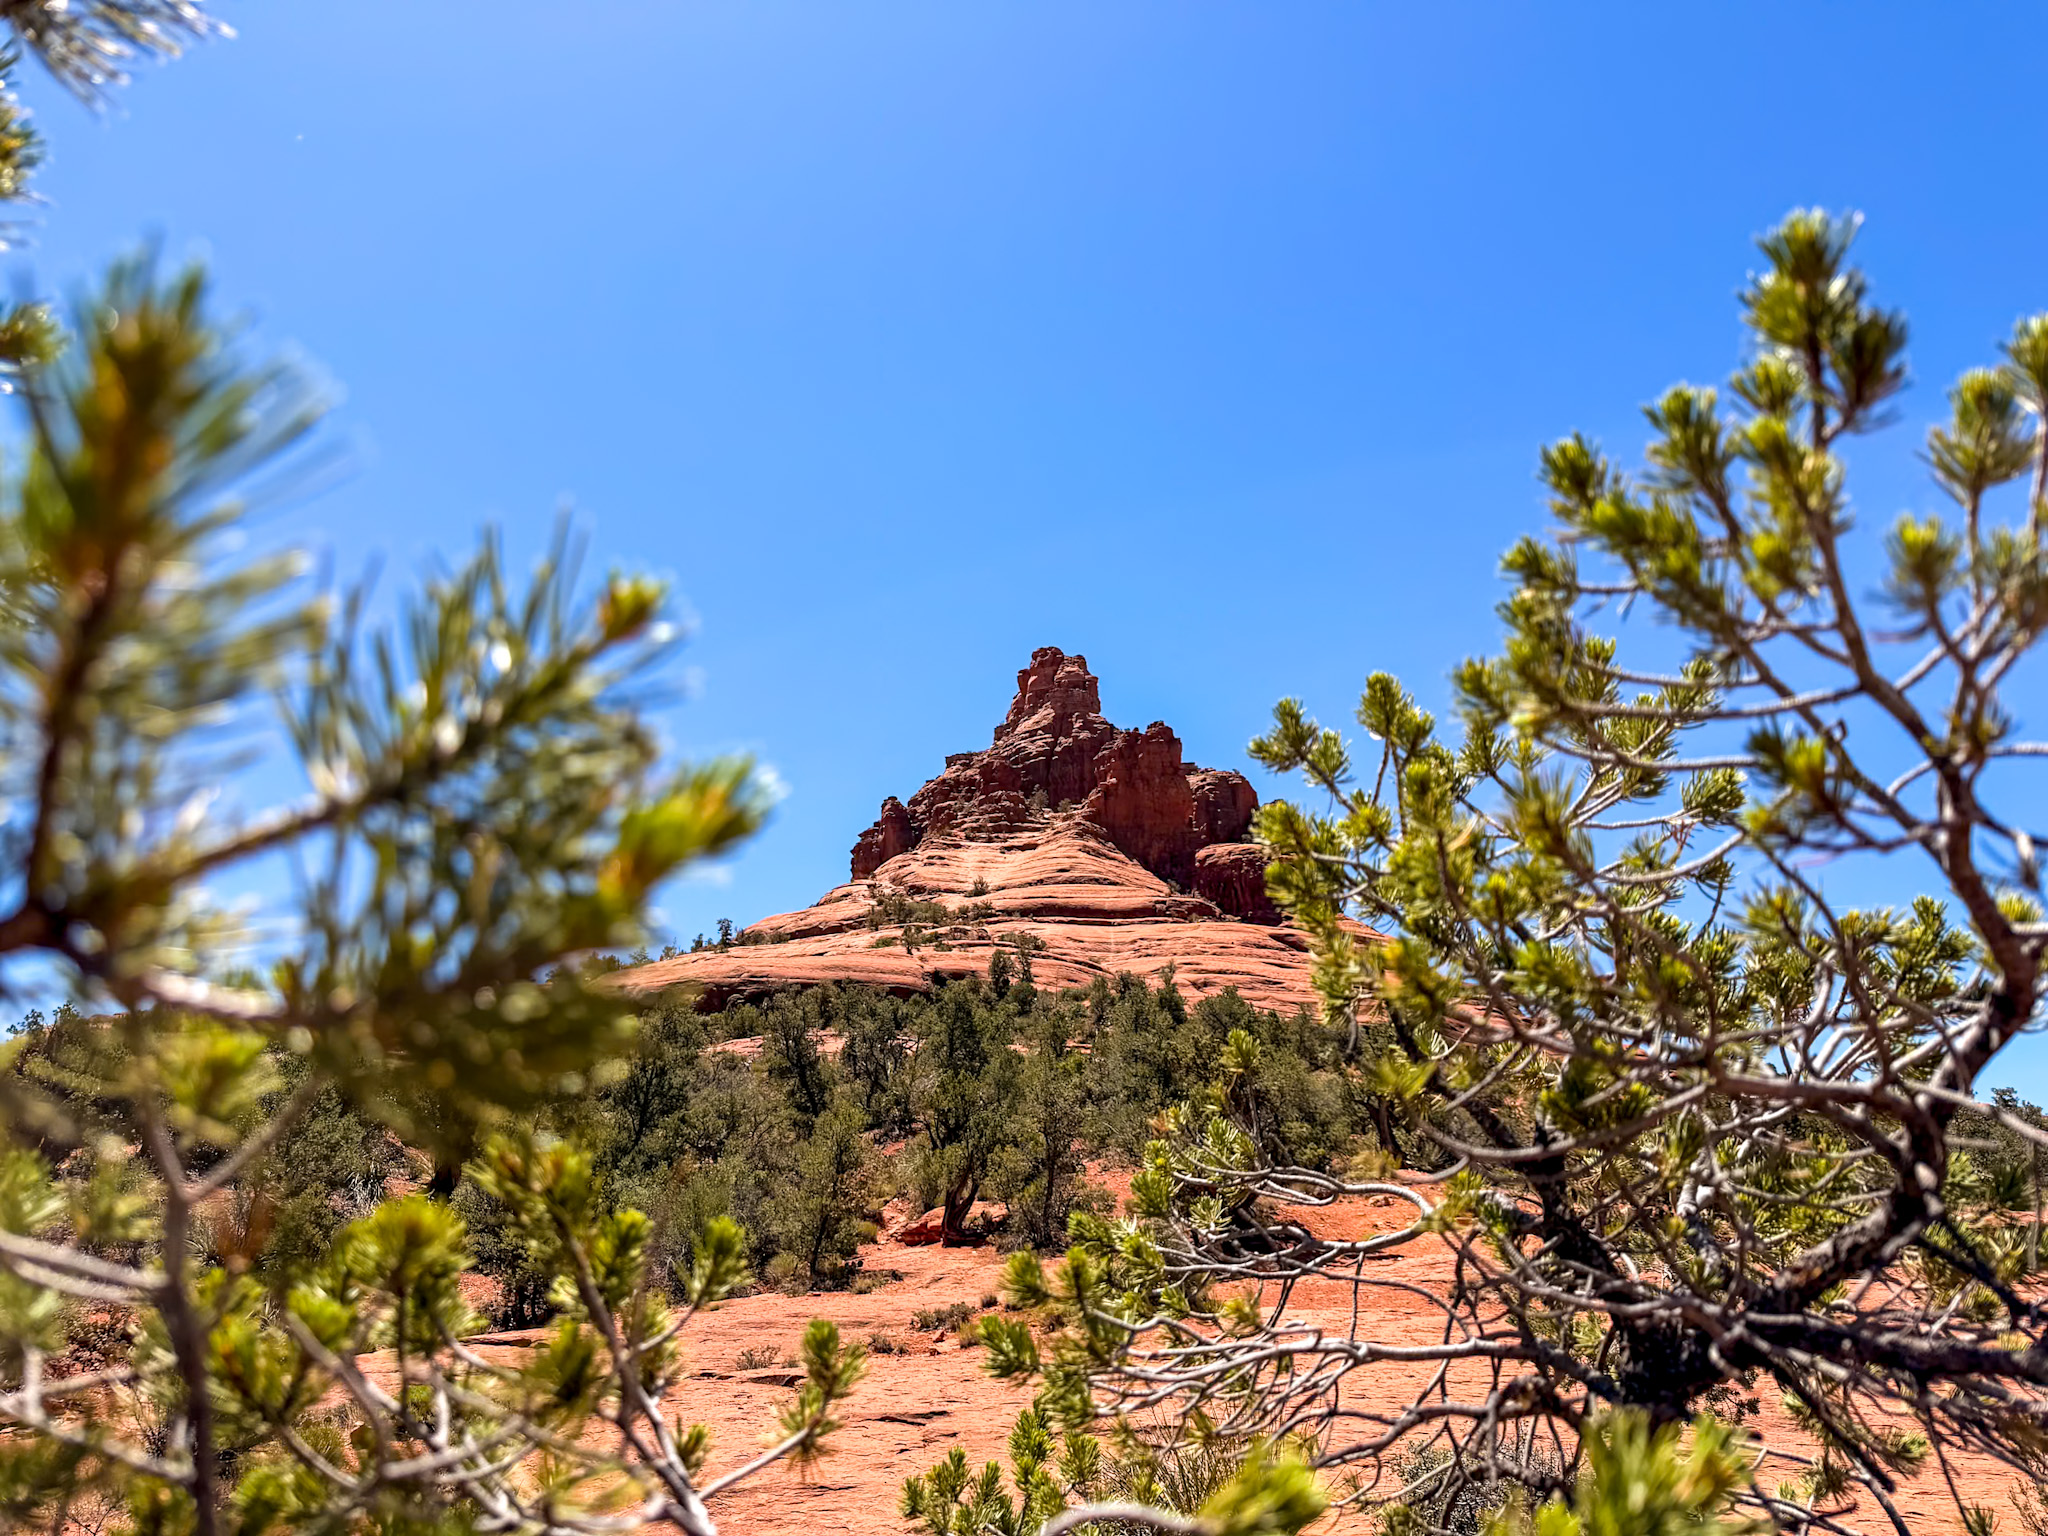
Bell Rock is one of Sedona’s most recognizable landmarks, and you do not have to complete a long hike to get great photos of it.
We walked only a short distance before finding several viewpoints where Bell Rock and Courthouse Butte filled the landscape. This makes Bell Rock Trail a practical option when you want the hiking experience and classic Sedona scenery without spending several hours on the trail.
You can adjust the composition simply by walking farther along the path. Some viewpoints place Bell Rock at the center of the photo, while others show more of Courthouse Butte and the surrounding landscape.
It was one of the easiest hikes we did in Sedona while still providing plenty of photography opportunities. My Bell Rock Trail Guide: Everything You Need to Know Before Hiking covers the trail, parking, and what to expect before you go.
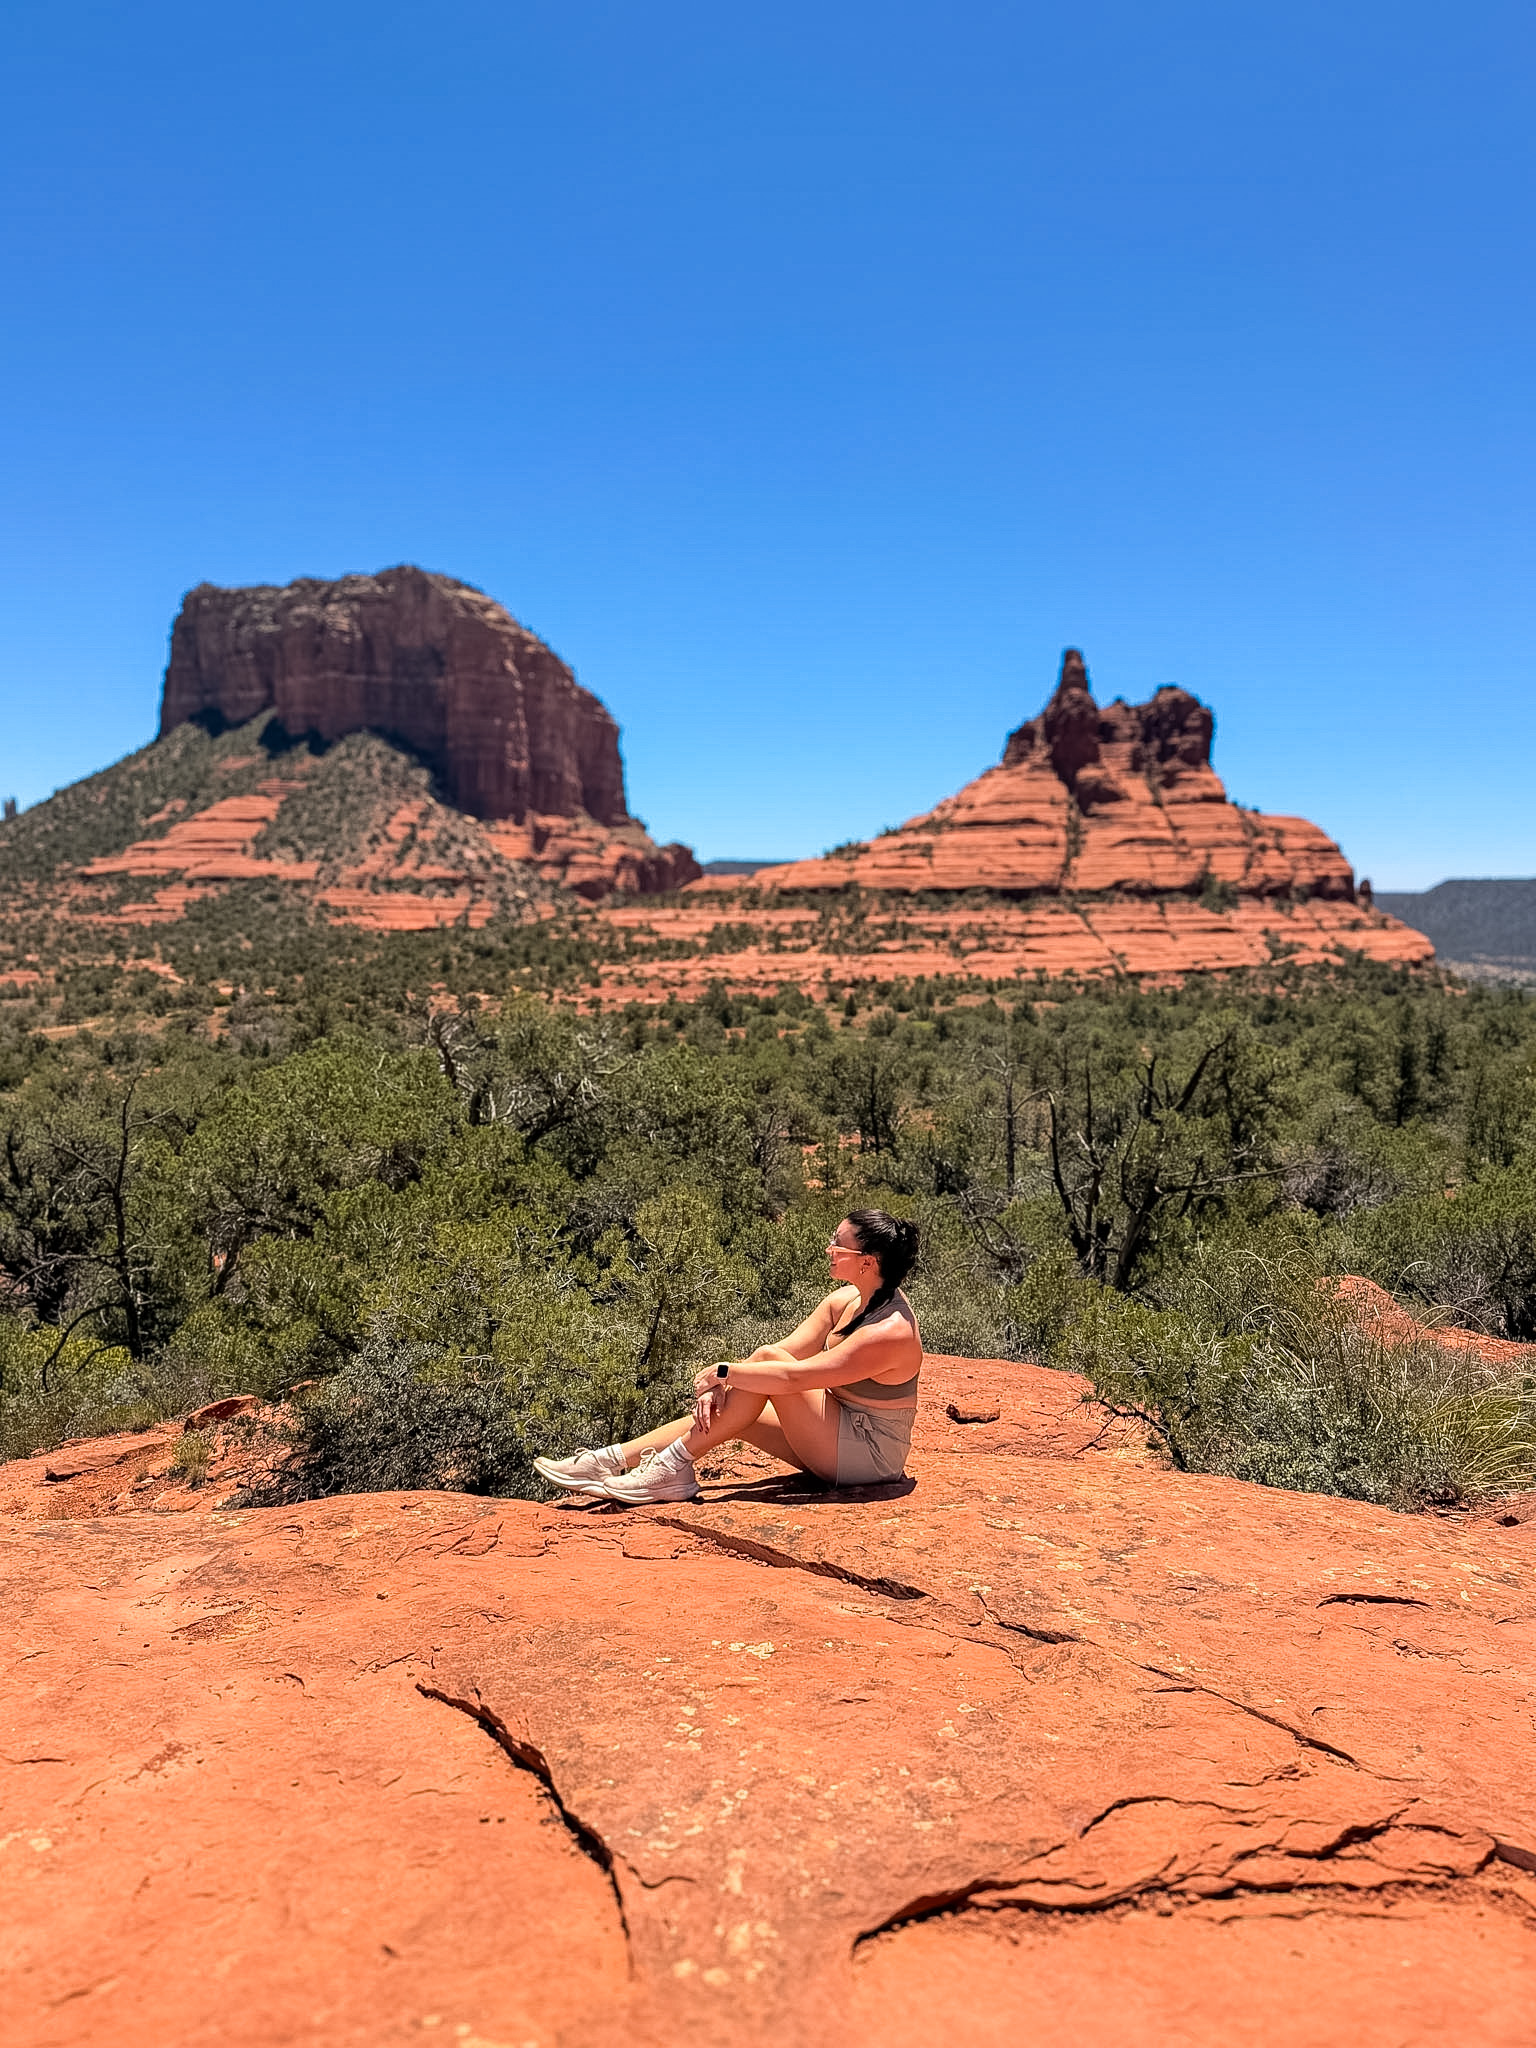
Yavapai Vista Trail quickly became one of my favorite viewpoints in Sedona.
The trail is short and easy, but the views feel much larger than the amount of effort required to reach them. From the trail, you can photograph Bell Rock, Courthouse Butte, and the surrounding red rock landscape.
This is a great choice if you want scenic hiking photos but do not want to commit to a longer or more strenuous trail. The open views also make it easy to take landscape photos without trees or canyon walls blocking the formations.
Yavapai Vista works especially well when you are trying to fit several Sedona viewpoints into the same day. You can stop, walk the short trail, take your photos, and continue exploring without using most of your morning or afternoon on one hike.
Save this for later on Pinterest so you don’t forget it.
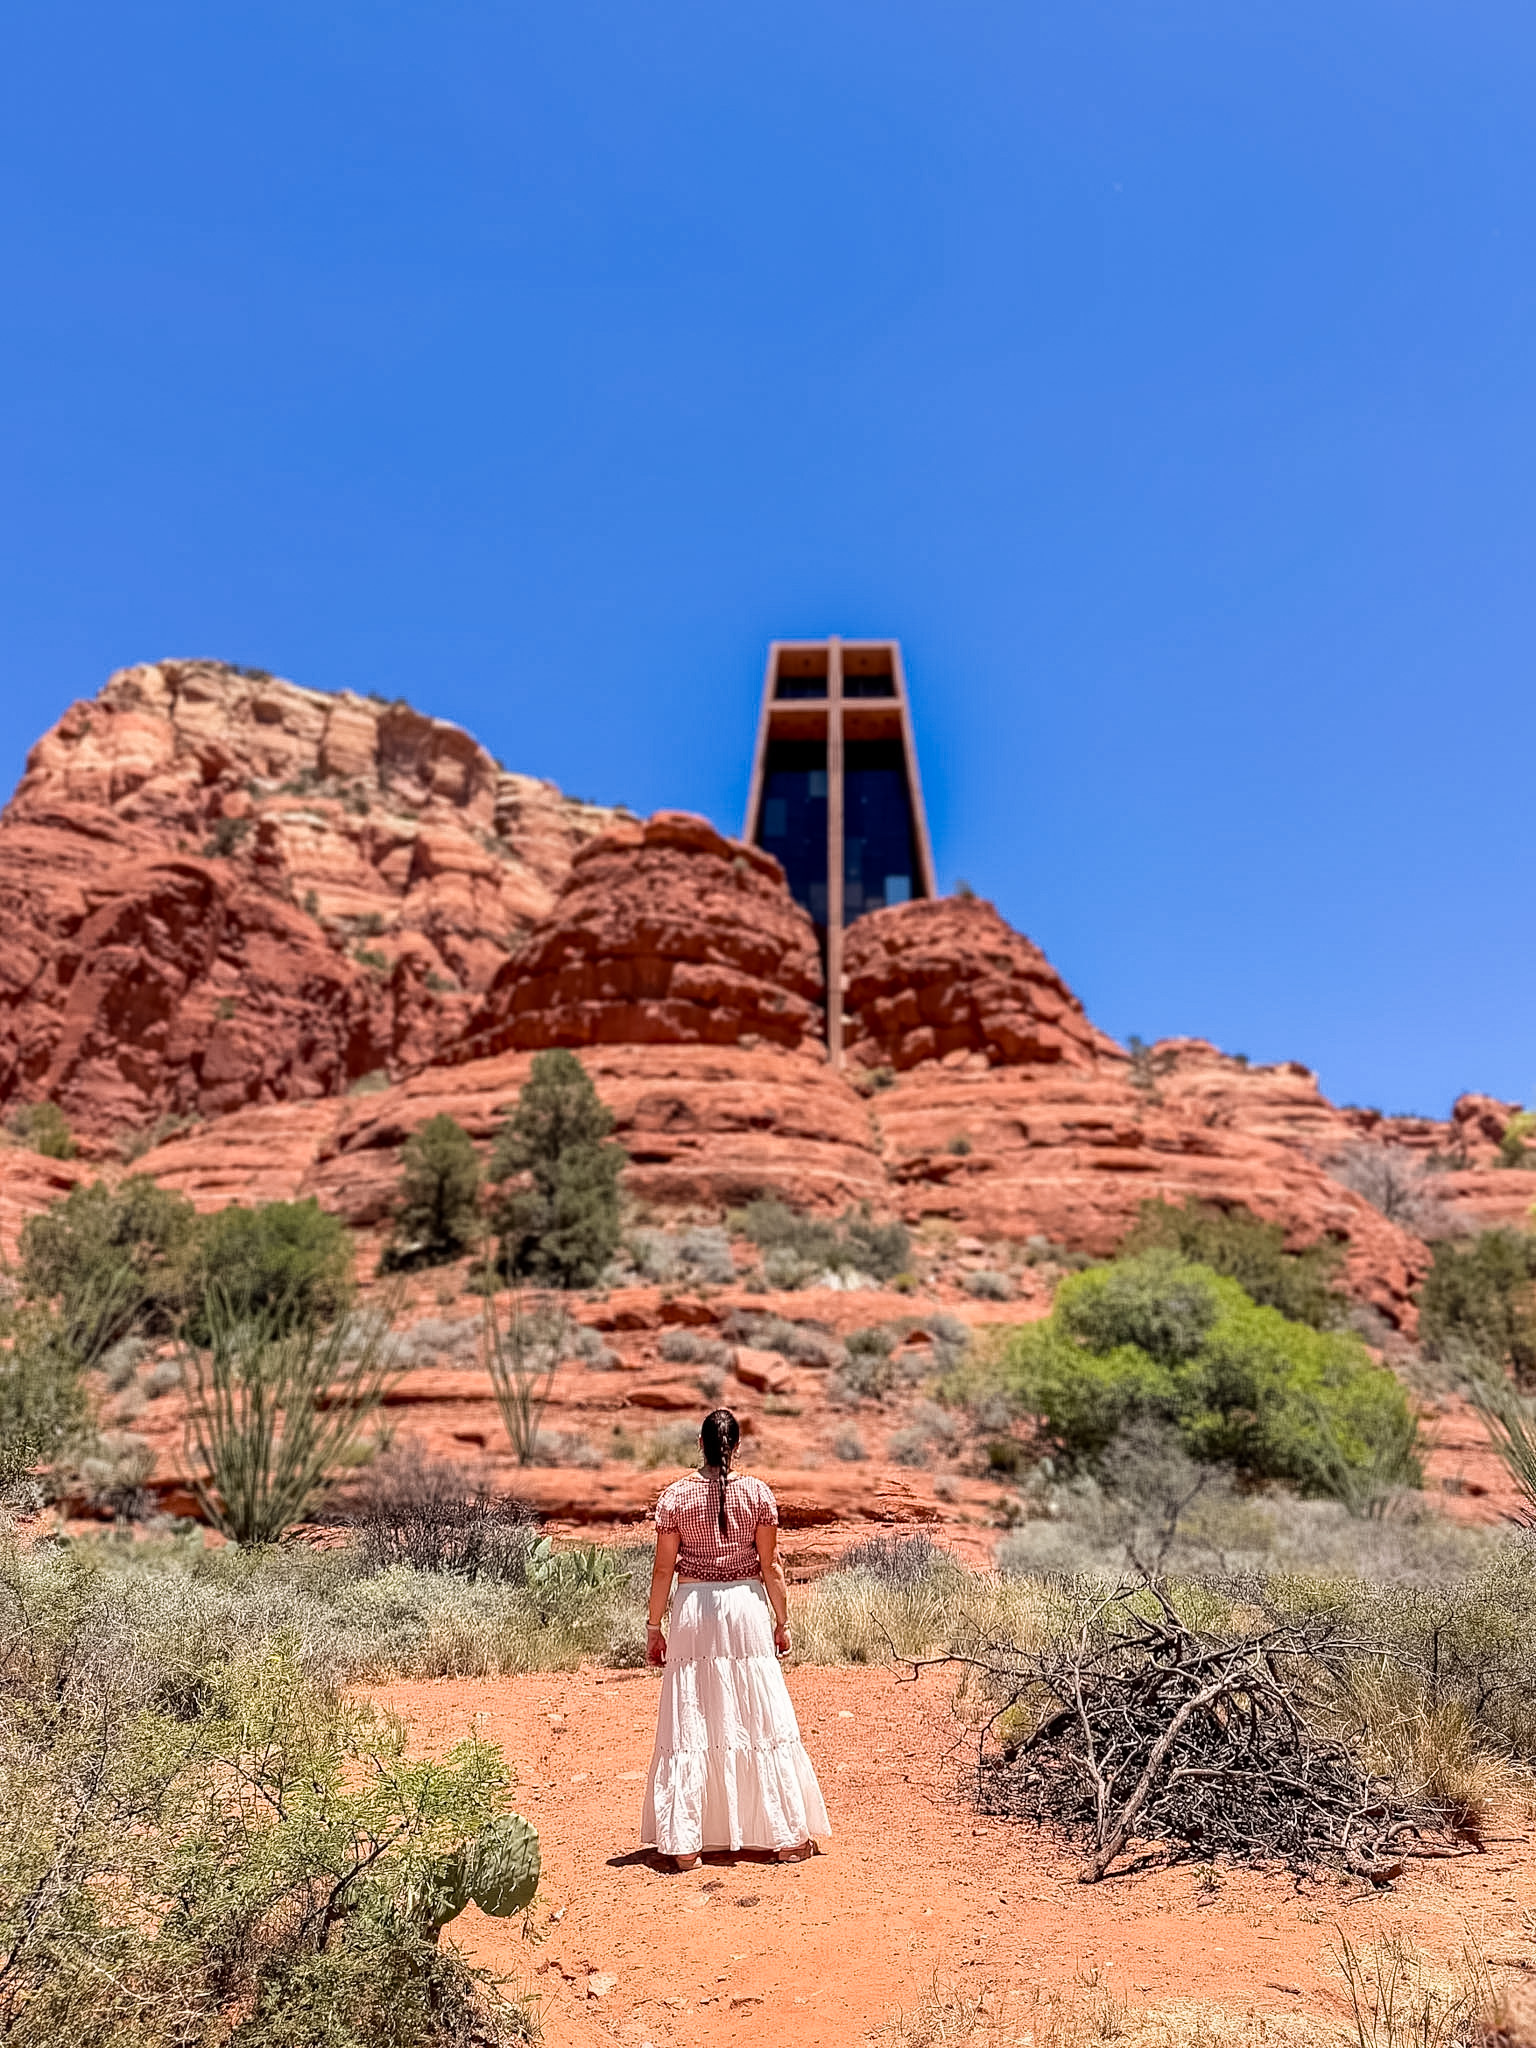
The Chapel of the Holy Cross is one of Sedona’s most famous landmarks for good reason.
Built directly into the surrounding red rocks, the chapel creates a completely different type of photo from Sedona’s trails and scenic overlooks. The architecture stands out against the natural landscape but also looks as though it belongs there.
There are several ways to photograph the chapel. You can focus on the structure itself, include the surrounding red rocks, or use the higher position for panoramic photos of the valley below.
The combination of architecture and scenery makes this an especially useful stop when you want more variety in your Sedona travel photography. It also gives you a recognizable Sedona landmark without requiring a traditional hike.
My Chapel of the Holy Cross Guide: Everything You Need to Know Before You Visit includes parking information, accessibility details, and tips for planning your stop.
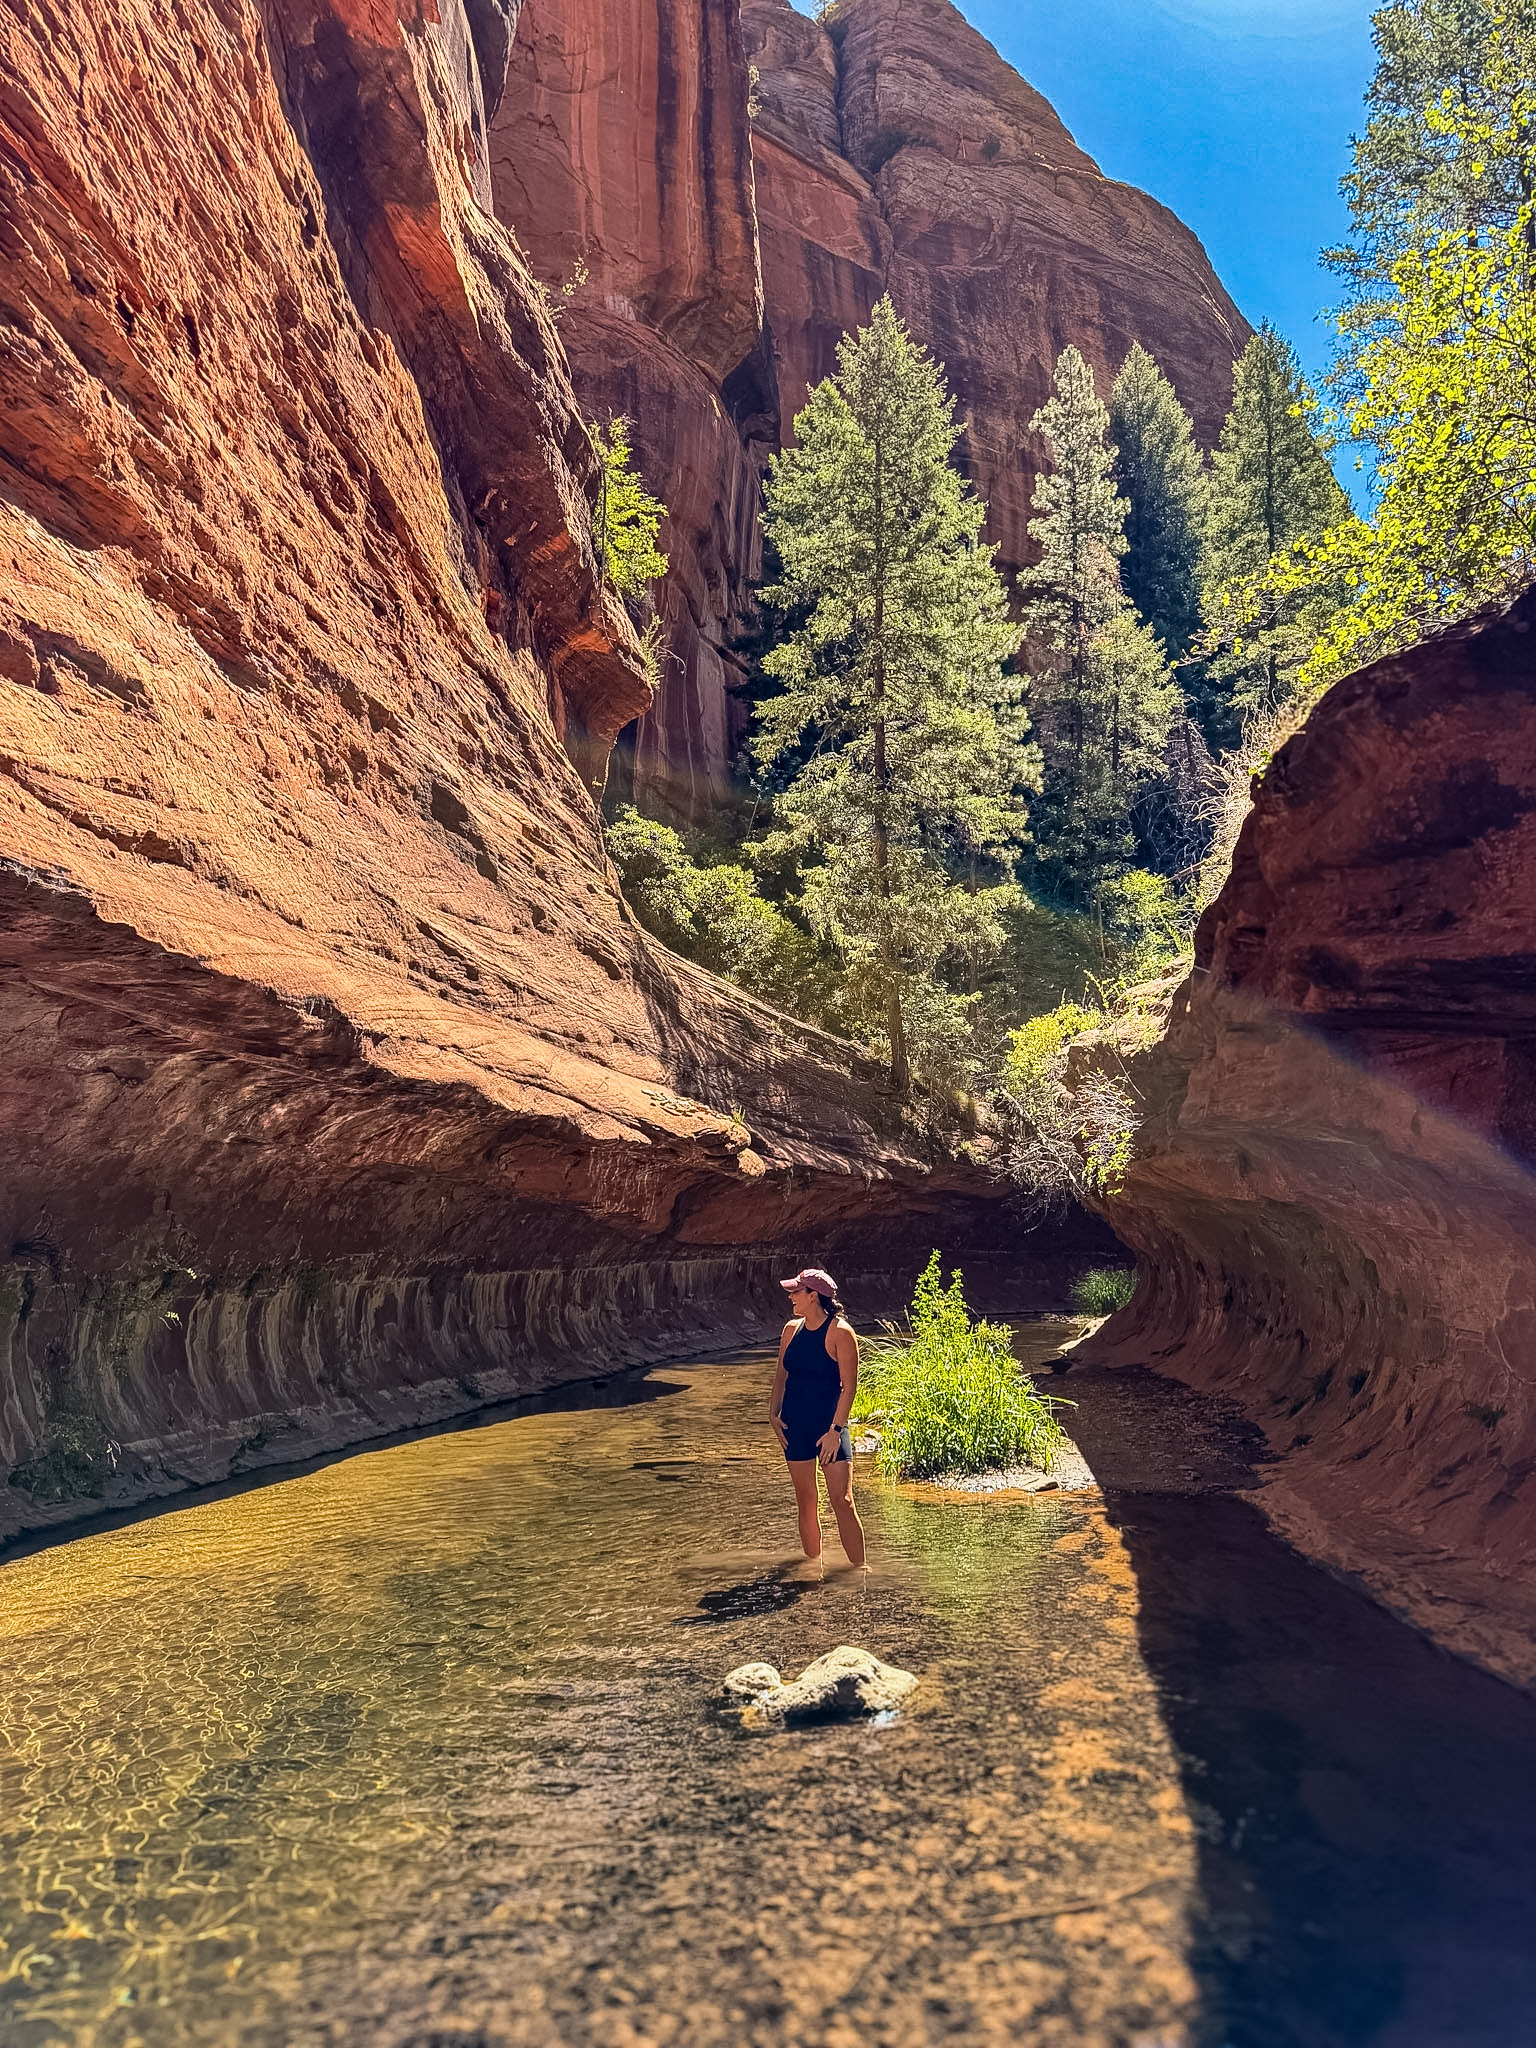
Most people immediately picture red rock formations when they think about Sedona, but West Fork Trail looks completely different.
The trail follows a canyon filled with towering walls, lush greenery, trees, and multiple creek crossings. Instead of wide desert views, the scenery feels more enclosed and layered.
This makes West Fork one of the best photo spots in Sedona for nature details. You can photograph the creek, reflections in the water, canyon walls, trees, and the trail itself.
If you visit Sedona during the fall, West Fork Trail is also one of the best locations for photographing autumn colors. The trees and creek create a setting you would not necessarily expect to find so close to Sedona’s desert landscapes.
Read my West Fork Trail Guide: Everything You Need to Know Before Hiking Sedona's Most Beautiful Trail for parking, creek crossings, trail conditions, and planning tips.
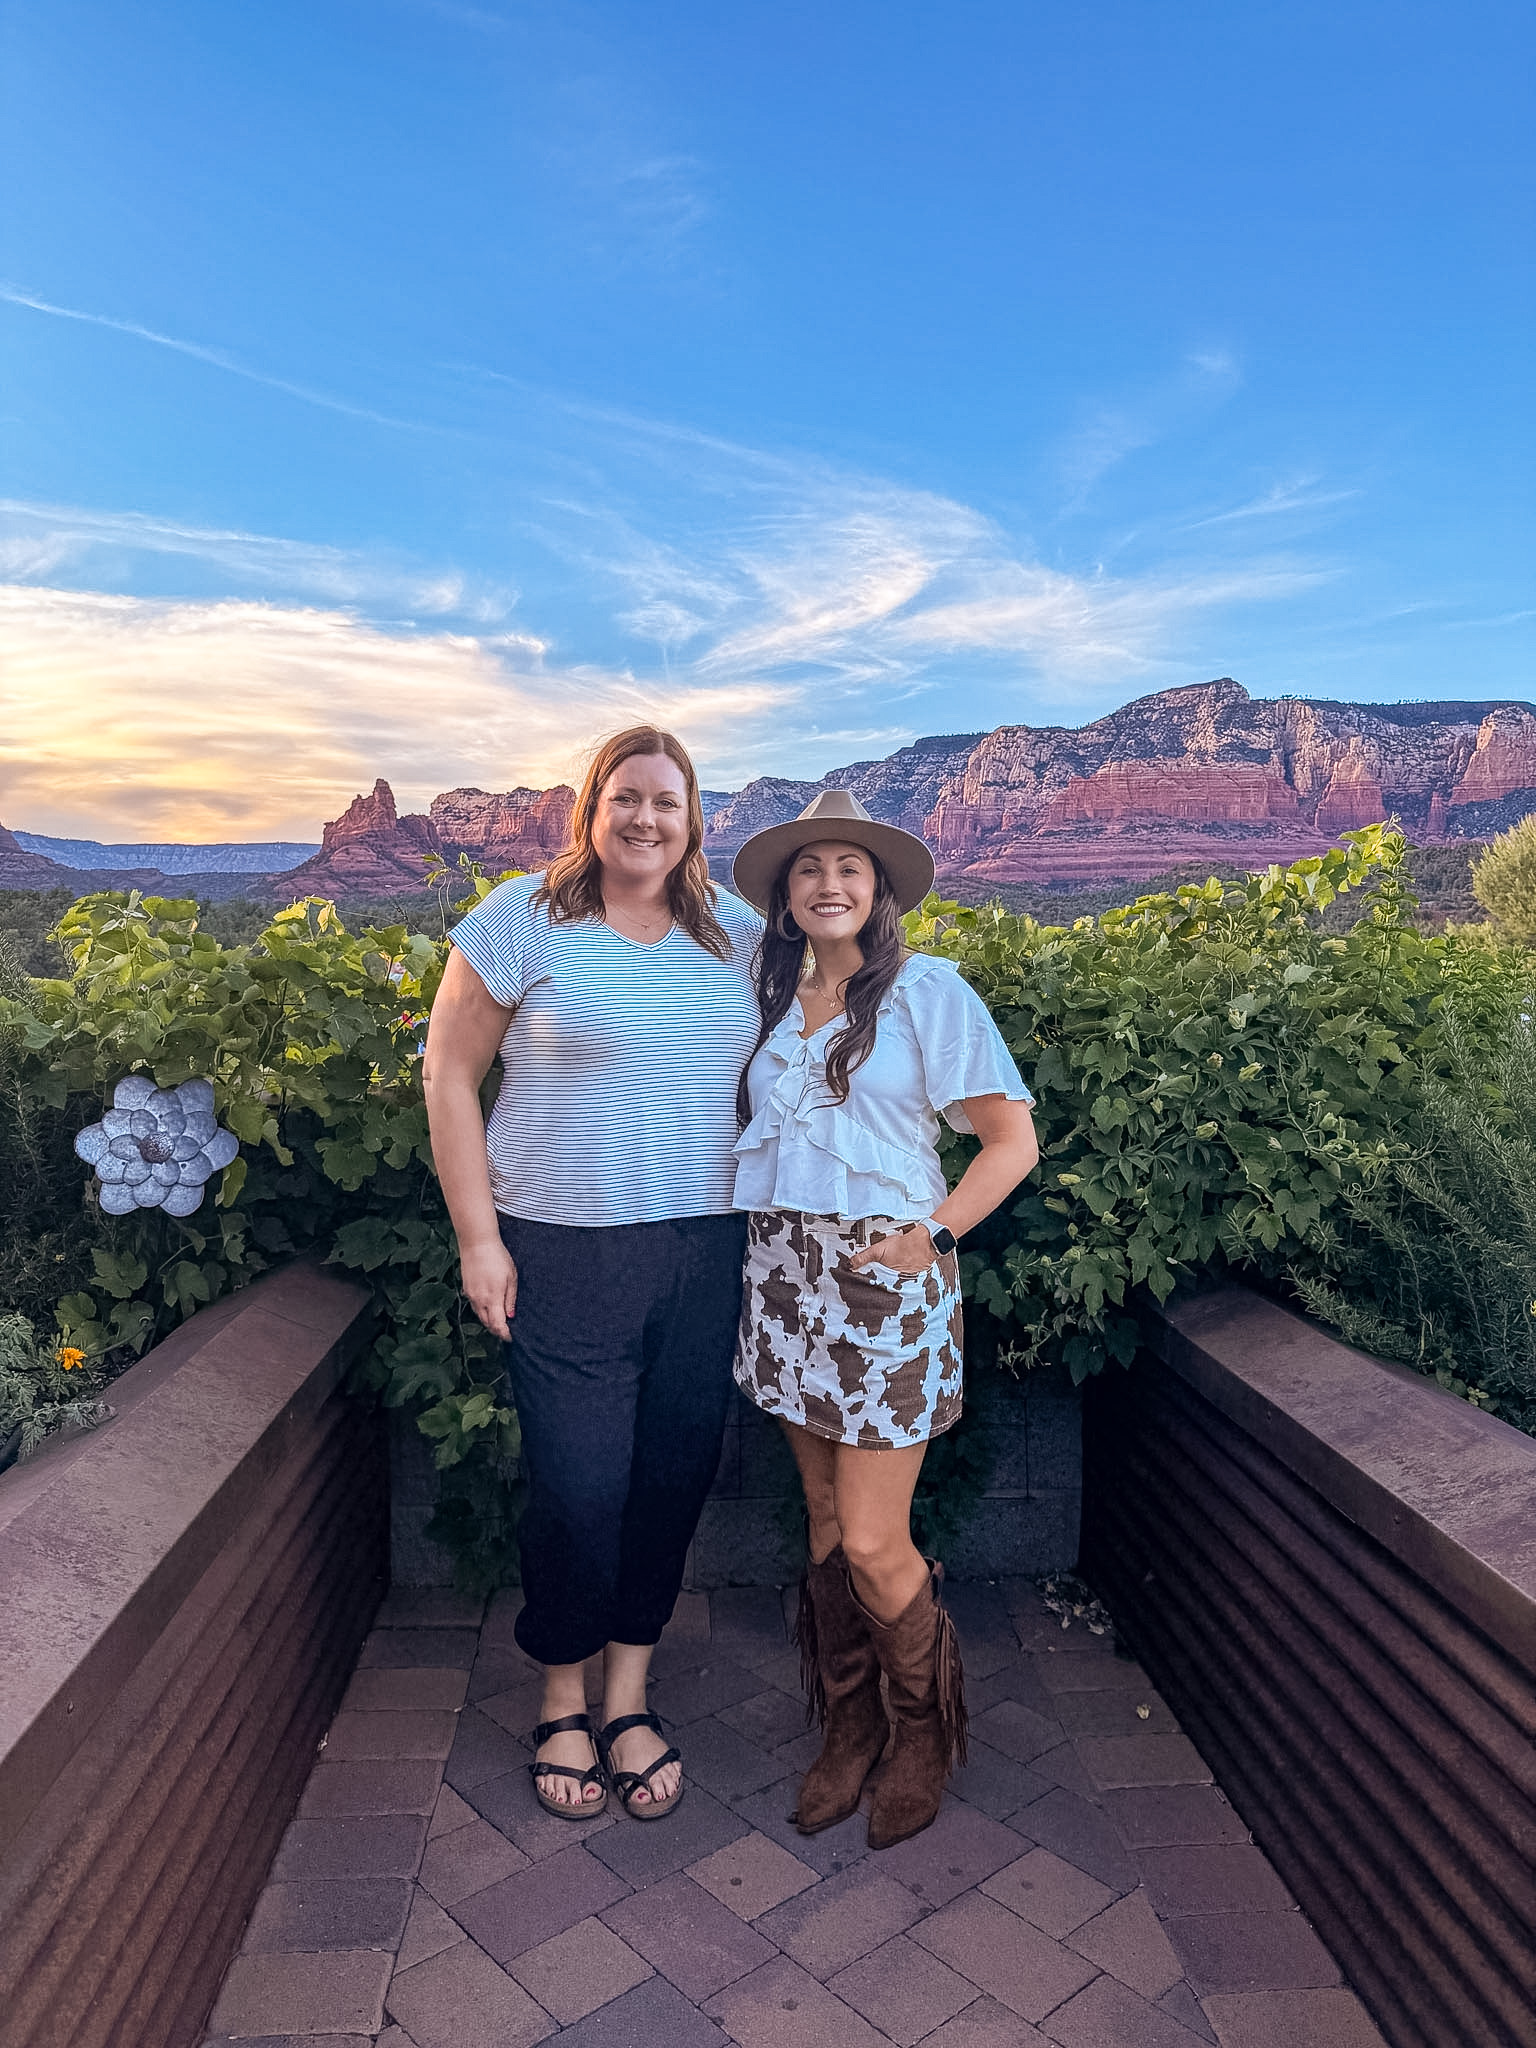
Mariposa is not only one of my favorite restaurants in Sedona. It is also one of the most beautiful.
The restaurant’s large open patio overlook Sedona’s red rocks, creating an incredible backdrop while you eat dinner. The view is especially impressive when the light begins changing later in the day.
Mariposa works well for photos because you can capture both the restaurant experience and the landscape. You can take wider pictures from the patio, photograph the red rocks through the windows, or include the scenery behind your table.
If you are planning one special meal during your Sedona trip, Mariposa gives you excellent food and one of the best restaurant views in town. It is also an easy way to include another scenic location without adding a separate hike or viewpoint to your itinerary.
My Mariposa Latin Inspired Grill Review: Is It Worth It? covers what we ordered, the atmosphere, pricing, and whether I would return.
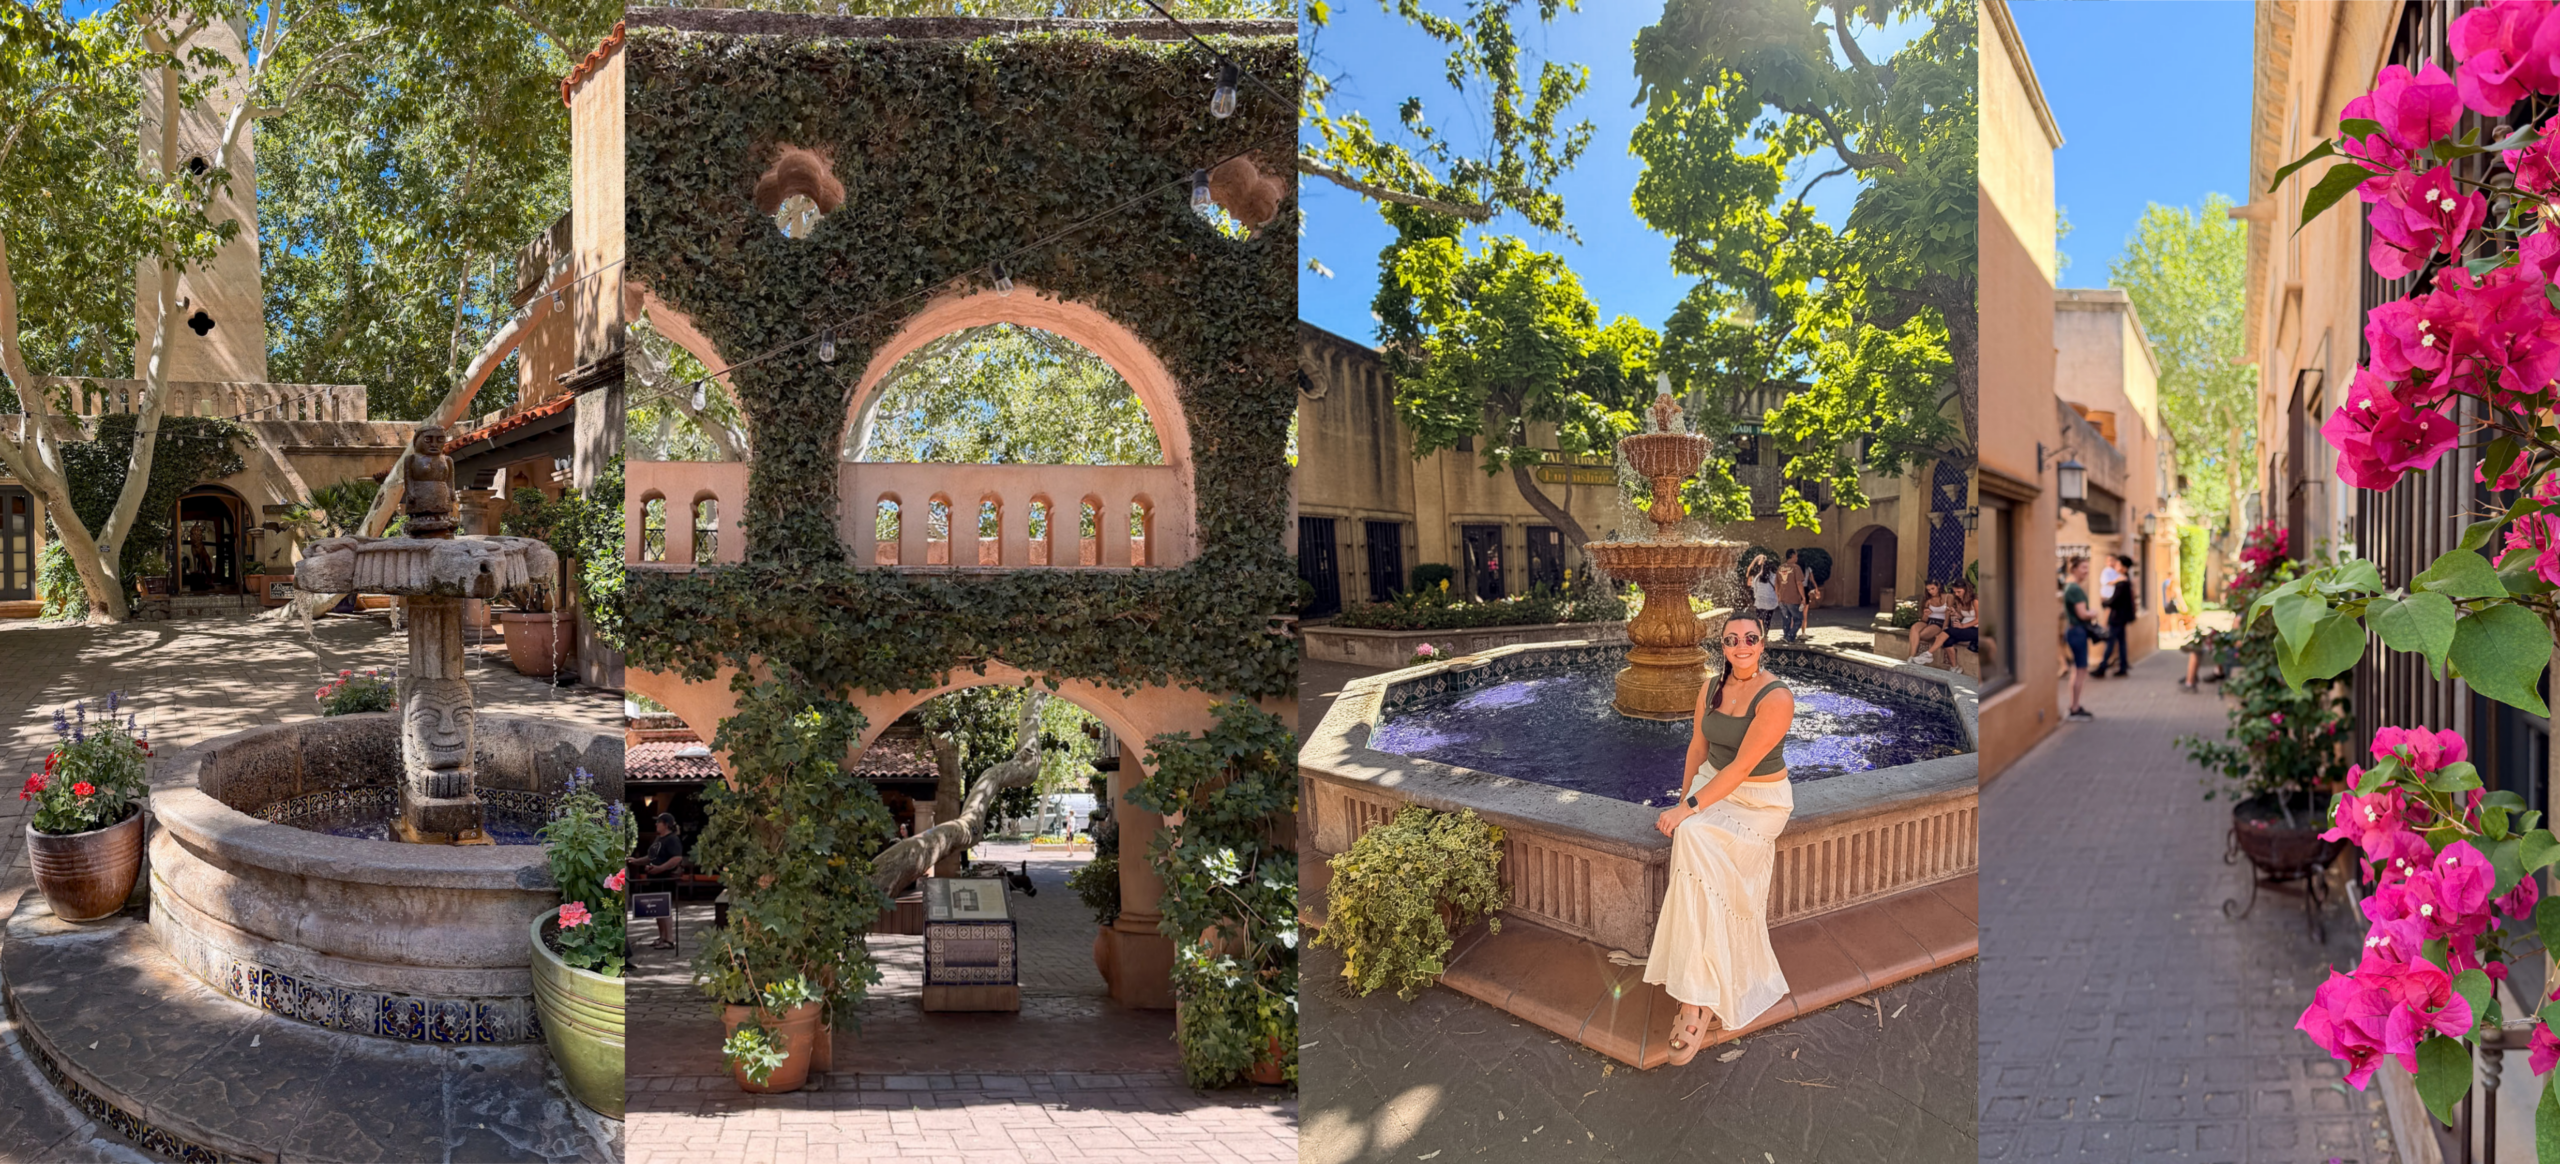
Tlaquepaque Arts & Shopping Village provides a completely different background from Sedona’s red rocks.
The Spanish-inspired architecture, cobblestone walkways, fountains, ivy-covered walls, and colorful courtyards create a beautiful setting for portraits and casual travel photos. The smaller walkways and architectural details also work well for vertical photos and close-up shots.
This is one of the best Instagram spots in Sedona when you want photos that feel more like a European village than an Arizona hiking destination.
It is also easy to combine photography with shopping, dining, or simply walking around the courtyards. You do not need a specific route. Some of the best backgrounds appear as you wander between the shops and different sections of the village.
Tlaquepaque was such a charming place we explored in Sedona, and it added much-needed variety to the collection of red rock photos already taking over my camera roll.
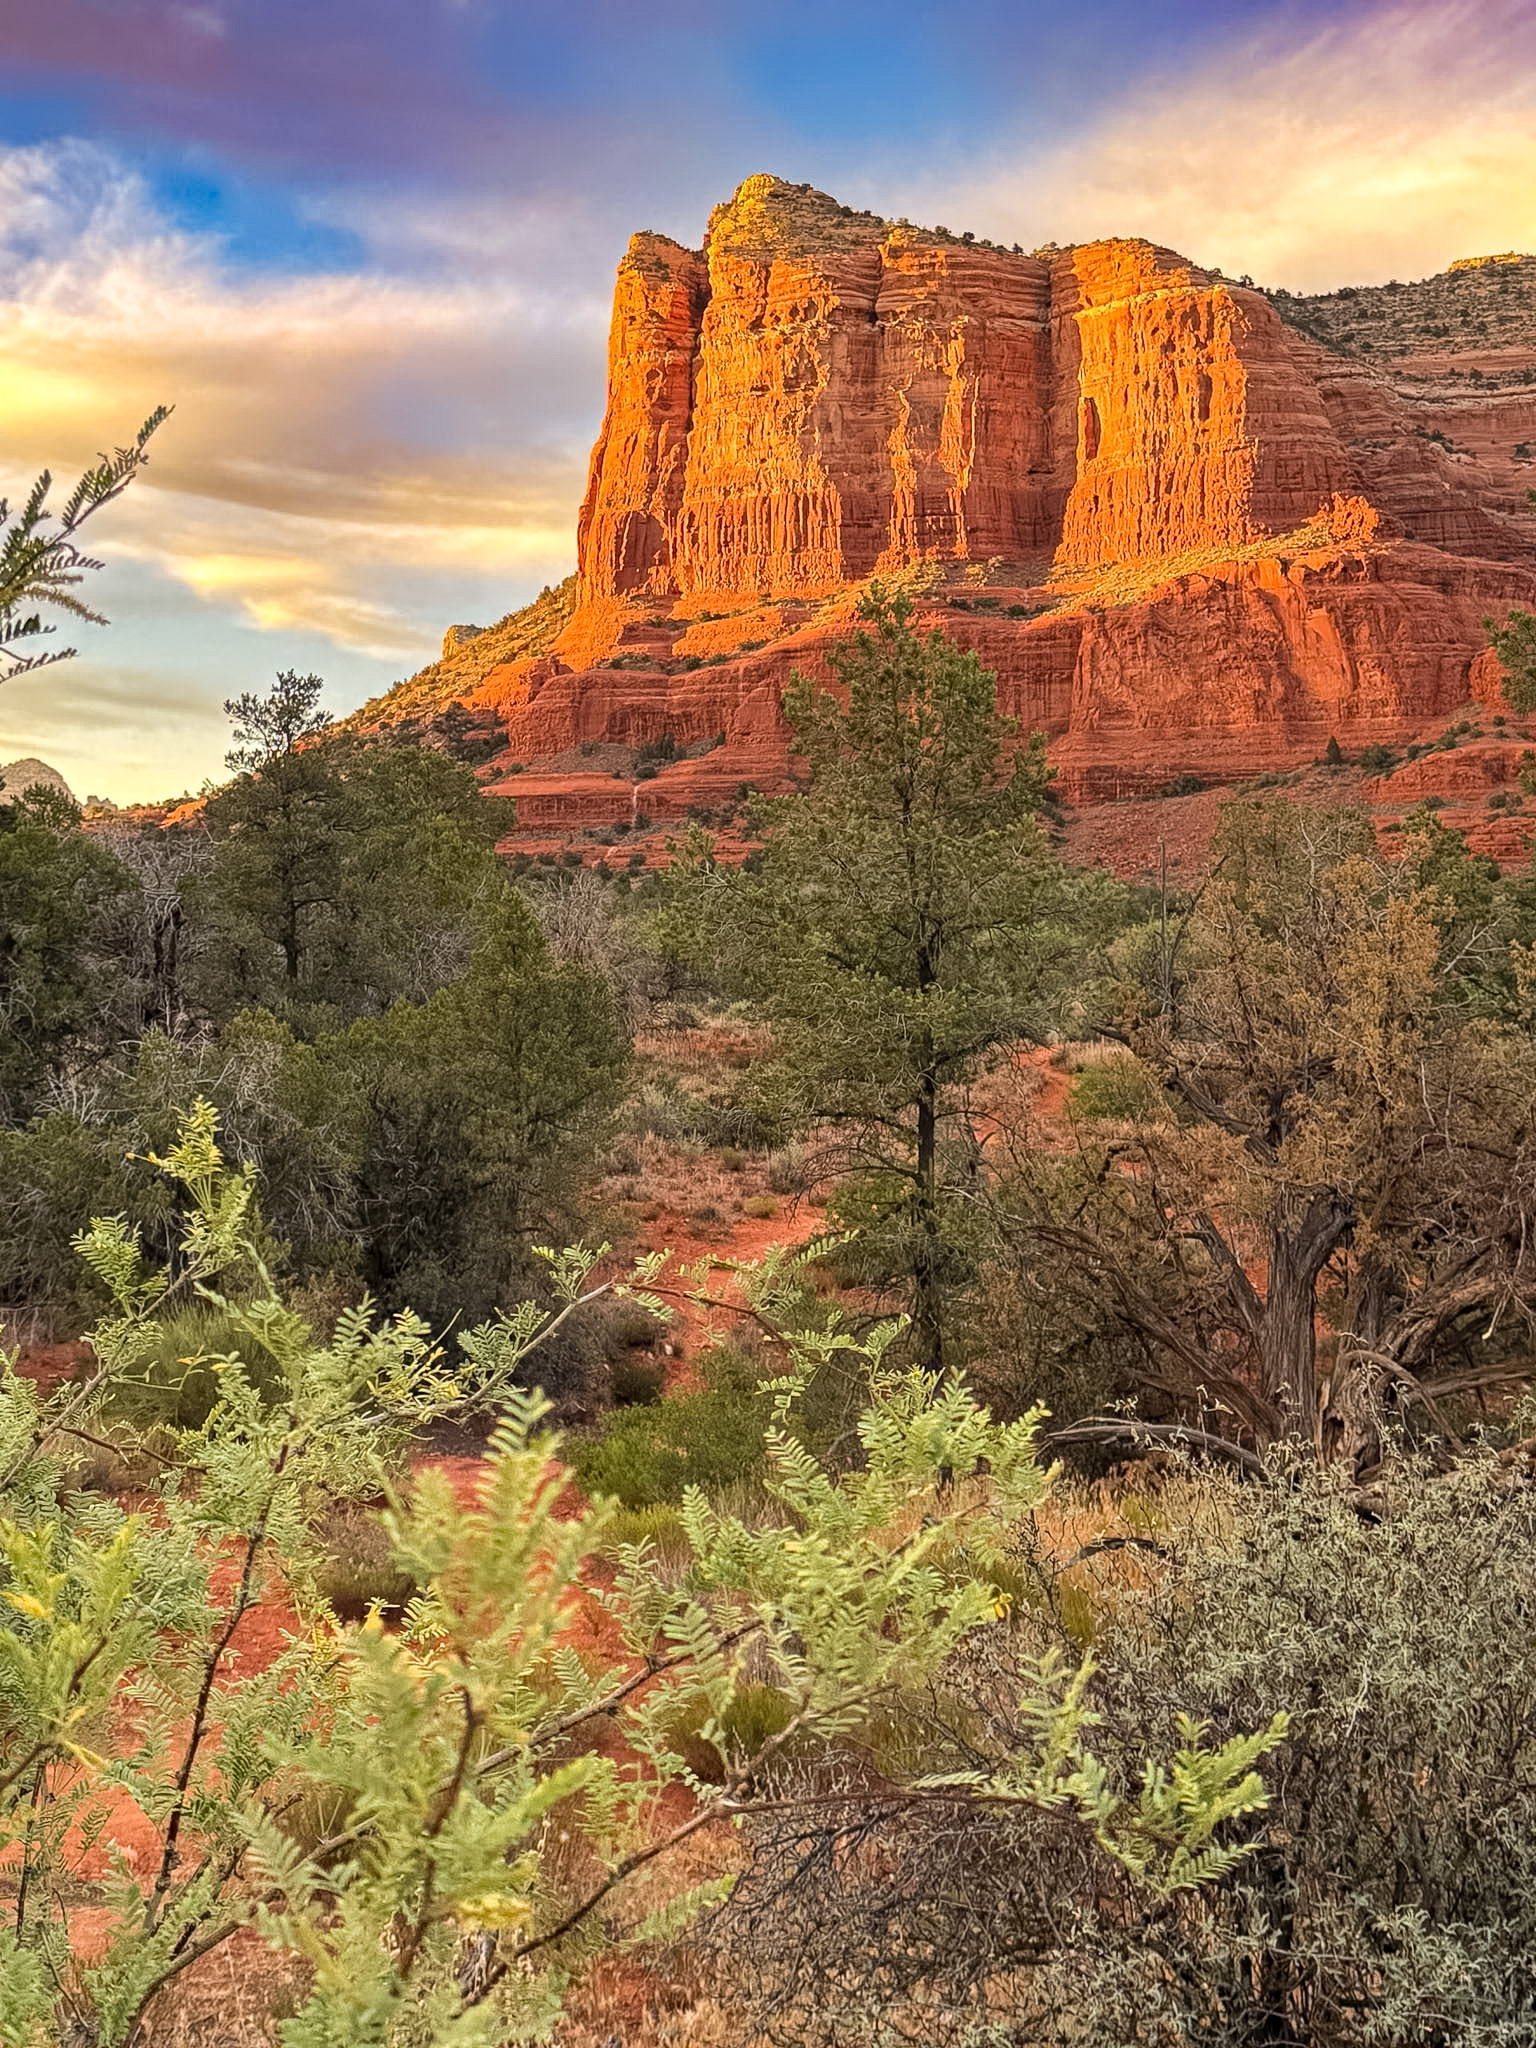
Driving along Red Rock Scenic Byway, also known as State Route 179, is an experience on its own.
The road passes several of Sedona’s famous formations, including Bell Rock, Courthouse Butte, and Cathedral Rock. There are scenic pullouts where you can safely stop, get out of the car, and take photos without completing a hike.
These stops are especially useful if you are short on time, traveling with someone who cannot hike, or trying to photograph several formations during the same drive.
The views change as you travel along the road, so the formations may look completely different depending on the direction, distance, and angle. Even if you have already photographed Bell Rock from the trail, the roadside views can give you another perspective.
Red Rock Scenic Byway is one of the easiest ways to capture some of Sedona’s best scenery while traveling between other stops on your itinerary. Having a rental car also makes it much easier to reach trailheads, scenic overlooks, and roadside pullouts on your own schedule. I usually compare options through Discover Cars.
Devil’s Bridge is probably Sedona’s most famous Instagram photo spot.
The natural sandstone arch creates an unforgettable picture, especially if you are comfortable walking onto the bridge for the classic photo. It is easy to understand why this has become one of the most recognizable Sedona photography locations.
I did not have a chance to hike Devil’s Bridge during my visit, so I cannot personally review the trail or the overall experience.
However, if you are looking for one of Sedona’s most iconic photo opportunities and do not mind a more strenuous hike, it is worth researching before your trip. Make sure you understand the trail length, access, parking situation, and current conditions rather than adding it to your plans based only on the photo.
If you would rather visit popular Sedona photography locations with a guide, you can compare sightseeing and hiking options through Viator.
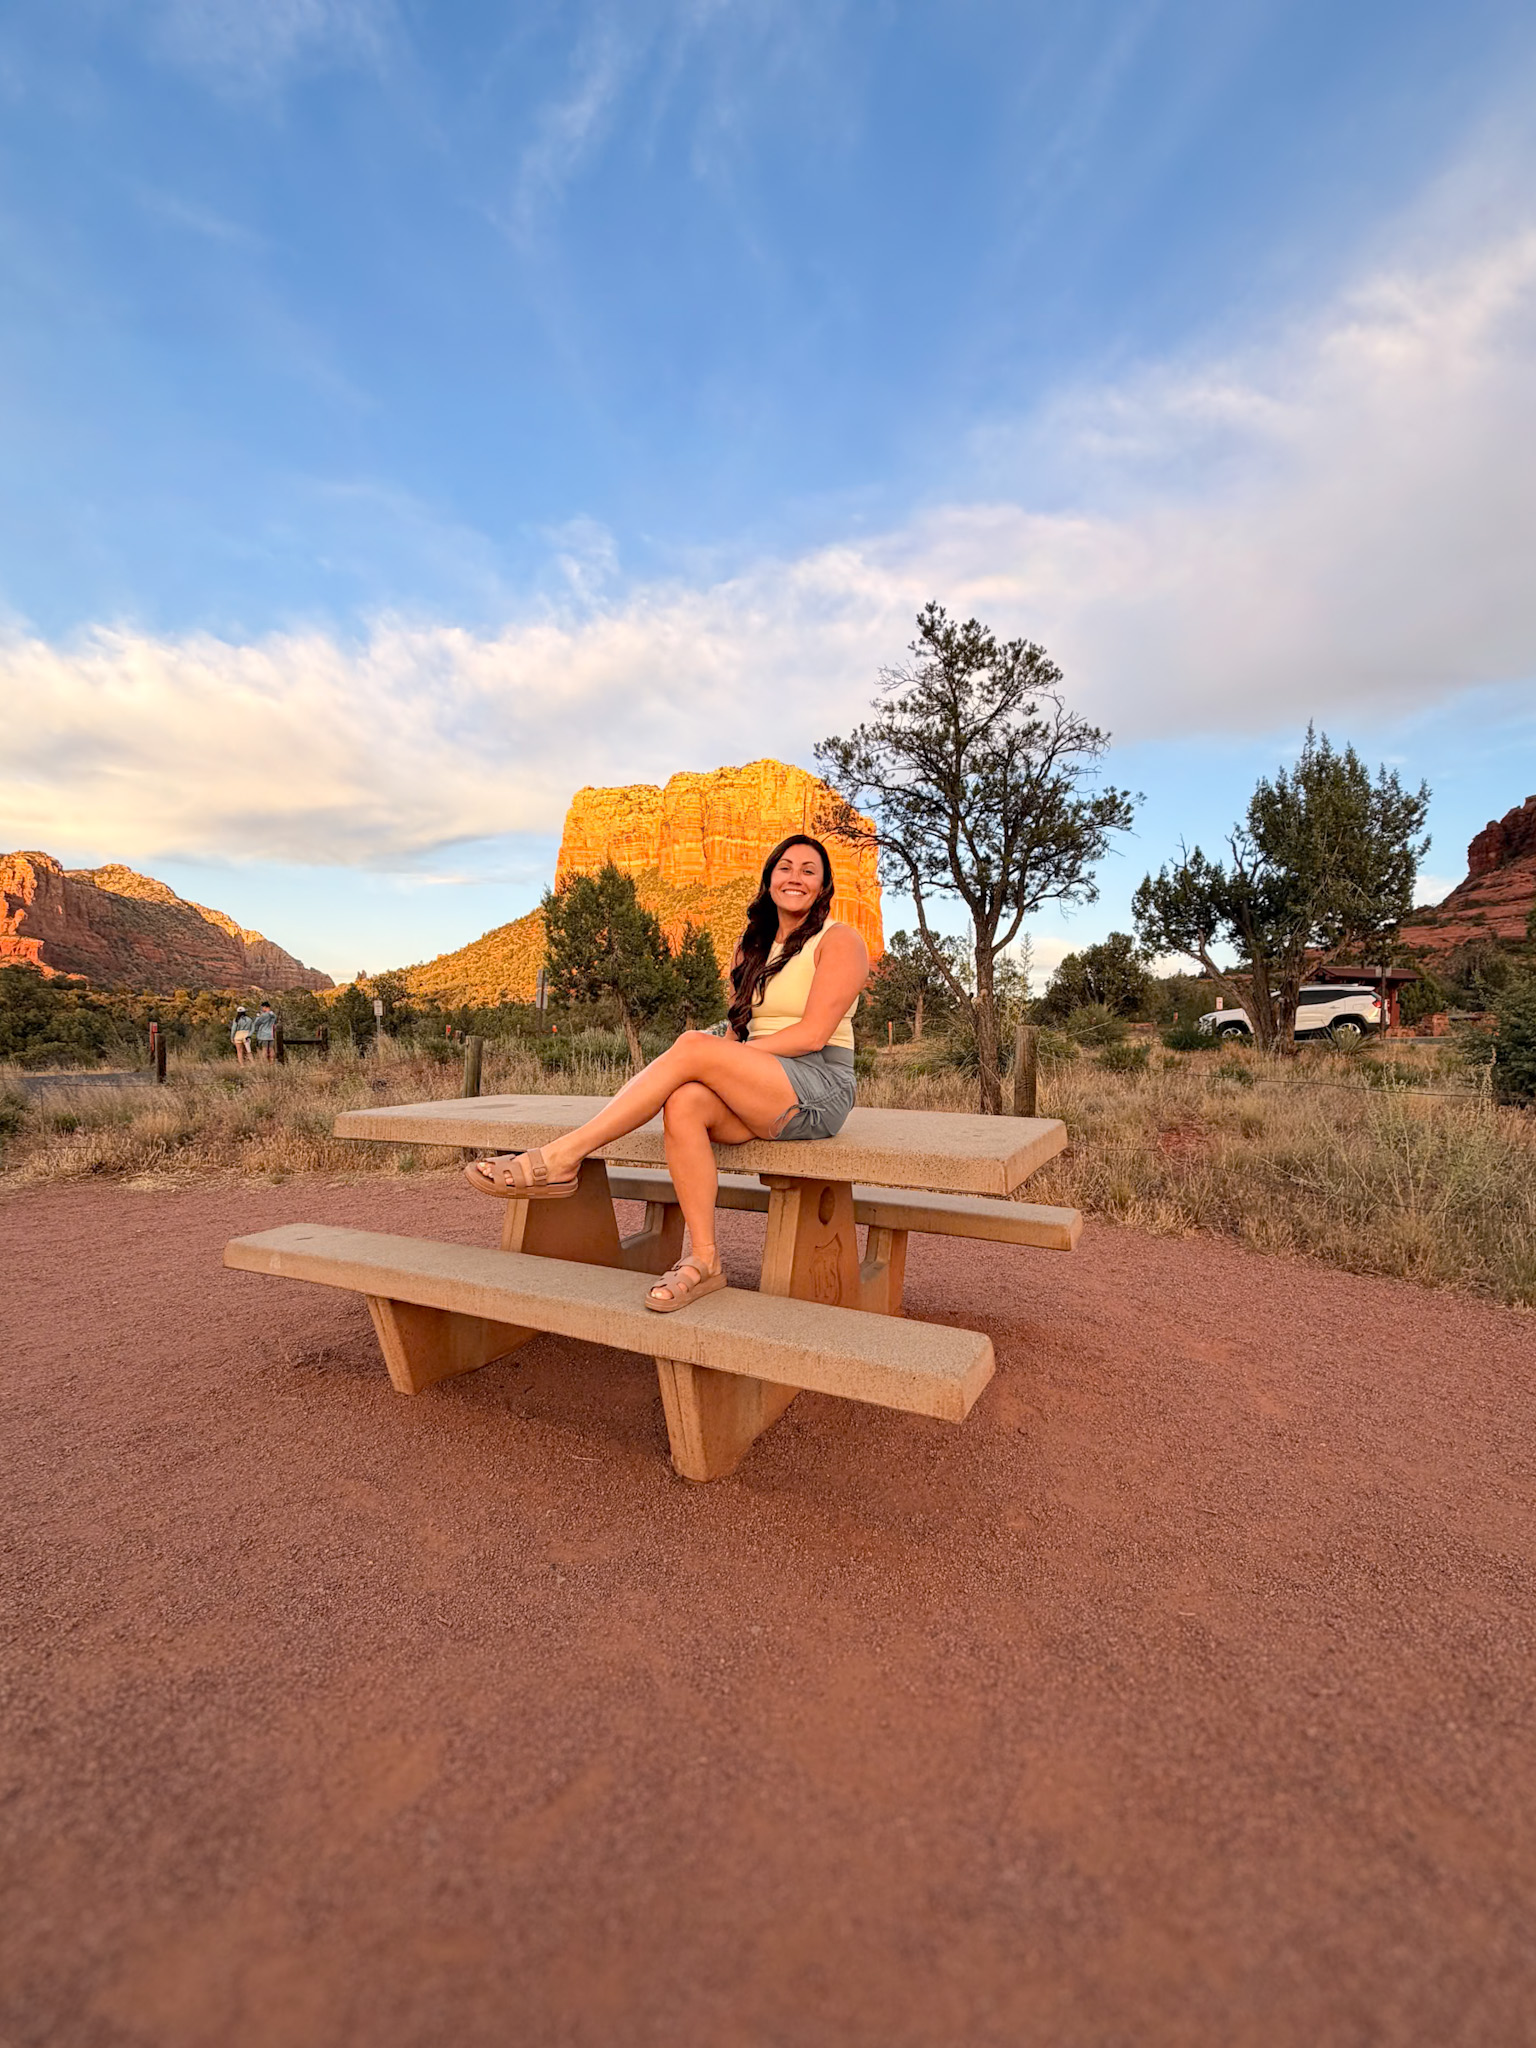
Crescent Moon Ranch at Red Rock Crossing was my favorite overall photo spot in Sedona.
The view of Cathedral Rock reflected in Oak Creek is iconic, but I also liked having several different elements to work with. The water, cottonwood trees, rocks, and changing light created more variety than a single overlook.
For easy panoramic views, I would choose Airport Mesa. For a short photography hike, Yavapai Vista was one of my favorites. Tlaquepaque was the best option when I wanted something other than another red rock photo.
Sedona is extremely easy to photograph, but visiting a mix of trails, overlooks, scenic drives, restaurants, and architectural locations will give you a much more varied collection of photos.
If you end up booking anything for your trip, using my affiliate links helps support my blog at no extra cost to you. I spend a lot of time researching and writing these guides, so I really appreciate the support.
Compare rental cars through Discover Cars. Having a car makes it much easier to reach Sedona’s trailheads, overlooks, scenic pullouts, and photography locations on your own schedule.
Use my 5 Days in Sedona: The Ultimate First-Time Itinerary if you want enough time to visit several photo spots without rushing.
For a shorter trip, 3-Day Sedona Itinerary for First-Time Visitors combines the main viewpoints, hikes, restaurants, and attractions into a manageable schedule.
Compare Sedona hotels through Booking.com or Hotels.com, especially if you want to stay near Airport Mesa, Uptown Sedona, or State Route 179.
Browse Sedona sightseeing, hiking, and photography-friendly tours through Viator or GetYourGuide.
My Best Easy Hikes in Sedona for Beginners includes additional trails with impressive views that do not require advanced hiking experience.
An iPhone Tripod is useful for couple photos, solo travel photos, and sunset shots when the light starts fading.
A Small Osprey Backpack works well for carrying water, sunscreen, and camera gear on short Sedona hikes.
Read What to Wear in Sedona in June for the clothing, shoes, and layers that worked during my summer trip.

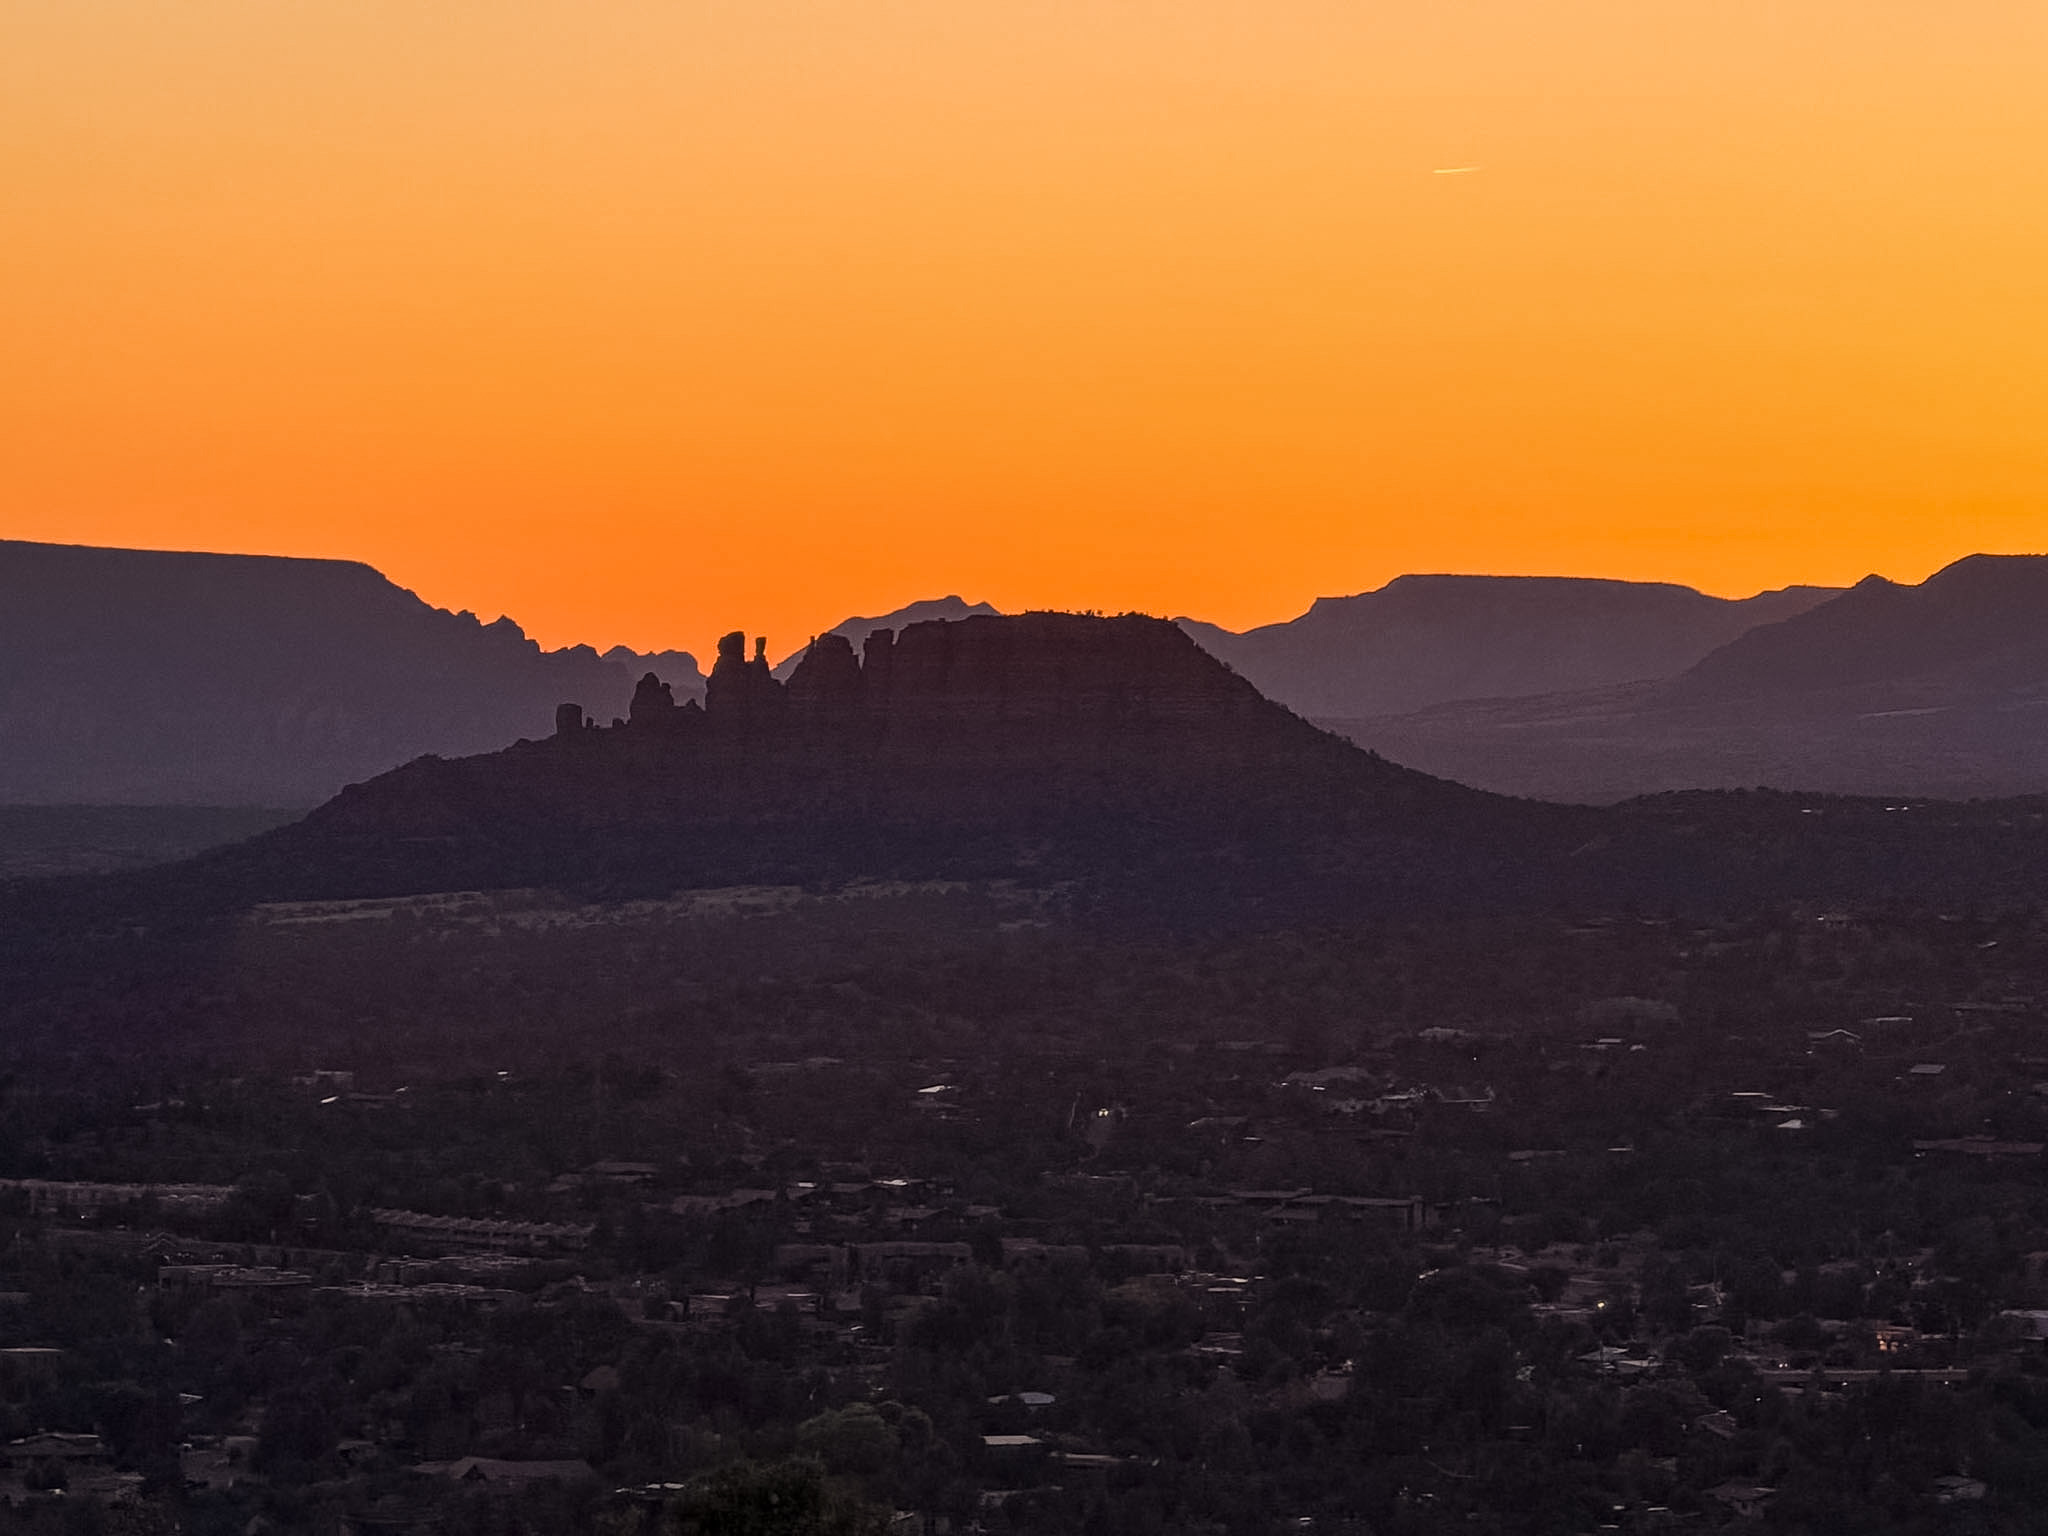
Booked this Bryson City yurt for the ‘ber months and it’s already my top fall pick this year. 🍂
The Junaluska Yurt sleeps six but feels more like a stylish cabin than a yurt, two real queen bedrooms with actual doors, a full kitchen, and a private bathroom with a walk-in shower. Check-in is just a door code texted to your phone, no lobby, no waiting.
The real win is outside: wraparound porch, private fire pit, free firewood, a gas grill, and Smoky Mountain sunsets that stop you mid-sentence, picture all of that with October color on the ridgeline. Heads up, the last stretch in is a gravel road, so skip the low-profile rental, and there’s no restaurant onsite, you’re minutes from Bryson City, Dillsboro, and Sylva for dinner.
Two to three nights is the sweet spot. (We actually stayed in the dead of winter and it was still stunning, fall just takes it up a notch.) Full review linked in bio.

Italian food felt like the last thing I expected to find in the middle of the Appalachian Mountains... until I sat down at Ilda in Sylva.🍝
They call it Italian-Appalachian, and that’s not just a tagline. Homemade pasta, craft cocktails, local ingredients pulled straight from the mountains around it, this is the kind of meal that makes you forget you’re two hours from the nearest city. It’s cozy, it’s a little upscale, and it is not a walk-in kind of place, call ahead, because tables go fast on weekends.
It’s not cheap, and it’s not trying to be. But if you’re already making the trip out to Sylva, this is the one reservation worth planning your day around.
Full write-up, including what to order, link in bio.
Booked my fall cabin before September even started, and I’m not sorry about it. 🍂
These are the stays that make you actually want the cold to hurry up fireplaces, mountain views, the kind of porch you don’t leave. Not every one of these is going to fit every trip, but if a cozy fall getaway is on your radar, this is the roundup to start with.
One of my favorite travel seasons is almost here, and I have zero chill about it. 🍁✈️
There’s just something about fall trips cooler air, apple orchards, that first flannel of the season, food that actually makes sense with the weather again. I’m already mentally packing for it before September even starts.
If fall is your favorite time to travel too, tell me where you’re headed... I’m taking notes for the list.
Pack your bags... ✈️🧳My hiking and road trip gear shop just got a refresh, and this is everything that actually earns a spot in my bag. The dry bag pulls double duty for beach days and trail days, the Osprey backpack is the one I grab for anything motorcycle or day-hike related, and the GoPro comes with me literally everywhere at this point.
Nothing on this list is filler it’s all stuff I’ve used, packed, and repacked more times than I can count. Full shop linked in my bio if you want to build out your own kit before your next trip.

Follow @travelwithwendyplummer for Beautiful Beach Destinations, City Guides, Foodie Spots, and Luxury Hotel Recommendations.