
Canyonlands is Arches’ wilder, bigger sibling. Where Arches is compact and easy to cover in a day, Canyonlands spreads itself out with deep canyons, dramatic overlooks, and trails that feel a little less “Instagram famous” and a little more rugged. With just one day, you can’t see all four districts of the park, but you can see the Island in the Sky section—and honestly, that’s the part most visitors come for.
I only had one day here, and while the weather wasn’t perfect (rain likes to follow me around on trips), it was still breathtaking. Here’s how to make the most of 24 hours in Canyonlands. This guide shows you exactly how to experience Canyonlands National Park in 24 Hours.
If you want even more sunrise and sunset inspiration before planning your day, check out my guide to the Best Sunrise and Sunset Spots in Moab Utah.
Fee: $30 per vehicle (valid for 7 days)
Tip: Stop here first. The center has fun souvenirs, interactive displays, and a ranger desk where you can check for trail conditions. Directly across the street is a beautiful overlook with sweeping views of Shafer Basin and the La Sal Mountains—a preview of what’s to come.
Trail Length: 0.7 miles round trip
Difficulty: Easy
Elevation Gain: About 100 ft
Estimated Time: 30 minutes
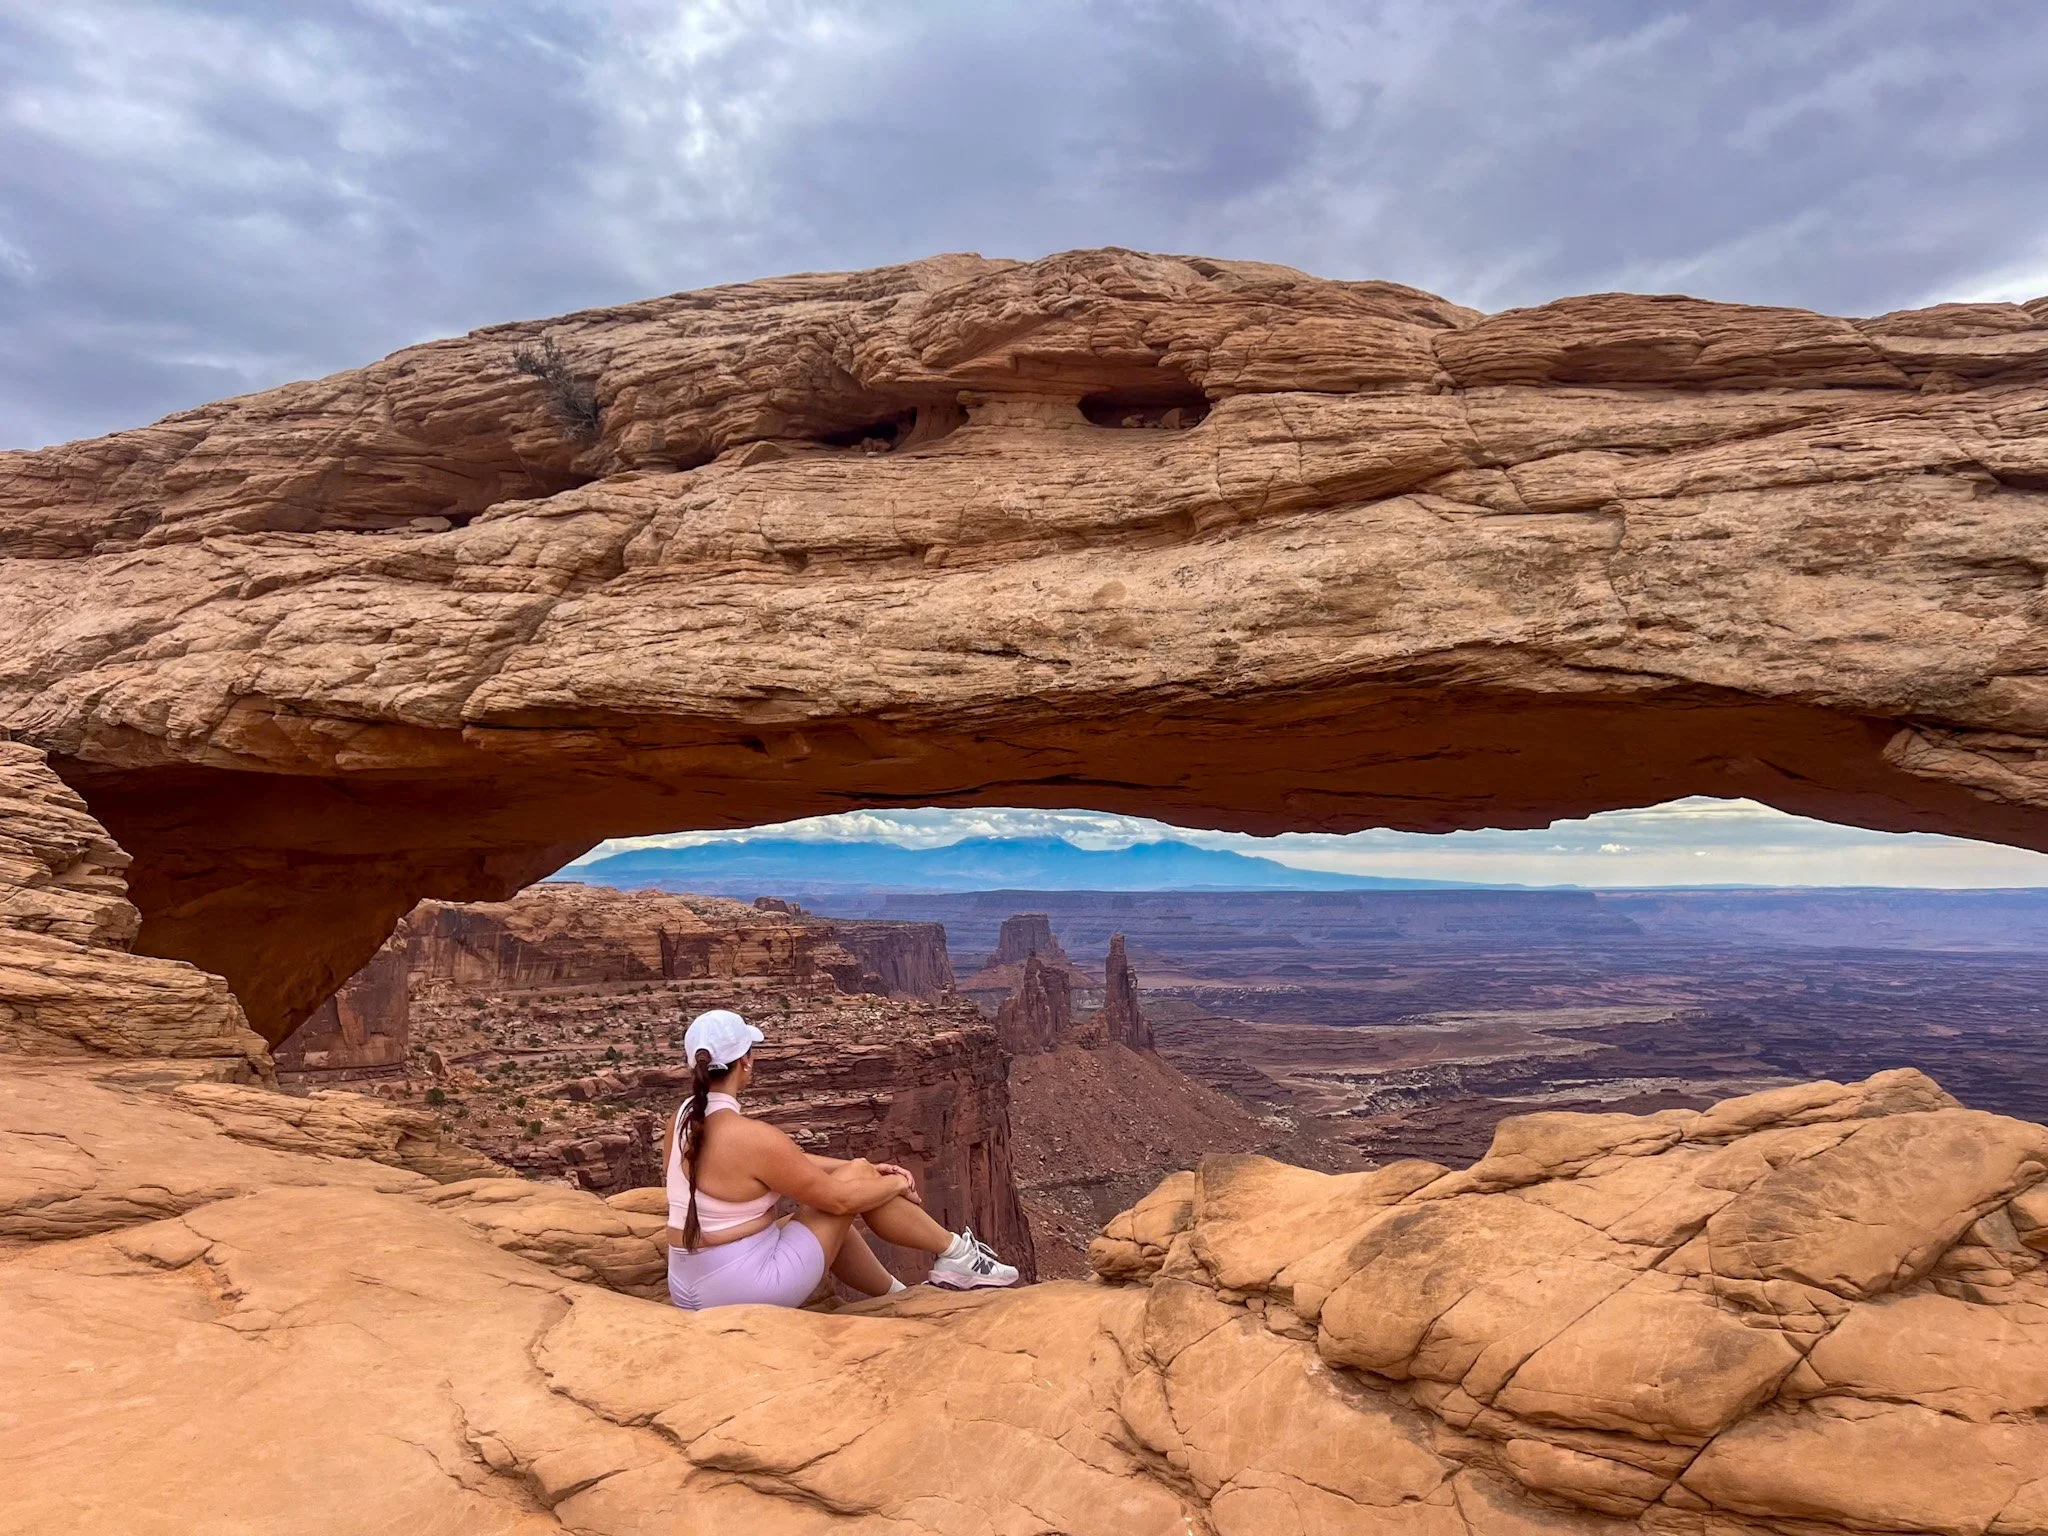
Best Time: Sunrise (famous for the glow under the arch)
Mesa Arch is the showstopper of Canyonlands, and if you’ve ever seen a photo of the sun rising through an arch with canyons spread out below, this is it. I went on a rainy morning, so I missed the fiery glow, but it was still stunning. The short hike makes it accessible for most skill levels, and if you walk past the arch to the right, you’ll get a perspective most visitors skip.
Trail Length: 0.8 miles round trip (to first overlook) or 1.8 miles (to second overlook)
Difficulty: Moderate (short but uphill)
Elevation Gain: About 300 ft
Estimated Time: 30–60 minutes
Best Time: Midday when the sun highlights the colors inside the crater
For a multi-day plan that includes Arches and Dead Horse Point, my Spend a Week in Moab: The Perfect 7-Day Itinerary breaks everything down day by day.
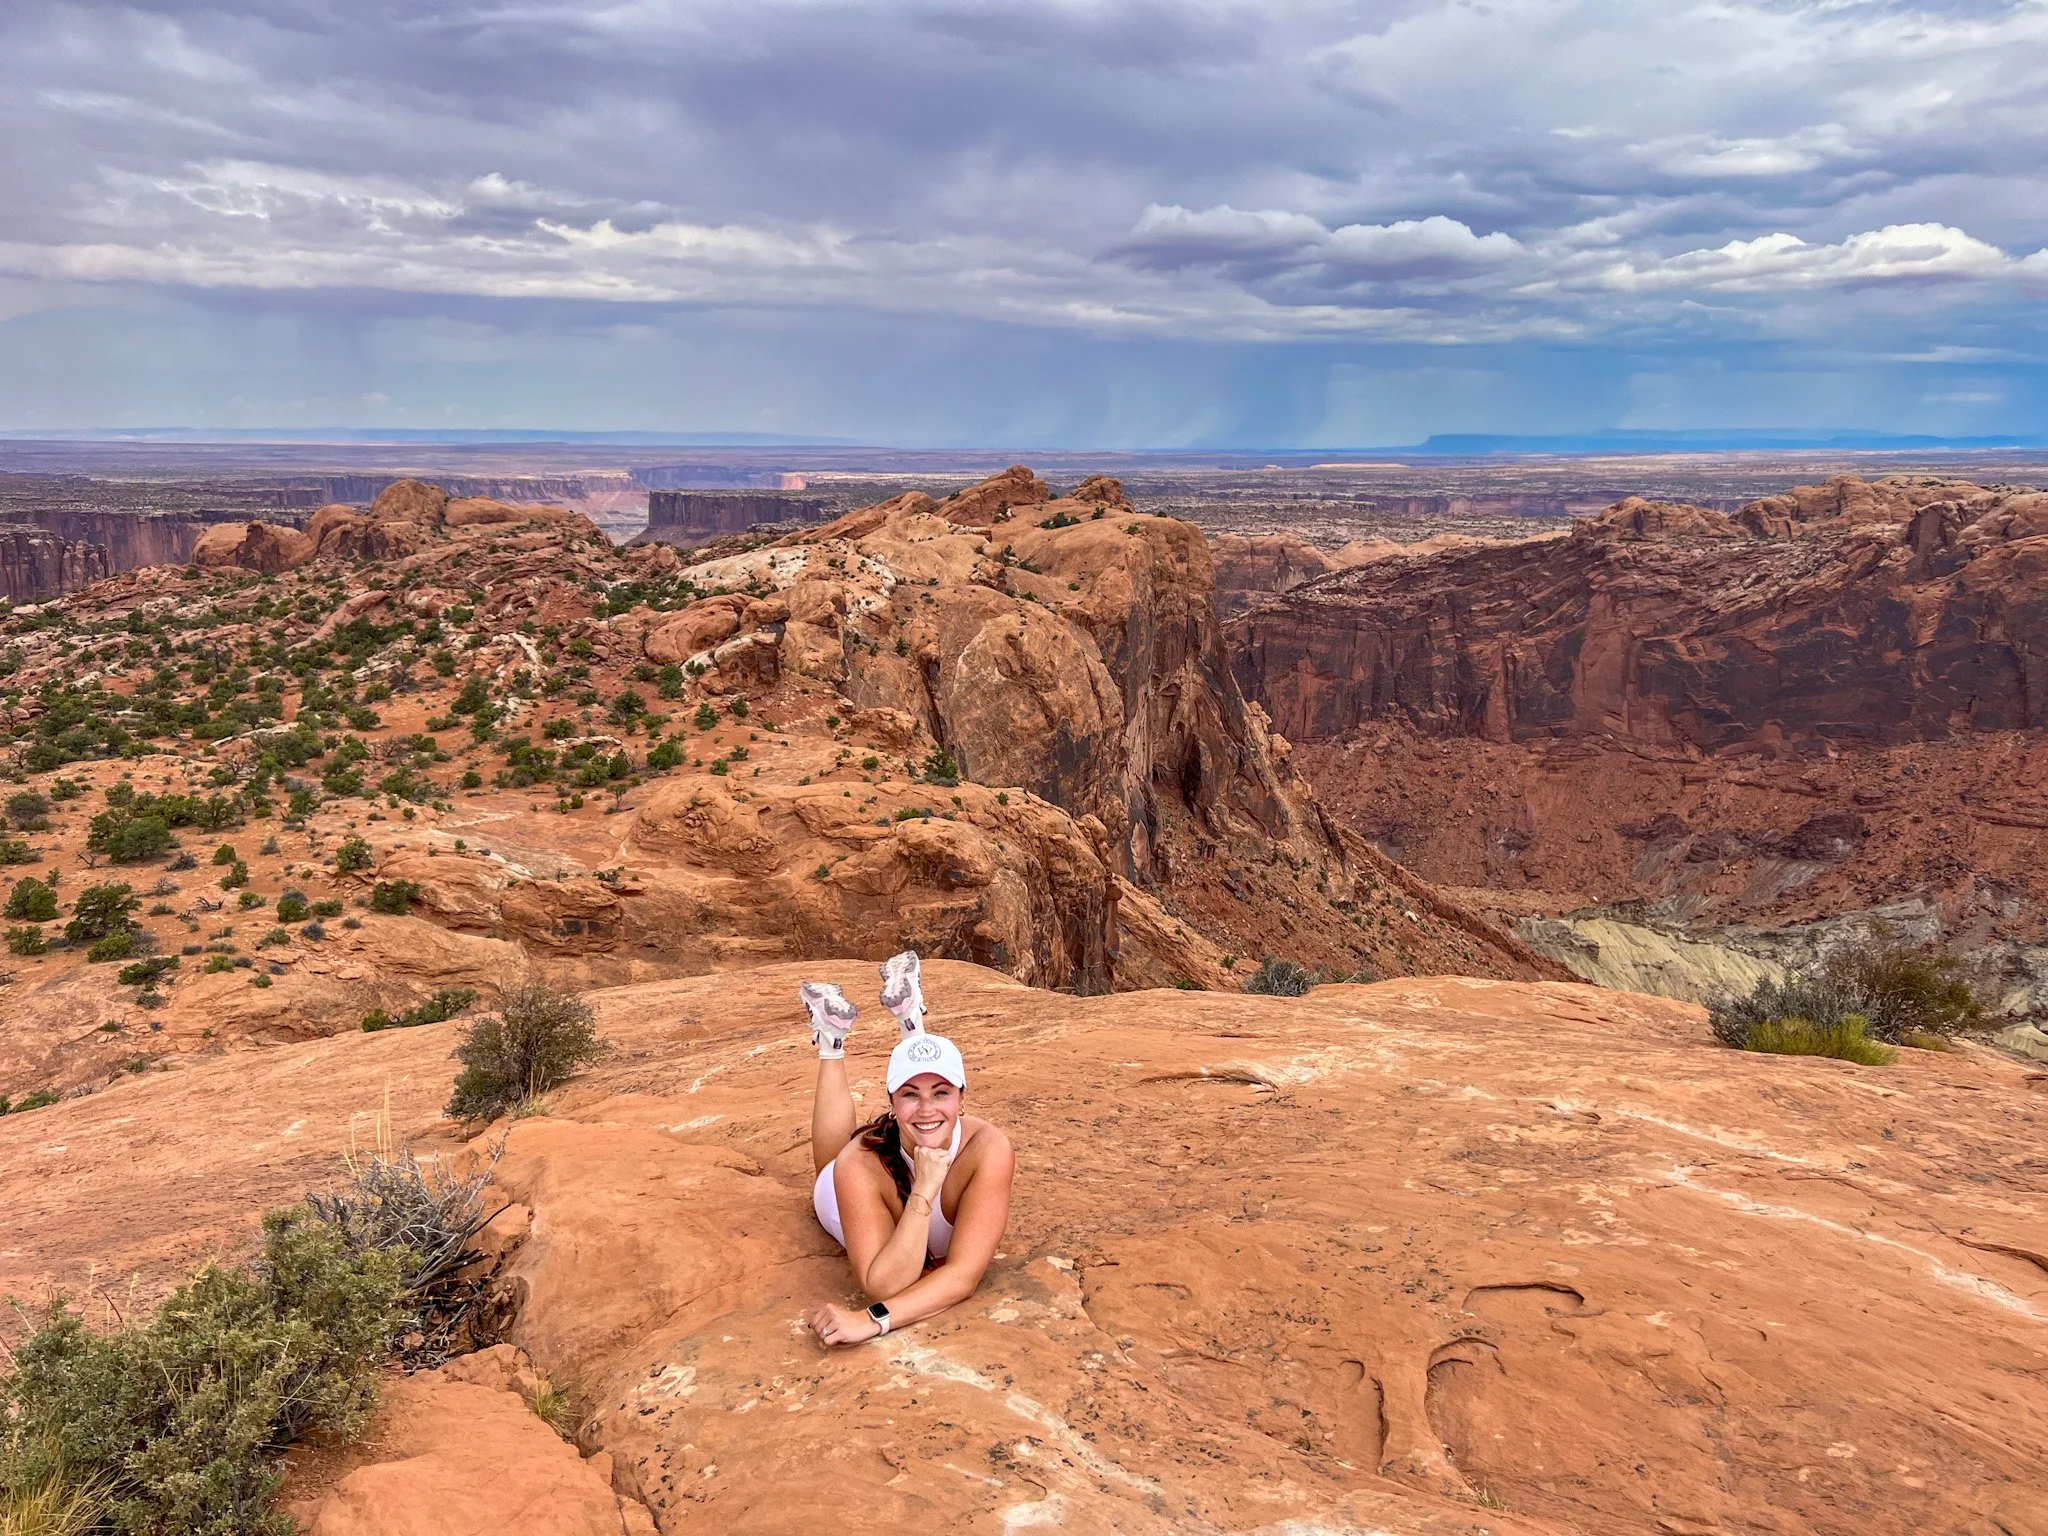
Upheaval Dome is one of the park’s biggest mysteries. Some say it’s the result of a meteor impact, others believe it’s a collapsed salt dome. Either way, it’s unlike anything else in the park. The first overlook is steep but short. If you continue to the second, it’s another half mile uphill. My legs were not thrilled (short but not sweet), but the payoff view of layered reds and greens was worth it.
Trail Length: 0.2 miles round trip
Difficulty: Easy
Elevation Gain: Minimal
Estimated Time: 10–15 minutes
Best Time: Late afternoon for golden light across the canyons
This overlook is exactly what the name promises—a panoramic view of the Green River winding its way through the canyon. On a clear day, you can see the Maze and the Orange Cliffs in the distance. It was rainy when I went, so the view was a little muted, but still incredible.
Trail Length: 2 miles round trip (paved path to viewpoint, then optional trail along the rim)
Difficulty: Easy
Elevation Gain: About 200 ft
Estimated Time: 45 minutes–1.5 hours
Best Time: Sunset for wide-open views over Monument Basin
This is one of the best stops in the park. The paved path makes the main viewpoint accessible, and you can see La Sal Mountains, Colorado River Canyon, Monument Basin, and spires stretching into the distance. If you walk the rim trail beyond the viewpoint, you’ll get even more dramatic vistas.
Trail Length: 0.1 miles round trip
Difficulty: Easy
Elevation Gain: None
Estimated Time: 5–10 minutes
A quick but worthwhile stop. The views stretch for miles, and it’s a perfect “pull over and gasp” kind of moment.
Fee: $20 per vehicle (not included in national park pass)
Trail Length: 0.5 miles round trip to main overlook (or 5 miles if you combine the West and East Rim Trails)
Difficulty: Easy for overlook; Moderate for full rim loop
Elevation Gain: Minimal for overlook, about 500 ft across the full loop
Estimated Time: 30 minutes (overlook only) or 2–3 hours (full hike)
Best Time: Late afternoon or sunset
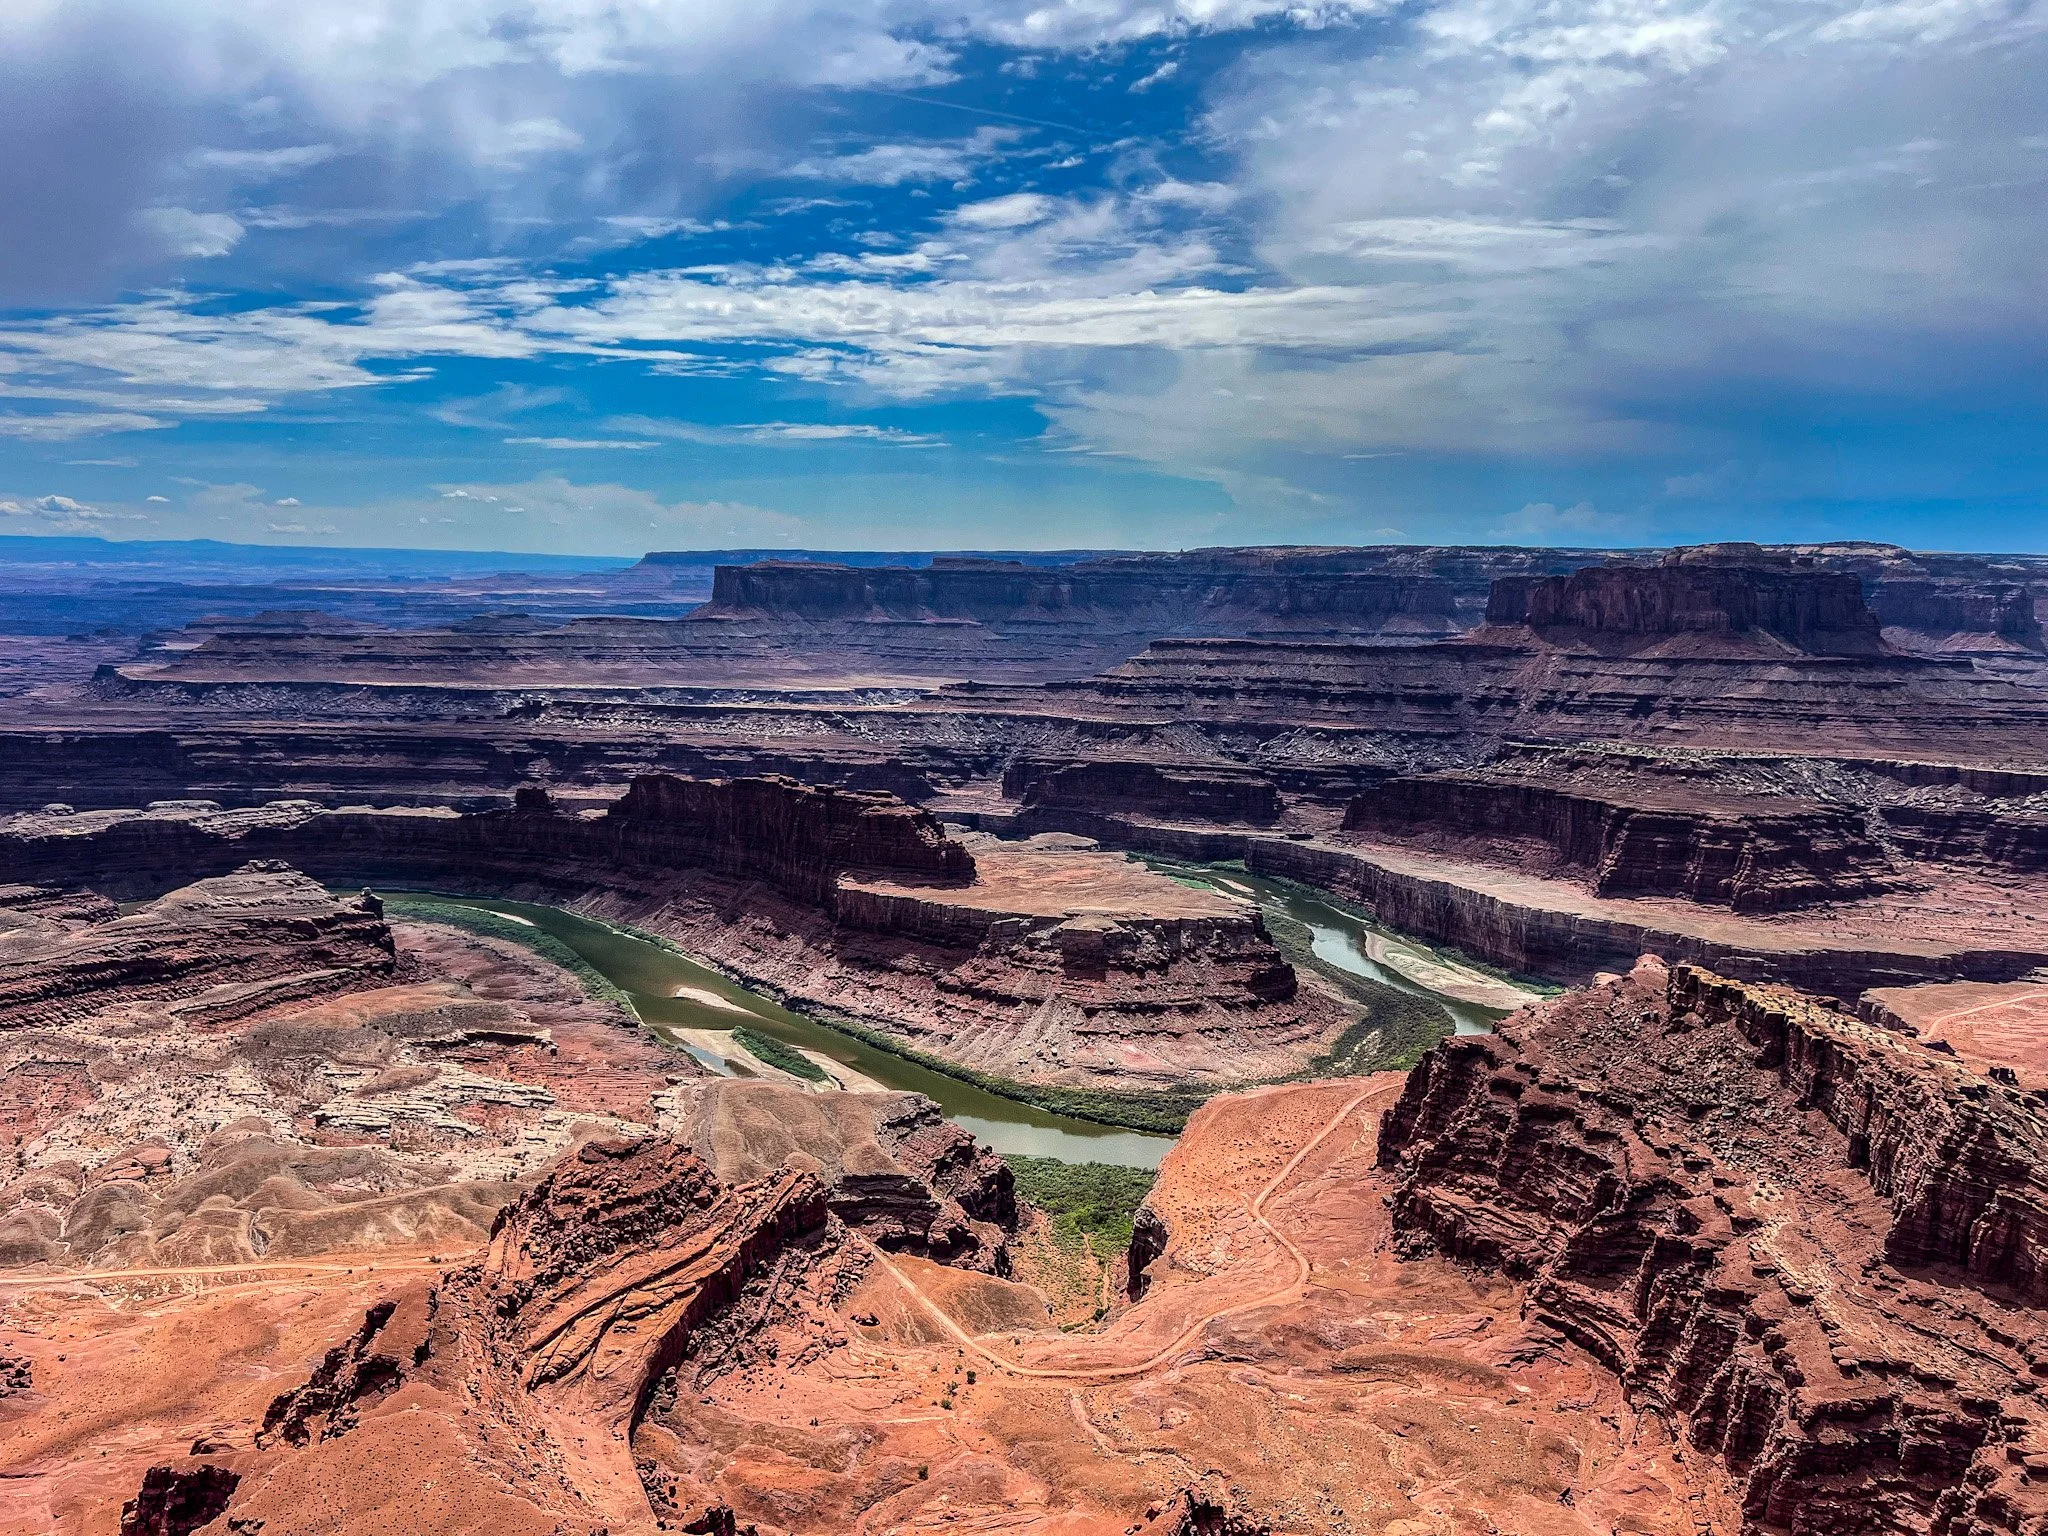
Just outside the park is Dead Horse Point, one of the most photographed overlooks in the Southwest. The view of the Colorado River bending dramatically through the canyon is unreal. If you’re short on time, just do the overlook. If you want more hiking, the rim trails give you a different angle on the landscape.
Morning: Visitor Center, Mesa Arch (sunrise), Upheaval Dome
Midday: Green River Overlook, Buck Canyon Overlook
Afternoon: Grand View Point Overlook (walk the rim trail if you can)
Evening: Add Dead Horse Point for sunset before heading back to Moab
Distance from Moab: About 40 minutes to the Island in the Sky entrance
Food & Water: None sold inside the park—pack it in.
Weather: Summer is scorching, spring and fall are best. Rain makes the views moody but still gorgeous.
Time Needed: You can hit the highlights in half a day, but a full day lets you enjoy it without rushing.
Canyonlands in 24 hours is all about picking the best viewpoints and short trails, and Island in the Sky delivers them in spades. Even with just a day, you’ll leave with a memory card full of dramatic canyon photos and a serious appreciation for how vast this park really is.
If you have more time, explore another district, but if not—Island in the Sky will more than satisfy your need for sweeping desert landscapes. If you’re extending your Moab adventure beyond a single day in Canyonlands, my Spend 2 Weeks in Moab: The Ultimate Red Rock Itinerary gives you even more hikes, viewpoints, and can’t-miss stops.

There are two kinds of travelers: people who plan a trip and then figure out where to eat, and people who book a restaurant and then build the rest of the itinerary around it.I am the second kind. I will not apologize for this.
The reservation gets locked in first. The hotel search happens within the same 24 hours. The flights get compared around the restaurant’s hours of operation. The rest of the trip exists to fill the days before and after the table I actually came for.
If this sounds unhinged, I completely understand. It has also resulted in some of the best meals of my life, so I’m going to keep doing it.
Drop a 🍽️ if you plan your trips around food too.

Let’s talk about when to actually book that Dubai trip you’ve been pinning for two years. I get asked this constantly, so here’s the honest breakdown: October through April is your window. Anything outside that and you’re basically touring in a sauna!
October and November give you warm days and cooler nights, which is basically the sweet spot for wandering around without melting. December through February is peak season: gorgeous weather. March and April are the quiet insider pick, right before summer heat shows up and ruins everyone’s plans.
Saving this for later? That’s what it’s here for. Full breakdown linked in bio.
If you’re chasing energy, beaches, nightlife, and nonstop luxury, Dubai takes the crown. If you’re craving culture, iconic architecture, and meaningful landmarks at a slower pace, Abu Dhabi shines.🤍
My advice? Base yourself in Dubai and do Abu Dhabi as a day trip! The perfect balance of excitement and culture in the UAE.
Want the full breakdown? Check out my Dubai and Abu Dhabi guide for tips, itineraries, and must-sees!
I do not like seafood. 🐟 So when I booked a tasting menu at a restaurant built around aquarium walls at Atlantis The Palm, I was nervous.
Ossiano sits underwater fish gliding past the whole meal, moody lighting, the kind of room that makes you lower your voice without meaning to. It’s not cheap, and it’s not trying to be. You’re paying for the entire experience.
Here’s the honest part: they have a vegetarian tasting menu, and I assumed it would be an afterthought. It ended up in my top five meals of all time. Course after course, the same care and precision as the seafood-forward menu everyone comes for. They even swapped in a steak for the main and it still felt cohesive with everything around it.
By course four you’re full. They bring out three more breads anyway. I ate all of it. No regrets.
Small detail that stuck with me my dress was black, so they swapped my napkin from white to black without me asking. That’s the kind of thing that tells you everything about a place.
Full breakdown of the menu, the vegetarian option, and what to expect linked in bio.
Dubai is all skyline until you drive an hour into the dunes and it goes completely silent. Bab Al Shams was that shift for us: slower, quieter, more intentional than anything we did in the city.
If you want nightlife or walkable everything, this isn’t your stop. But if you want a night that feels like a reset, it delivers, polished service, food I’m still thinking about, and a setting that never tries too hard.
Full review (and whether it’s worth adding to your Dubai itinerary) is linked in bio. 🏜️

Follow @travelwithwendyplummer for Beautiful Beach Destinations, City Guides, Foodie Spots, and Luxury Hotel Recommendations.