
Just outside Canyonlands National Park sits Dead Horse Point State Park, one of the most photographed spots in the Southwest. With sweeping canyon views, rim trails, and even overnight yurts, it’s the kind of place that’s easy to add onto a Canyonlands trip but spectacular enough to deserve its own spotlight.
I spent an afternoon here and quickly realized it lives up to the hype. The overlook is jaw-dropping, the trails are approachable, and it has that rare mix of “easy to access” and “feels like the edge of the world.”
If you’re exploring Moab and love unique lodging, check out my Hoodoo Moab Review before planning your Dead Horse Point trip.

Before we get into trails and overlooks, let’s clear up the name. In the 1800s, cowboys used the mesa top as a natural corral for wild mustangs. Legend says horses were once left fenced in without water, dying within sight of the Colorado River below. It’s a grim story, but the name stuck—and now it’s one of Utah’s most iconic viewpoints.
Trail Length: 0.5 miles round trip
Difficulty: Easy
Elevation Gain: Minimal
Estimated Time: 30 minutes
Best Time: Sunset
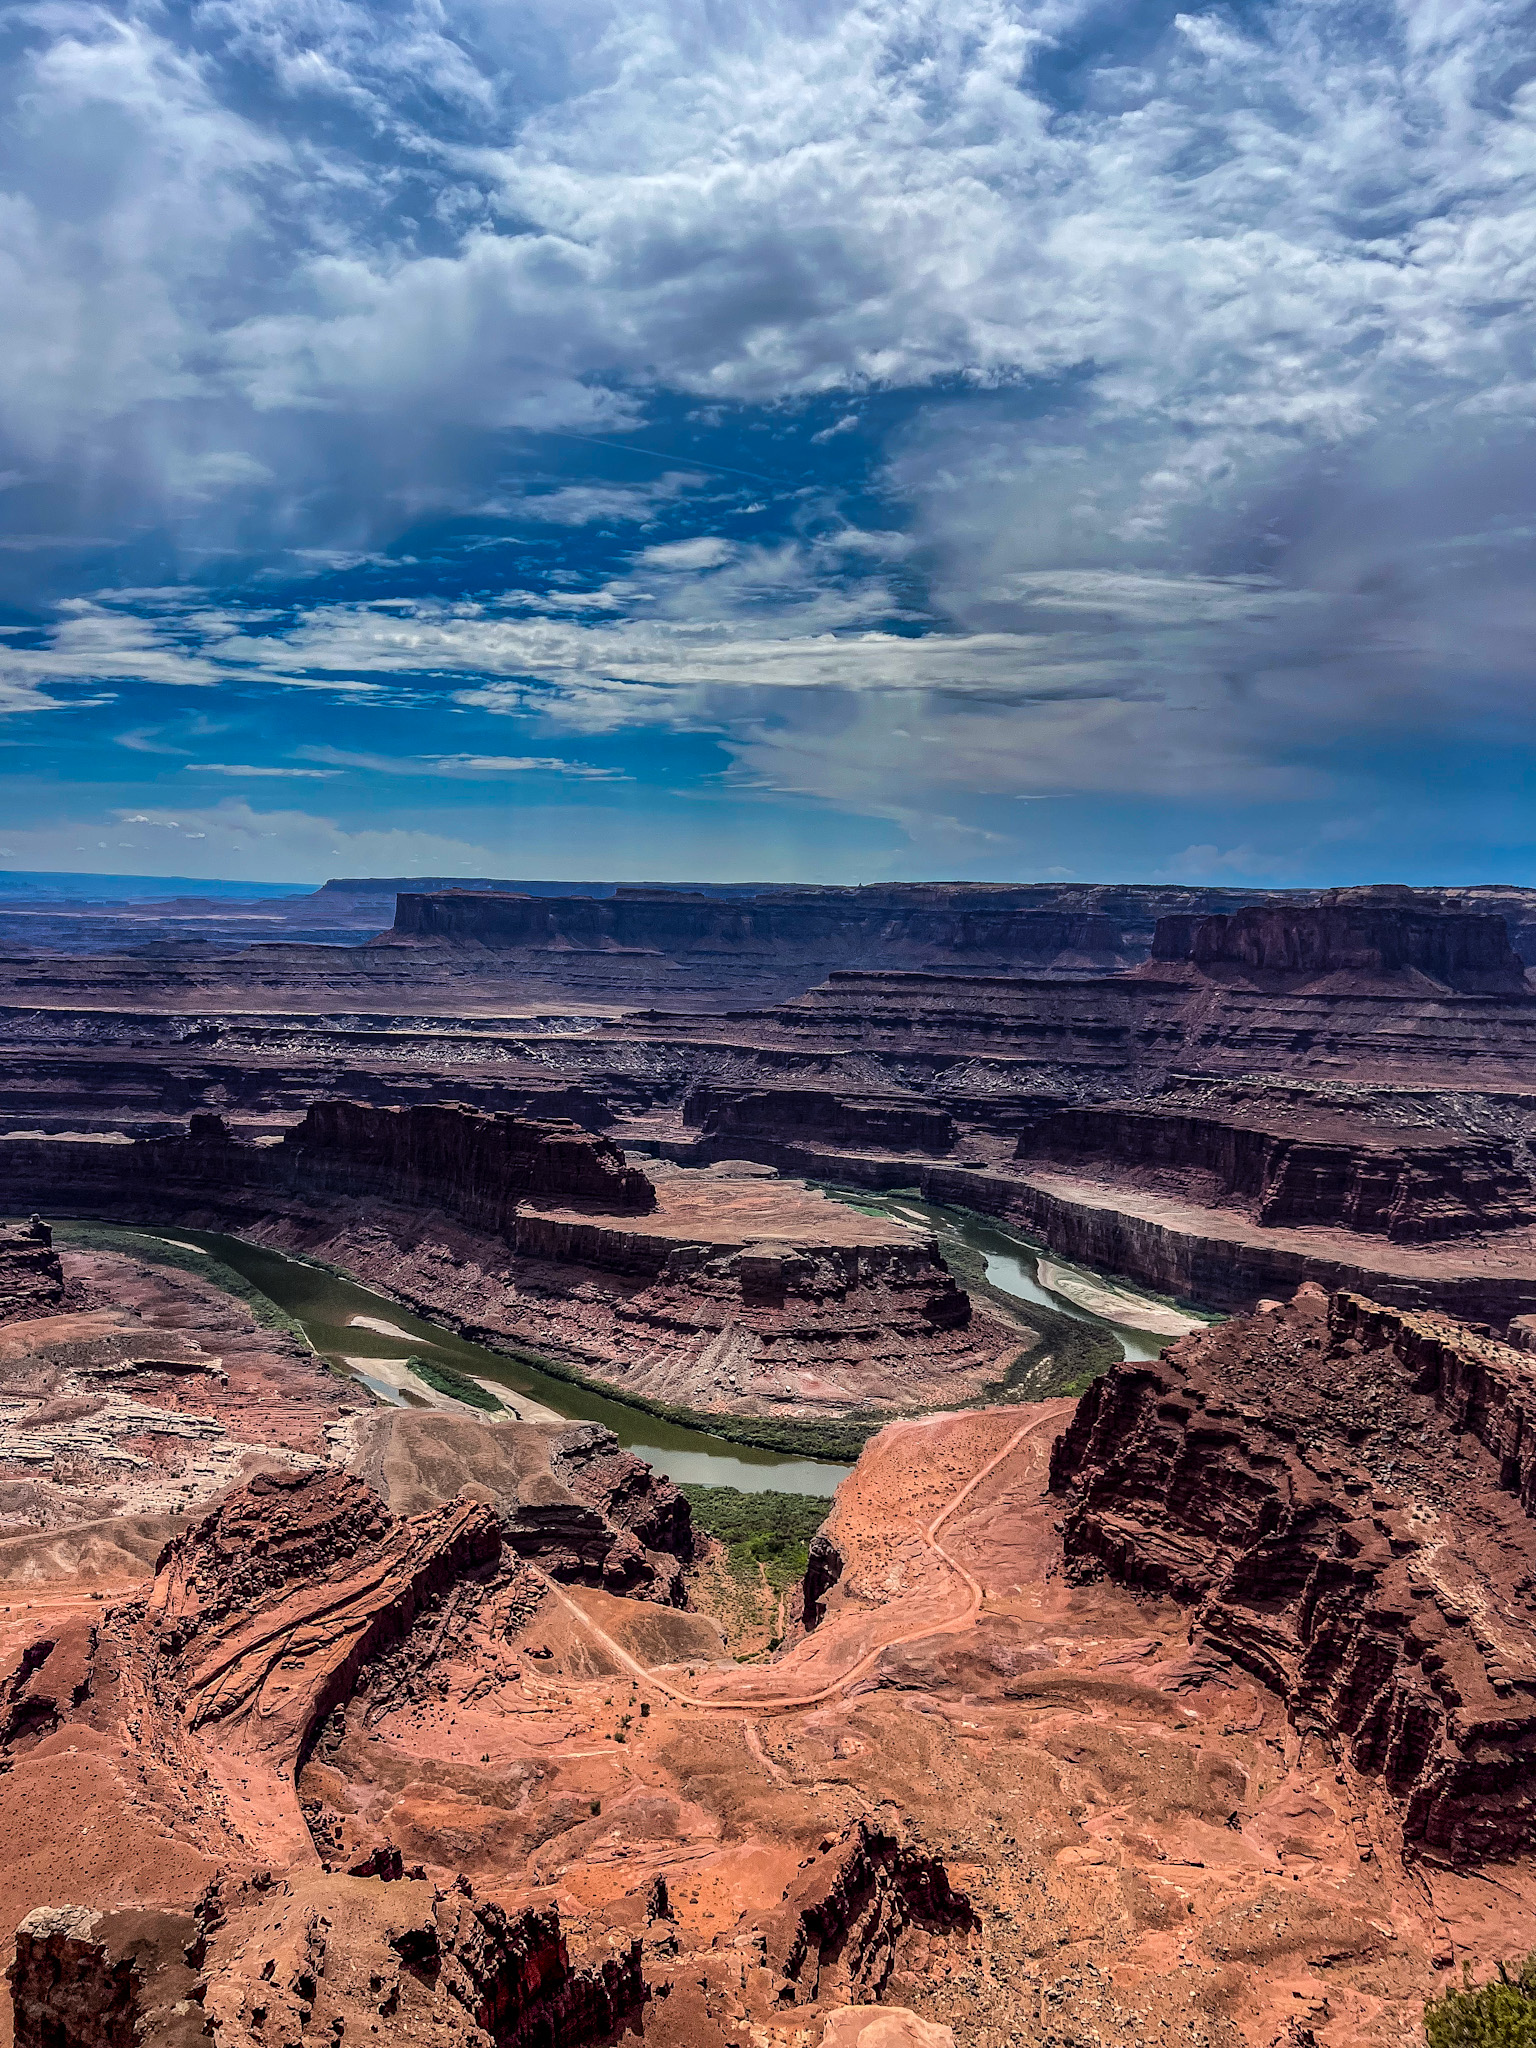
This is the showstopper. From the overlook, the Colorado River makes a dramatic U-turn 2,000 feet below. On clear days, you’ll see glowing cliffs stacked in shades of red, orange, and brown stretching for miles. At sunset, the light deepens, the canyon walls glow, and the whole place feels surreal.
If you’re short on time, this is the stop you can’t miss. If you’re already visiting nearby Canyonlands, my Canyonlands National Park in 24 Hours: How to See the Best in One Day fits seamlessly with a stop at Dead Horse Point.
Trail Length: 5 miles total if you combine East and West Rim Trails
Difficulty: Moderate (mostly flat with some rocky footing)
Elevation Gain: About 500 ft
Estimated Time: 2–3 hours
If you want more than a quick overlook, the rim trails give you multiple perspectives of the canyon.
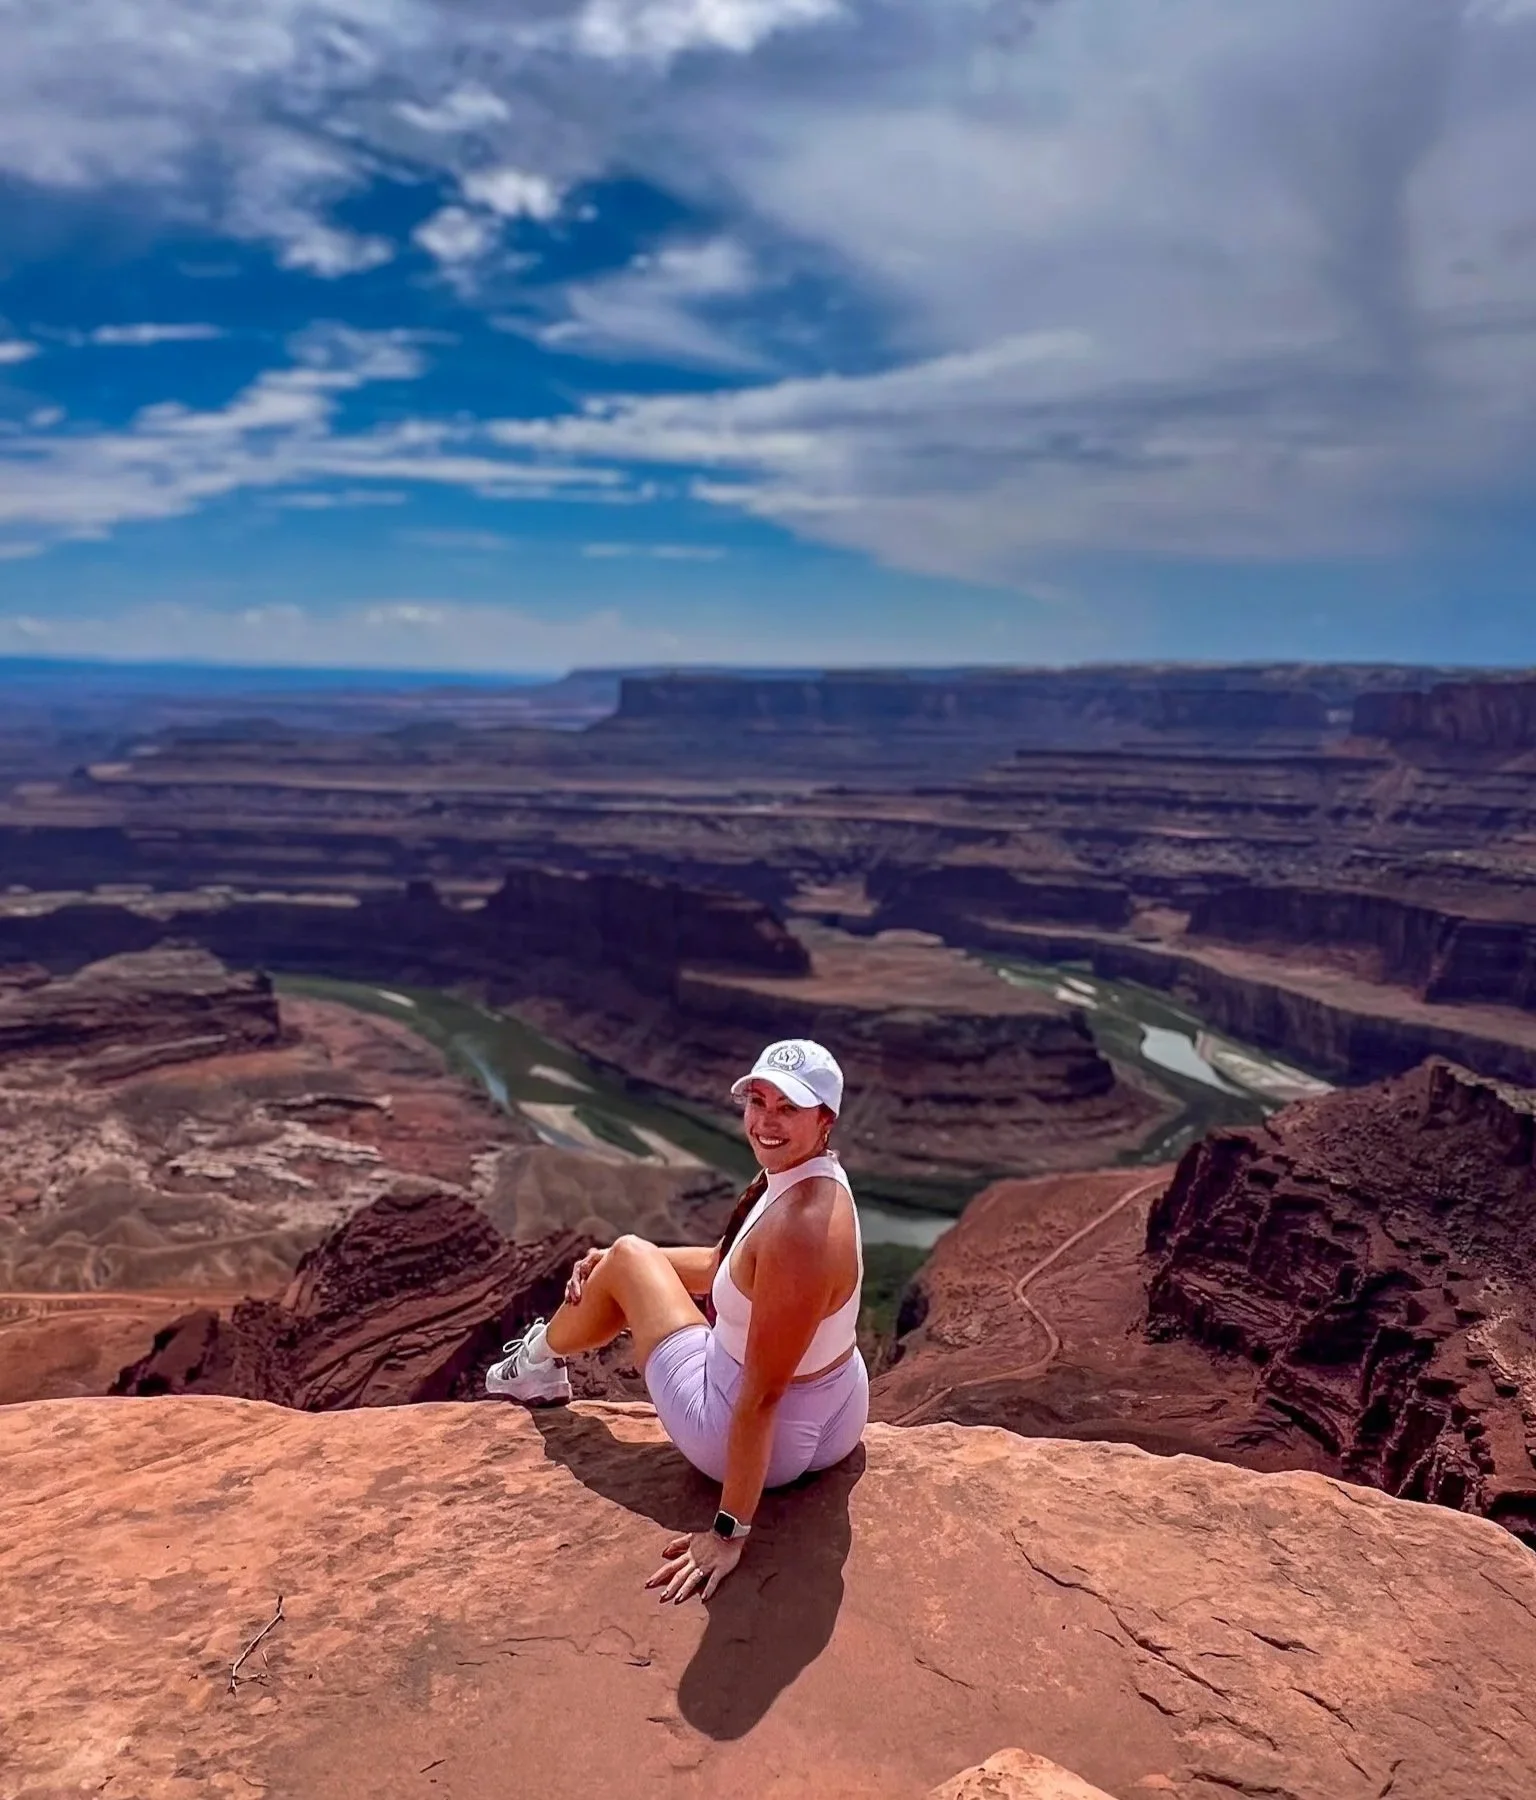
Runs along the canyon edge almost the entire way, with wide-open views of the Colorado River, Potash Road, and cliffs in the distance.
Best For: Sweeping panoramas and photo ops
Tip: Do this earlier in the day—the afternoon light can be harsh.
Feels quieter and less crowded, winding through desert plants and slickrock before opening up to overlooks of the Colorado River bend.
Best For: Quieter views and softer late-afternoon light
Trail Length: 2 miles round trip (off the West Rim)
Difficulty: Easy to Moderate (a little rocky)
Estimated Time: 1 hour
This spur trail leads to one of the best views in the park, perched directly above a river bend. It’s named after the bighorn sheep that live in the area, so keep your eyes peeled. Sunset here is magical if you don’t mind hiking back in fading light.

The visitor center is small but worth stopping into. It has geology exhibits, local art, and a few unique souvenirs. It’s also the best place to grab trail maps before heading out.
Want to wake up with canyon views? Dead Horse Point rents rimside yurts. They’re cozy, unique, and perfect if you want to catch both sunrise and sunset without the drive back to Moab. Bonus: this is a designated dark-sky park, so stargazing from a yurt deck is unbeatable.
Main Overlook: The postcard shot, especially at sunset.
West Rim Trail: Quieter overlooks with soft afternoon light.
Bighorn Overlook: A raw, rugged bend in the river—perfect for wide-angle shots.
Dead Horse Point State Park is home to more than just views. Keep an eye out for:
Bighorn sheep (especially near Bighorn Overlook)
Ravens swooping dramatically through the canyon air
Lizards sunning on slickrock
Desert cottontails darting between shrubs
Spotting wildlife against that canyon backdrop makes the experience even more special.
As a certified International Dark Sky Park, Dead Horse Point is one of the best places in Utah for stargazing. With almost no light pollution, the Milky Way cuts across the sky like a glowing ribbon. If you stay in a yurt, you’ll have stargazing right outside your door. Otherwise, bring a blanket, a headlamp, and settle in at the overlook—it’s a whole different kind of “wow.”
Fee: $20 per vehicle (not included in your National Park Pass)
Drive Time: 45 minutes from Moab, 15 minutes from Canyonlands’ Island in the Sky entrance
Food & Water: Bring your own—there’s no restaurant inside the park
Best Seasons: Spring and fall for mild temps. Summer evenings are hot but stunning; winters can be icy.
Late Afternoon: Stop at the visitor center and orient yourself.
Hike: Walk the West Rim Trail (add the Bighorn spur if you’re up for it).
Sunset: Head to the main overlook for the iconic finale.
Optional Overnight: Book a yurt and stargaze before turning in.
Dead Horse Point may not carry the “national park” title, but it deserves one. The overlook rivals the Grand Canyon in drama, the rim trails give you a sense of scale, and the yurts make it an unforgettable place to stay. Whether you stop in for half an hour or linger for a night, you’ll leave with photos—and memories—that feel larger than life.
If you’re building a full Moab itinerary don’t miss my post Spend a Weekend in Moab: The Perfect 3-Day Itinerary.

A café, bakery, market, and wine shop all in one Phoenix stop 🍊
At La Grande Orange, order the crepes first, they’re the thing I’d go back for. The chicken salad sandwich is perfect if someone wants lunch while you’re still on breakfast, and the red velvet mini cupcake and a chai latte round it out. The sea salt chocolate chip cookie is heartier than gooey, so it’s best for dunkers. It’s counter service with easy parking, and the market has quirky gifts you won’t find elsewhere. Leave time to browse, because you’ll stay longer than planned.
Save this for your Phoenix trip ☀️

“Outside Terminal 3” is not a pickup location at PHX.
Before your driver pulls in, text them four things: your terminal, north or south side, door number, and inner or outer curb. Grab your bags first, then call them in. Drivers can wait free in the cell phone lot instead of circling. Getting through security is easy; getting picked up is the hard part.
Save this for your Phoenix trip ✈️
Come for the architecture, stay for the view.
The Chapel of the Holy Cross has been built into Sedona’s red rocks since 1956. The outside overlooks get busy, but inside is quiet, with huge windows framing the rocks. It’s free, takes 30-45 minutes, and has a paved, wheelchair-accessible ramp. Make sure to bring water in summer.
Save this for your trip planning!
Order it well done. Trust me.🍑🍕
Peach & Pancetta Pizza at Hideaway House in Sedona: roasted peaches, salty pancetta, ricotta, basil, extra-crispy crust. Split the house salad, grab a prickly pear lemonade, and get a patio table facing the red rocks. Skip the bread if you want room for another slice.
Save this for your Sedona trip✈️
Pack your bags, Denver is not just a mountain layover. RiNo alone can eat a full day between the murals, food, and bars. Skip the concert and hit Red Rocks midday instead, you’ll basically have it to yourself. Golden’s a 30-minute trip if you want a change of pace, and if food drives your travel like it does mine, Denver Central Market and BRUTØ deserve real time on the calendar. Give it three days minimum, four if you’re eating your way through it. Save this.

Follow @travelwithwendyplummer for Beautiful Beach Destinations, City Guides, Foodie Spots, and Luxury Hotel Recommendations.