
If you’re doing a Netherlands road trip and need to visit Amsterdam, the Amsterdam park and ride system is probably the easiest way to avoid driving directly into the city center.
We used it during tulip season while road-tripping around the Netherlands, and it ended up being significantly less stressful than trying to navigate Amsterdam traffic ourselves. Between the narrow streets, aggressive bike traffic, expensive parking garages, and general city-center chaos, I was very happy we left the car outside the city instead.
The Amsterdam P+R system basically lets you park outside the center for a reduced rate and then take public transportation into the city afterward. For road trips, rental cars, or tulip season itineraries, I honestly think it makes a lot more sense than attempting to drive directly into Amsterdam.
If you’re planning a larger spring itinerary, this also worked really well alongside our 7 Day Netherlands Tulip Season Itinerary: The Ultimate Spring Trip because we already had a car for multiple cities throughout the trip.
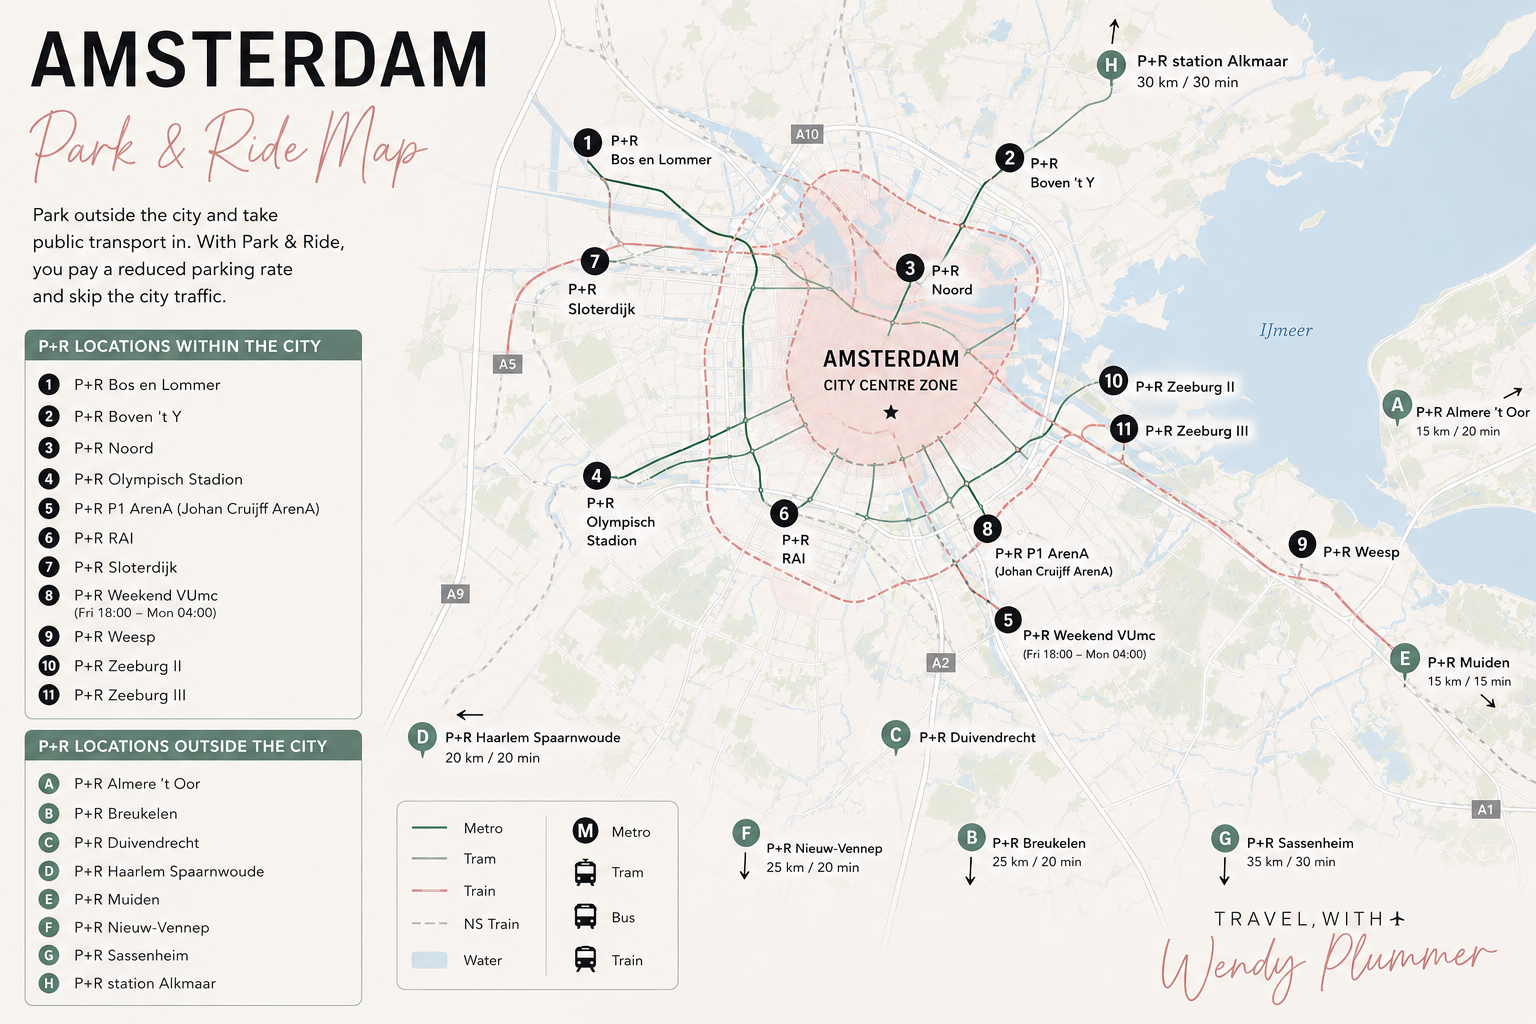
Amsterdam Park and Ride, usually called P+R, is a system of parking garages located around the outside of the city.
The idea is simple:
you park your car at a designated P+R location, then use public transportation to enter Amsterdam afterward.
As long as you follow the official rules correctly, parking is dramatically cheaper compared to normal Amsterdam parking garages.
For us, it removed almost all of the stressful parts of bringing a car into Amsterdam and if you have a rental car will allow you to keep the car for the rest of the trip.
We were already driving between multiple Dutch cities during tulip season, so avoiding driving directly into Amsterdam made a lot more sense for our itinerary. Driving in smaller Dutch cities actually felt pretty manageable overall. Amsterdam was the one place where I immediately knew I did not want to participate in driving.
Between:
…it just sounded deeply unpleasant honestly.
Using Amsterdam park and ride let us avoid all of that while still keeping the flexibility of having a car for the rest of the trip.
If you’re renting a car for a larger Netherlands itinerary, I recommend trying out Discover Cars and you can get the best price overall.
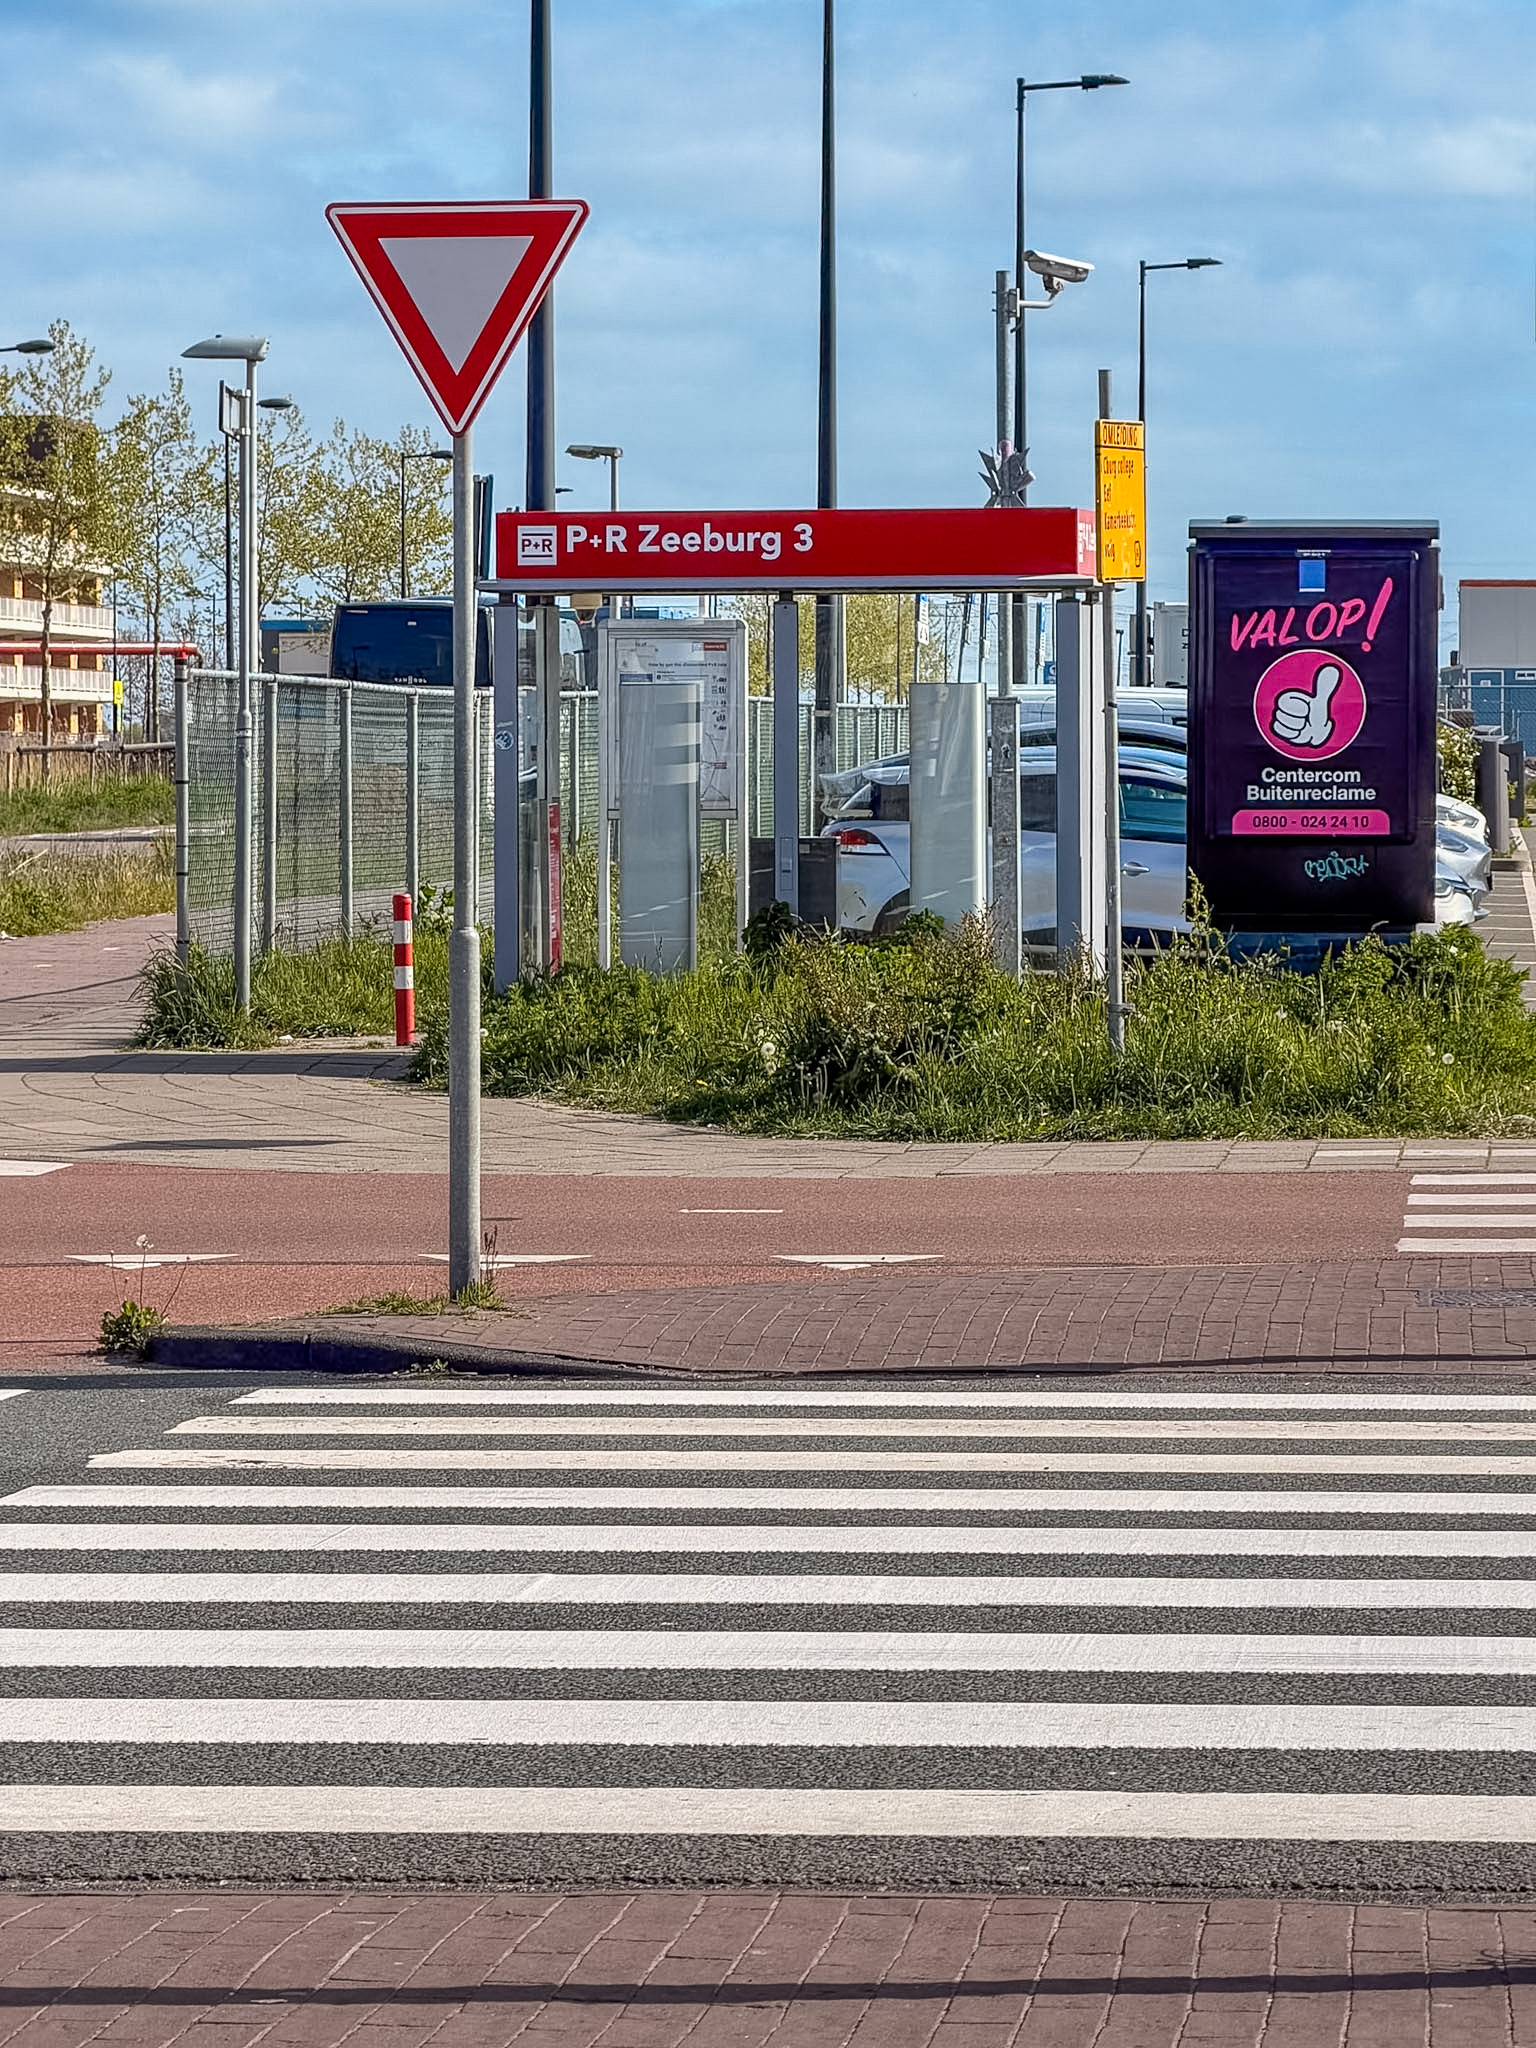
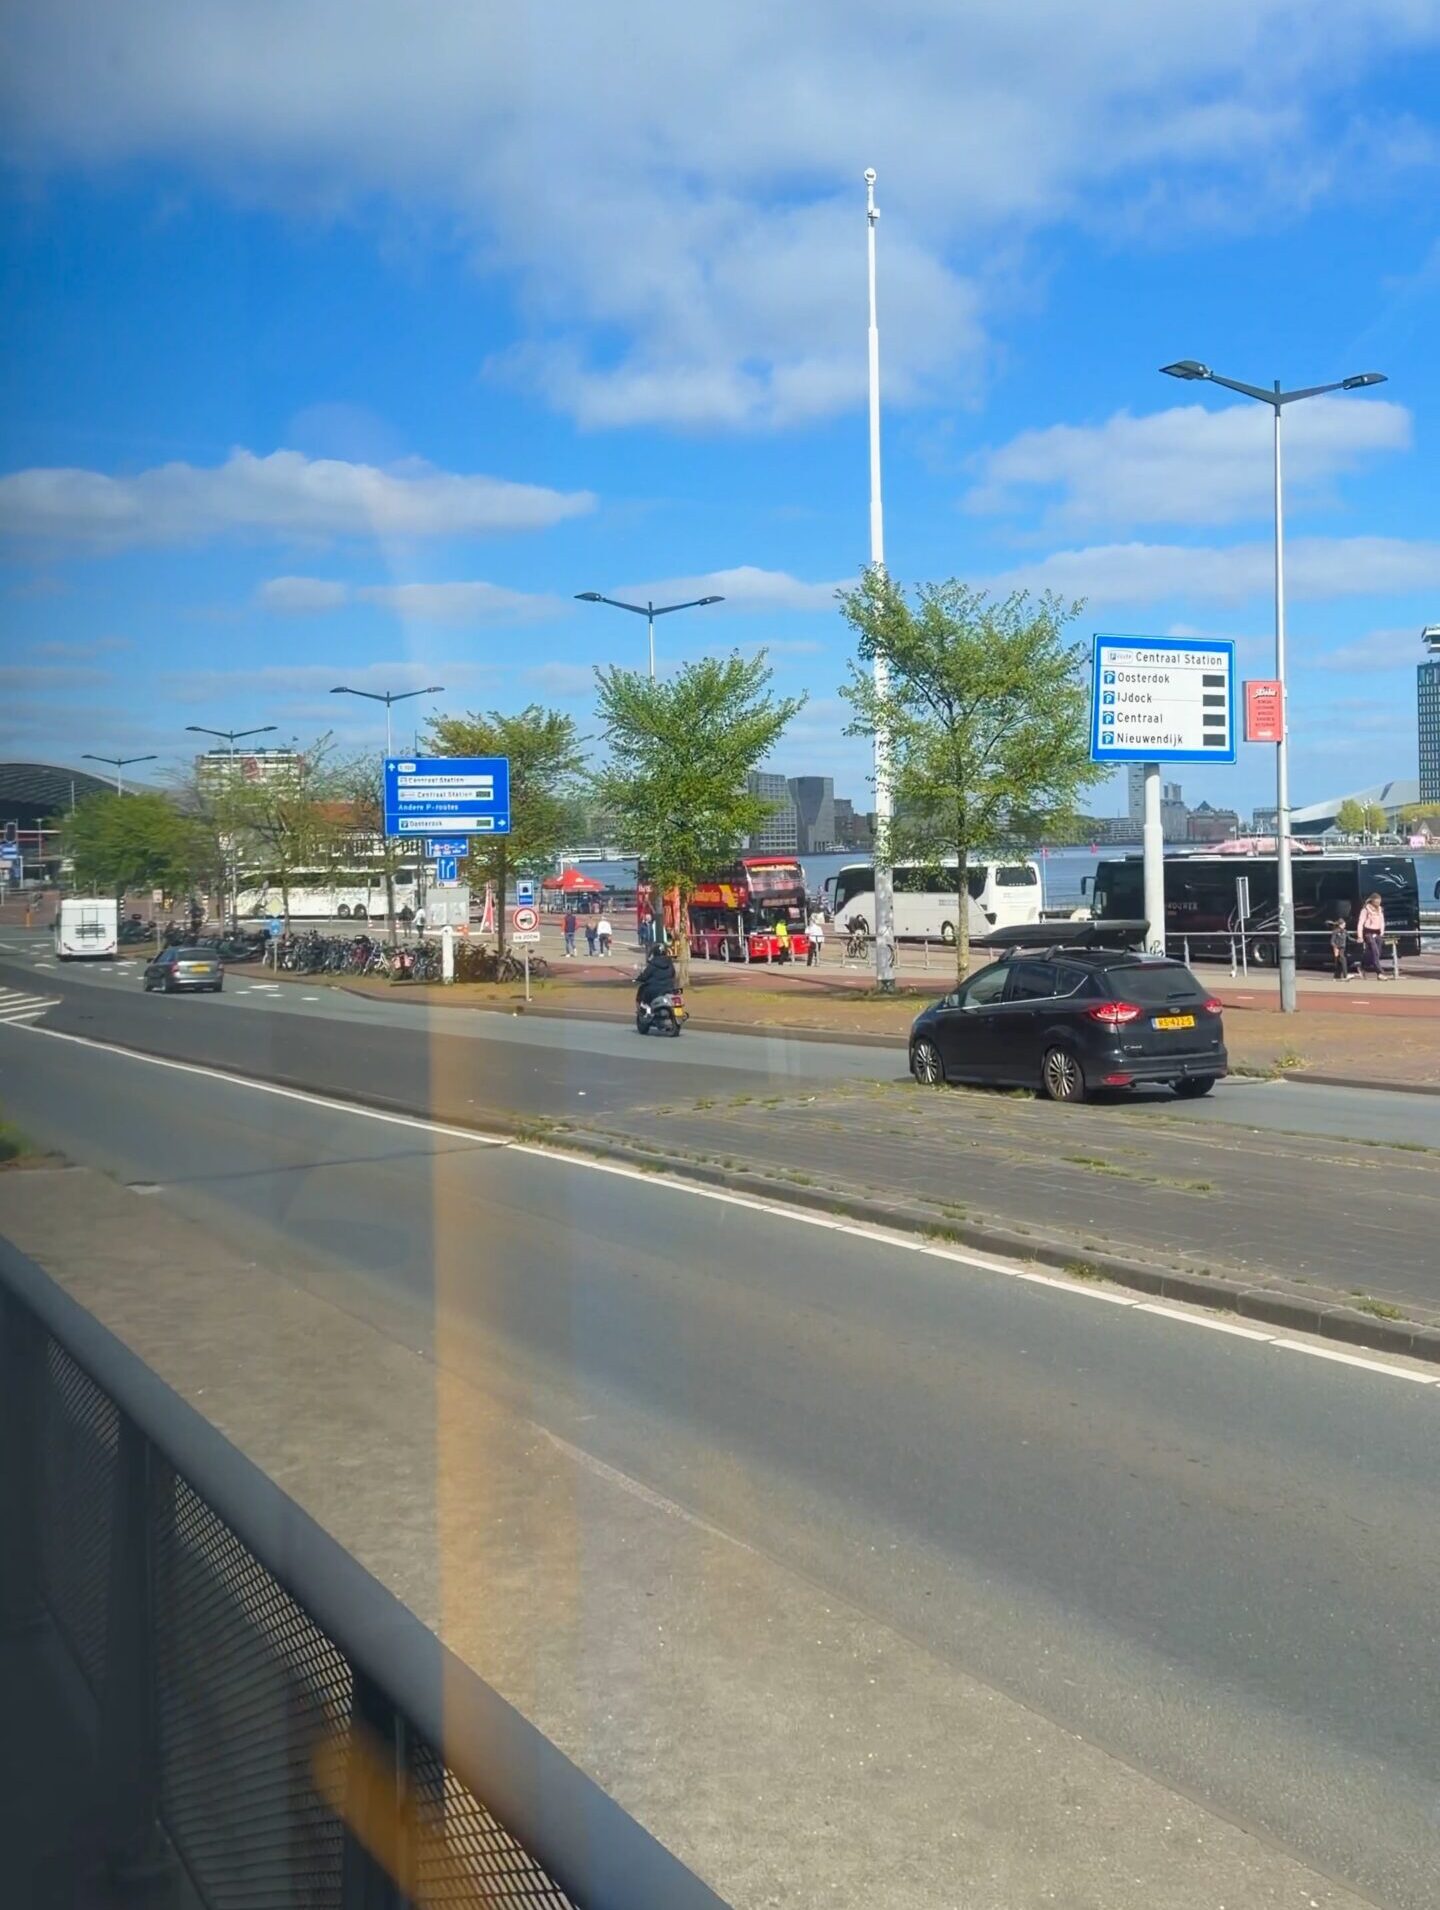
We used the Zeeburg P+R location.
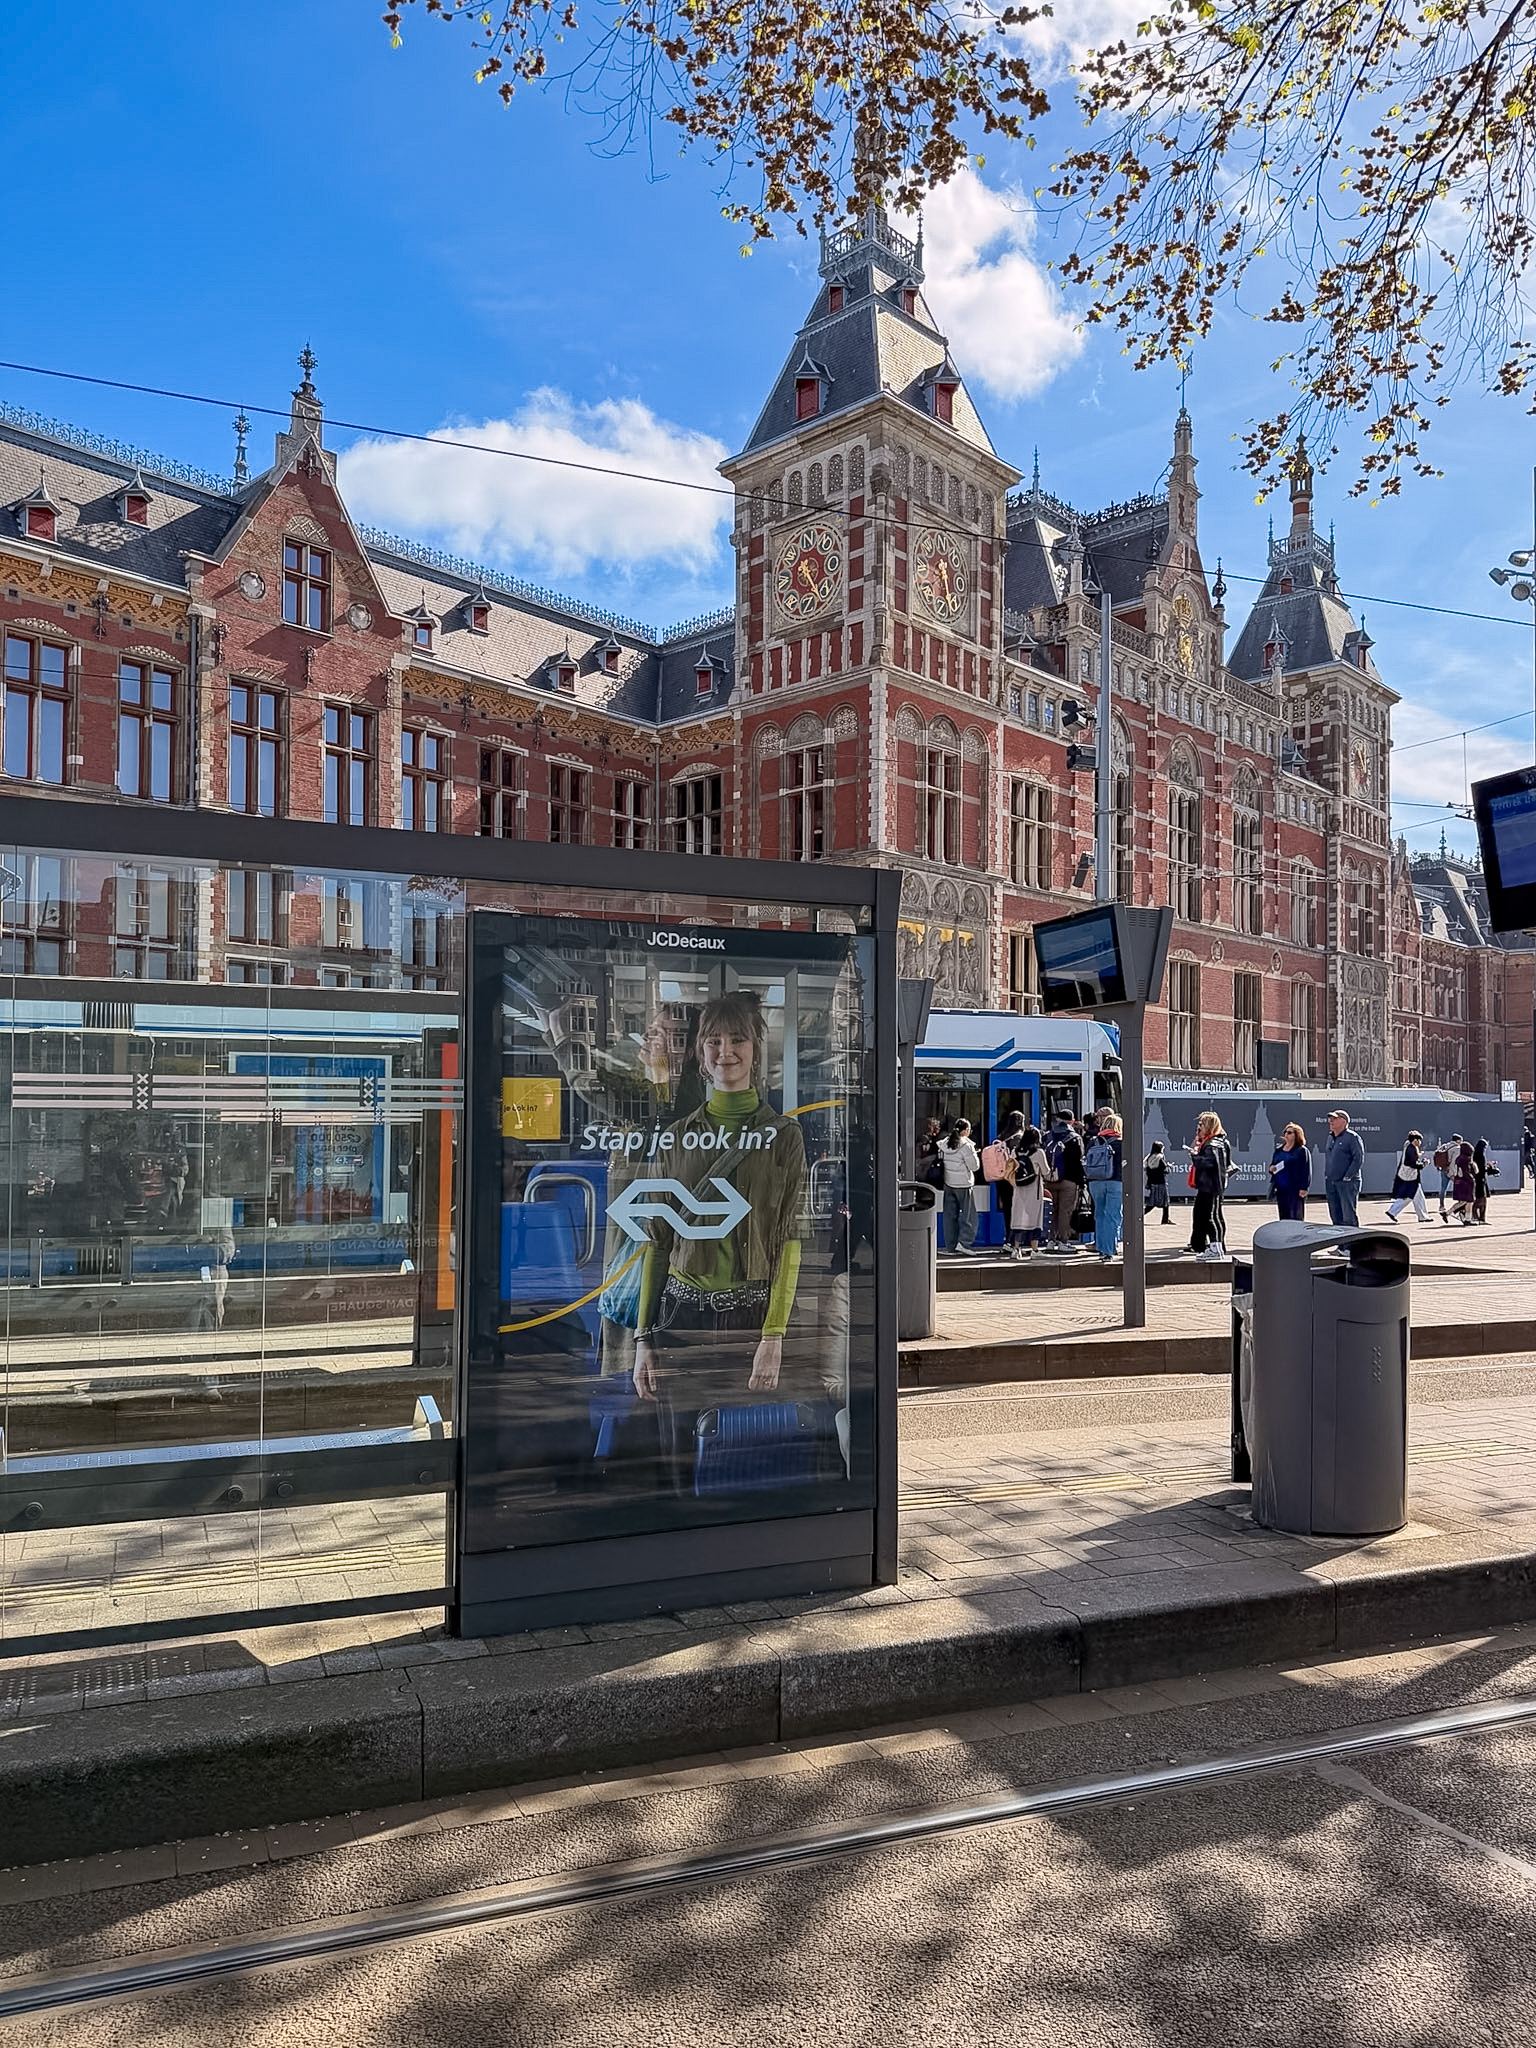
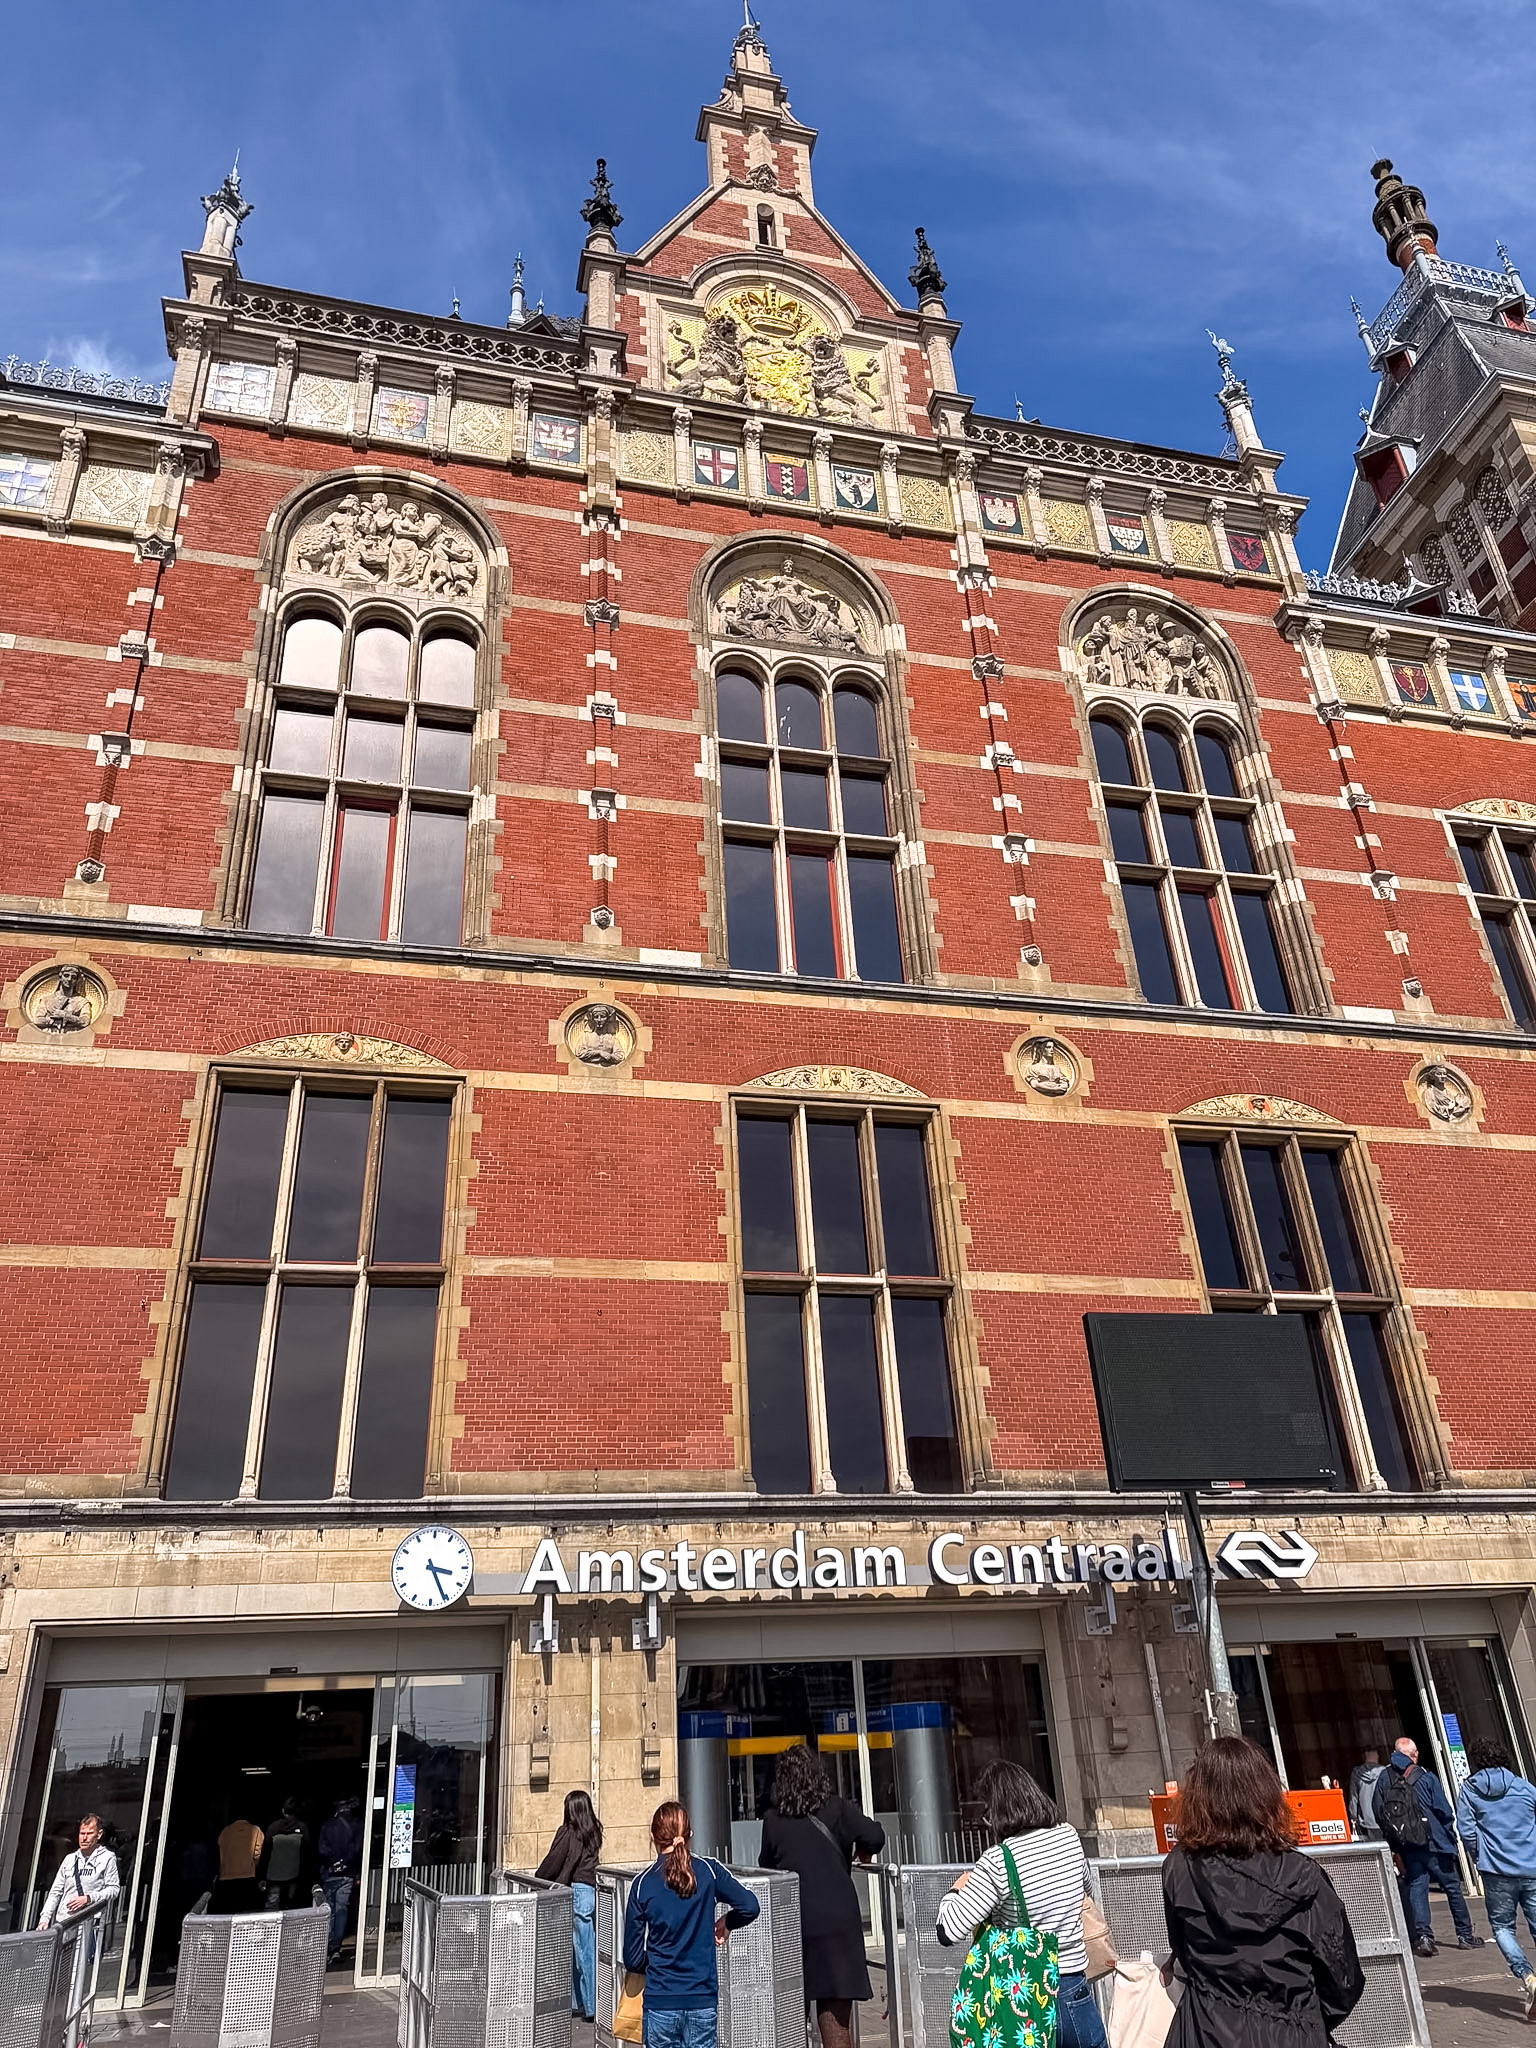
After parking, we took Tram 26 into the Amsterdam Central/Centrum area.
Once we reached the center, we transferred onto other trams depending on where we were going throughout the day. For example, we later used Tram 17 to reach the flower market area and our stroopwafel stop because I had important priorities to maintain that day.
We also used this setup while exploring more of the city during our DIY Amsterdam Food Tour and it made moving around Amsterdam much easier than trying to relocate the car repeatedly.
Honestly, yes.
Once we followed the P+R signs and GPS directions, the process felt pretty straightforward. The parking garages are specifically designed for people entering Amsterdam from outside the city, so the setup felt much more organized than trying to drive directly into central Amsterdam.
We arrived around 10:15am and still found plenty of parking available.
That said, during tulip season weekends, some Amsterdam park and ride garages absolutely can fill up later in the day. Amsterdam actually has live online parking availability for the P+R garages, which is worth checking before driving there. You can check on the live garage times here.
Most Amsterdam P+R garages currently cost:
Compared to standard Amsterdam parking prices, this felt dramatically cheaper.
Standard daily parking in an Amsterdam city center garage or on the street can easily cost between €40–€80+ per day, especially during busy travel periods like tulip season.
Normal city-center garages can get expensive very quickly, especially during busy travel periods like tulip season.
From Zeeburg, we took Tram 26 into the city center.
The tram ride itself took roughly 10–15 minutes to reach the Amsterdam Central area, which would have taken much, much longer if we were driving in the city.
Once inside the city, we just transferred onto other trams depending on where we wanted to go.
Amsterdam public transportation looked confusing initially, but after the first ride it became much easier to understand for the rest of the day.
I was also extremely dependent on my phone for maps, tram routes, and figuring out where we wandered next, so my Clutch Powerbank became very important by mid-afternoon.

This is the part you actually want to pay attention to because missing the rules can cause you to lose the discounted parking rate.
The biggest rules are:
If you miss the requirements, you can end up paying normal Amsterdam parking prices instead of the discounted Amsterdam park and ride rate.
The tram system confused us slightly at first mostly because Amsterdam transportation has a few small rules that matter more than you expect.
You need to tap in AND tap out using your payment method every time you use public transportation.
If you forget to tap out when using Amsterdam public transportation, the system assumes you stayed on the tram or metro until the end of the line, which can result in a higher charge than your actual ride.
Once we understood that we needed to tap out then the process became pretty easy.
This is also probably a good time to mention comfortable walking shoes because between the tram stations, canals, bridges, and general wandering around Amsterdam, we walked a lot more than expected.
Save this for later on Pinterest so you don’t forget it.
You can use:
One thing tourists sometimes miss is that not every contactless payment method automatically qualifies for the discounted Amsterdam park and ride system. According to Amsterdam’s official rules, some phone or smartwatch payment methods may not count the same way approved transit tickets do.
This is probably the part I would research more carefully beforehand next time instead of standing at the tram station mildly confused while trying to Google transportation rules quickly.
Surprisingly no.
Once we figured out the tram system, the entire process felt much easier than attempting to drive directly into Amsterdam ourselves.
Trying to park inside the city would have meant:
The Amsterdam park and ride system basically let us skip all of that.
Excellent decision honestly.
I think Amsterdam park and ride works especially well for:
If you already have a vehicle for a larger Netherlands itinerary, I think this system makes a lot of sense.
If you’re still planning the logistics for your trip overall, my Where to Stay in the Netherlands (Best Areas to Do in One Trip) guide may help because we split our stays between several different Dutch cities during tulip season.
If Amsterdam is your only destination and you are not renting a car, staying directly inside the city is probably easier overall.
The Amsterdam park and ride system works best when you already need a vehicle for the rest of your trip.
For us, it ended up being cheaper, easier, and far less chaotic than trying to bring the car directly into central Amsterdam during tulip season. I would absolutely use it again for another Netherlands road trip.
If you end up booking anything for your trip, using my affiliate links helps support my blog at no extra cost to you. I spend a lot of time researching and writing these guides, so I really appreciate the support.

I ate chilaquiles while a Cessna taxied past the window, and that’s just a normal Tuesday breakfast in Sedona.
@mesa_grill_sedona sits right beside the Sedona Airport Scenic Lookout, so along with your food you get red rock views stretching in every direction and a front-row seat to tiny planes lifting off. Chef Mercer Mohr runs the kitchen, serving up Southwestern comfort food from breakfast through dinner, chilaquiles, elevated diner classics, burgers, steaks, seafood, all of it.
The view is what pulls people in the door, but the food actually holds its own. Good enough that this place stays packed with locals, not just tourists passing through on their way to the lookout. It also picked up the 2025 Tripadvisor Travelers’ Choice and OpenTable Diners’ Choice awards, so it’s not just me saying it.
Indoor seating if you want the AC, a pet-friendly patio if your dog’s along for the trip. Either way, get there before plane-spotting turns into a wait for a table.
Link in bio for the full Sedona breakfast roundup ✈️🌵

Confession: my newsletter is where the good stuff lives. Not the polished, edited-for-the-grid stuff, the “here’s the hole-in-the-wall I almost skipped” stuff, the packing lists I actually use, the “don’t book this hotel” warnings before you waste your money on them.
The newsletter is basically me texting you before a trip instead of after one. Sign up and you’ll be the first to know where I’m headed next, plus a few things I’ll never post here.
Link in bio if you want in. ✈️
Yes, it’s only July. Start planning anyway. Fall books faster than people expect, and a few of these destinations are worth getting ahead of. Here are five places worth putting on your radar right now.
Ireland: Cooler temps, moody skies, dramatic coastline fall was made for it. Tourist crowds drop, the green stays, and the whole country feels a little more like itself.
Great Smoky Mountains, TN/NC: Fall foliage in the Smokies is the real thing. The color peaks mid-October and the views from the ridgelines are hard to argue with. It’s also one of the most visited national parks in the country, so going on a weekday makes a real difference.
New York City: Fall is NYC at its best comfortable temps, the energy of the city shifting into a new season, and every neighborhood doing something worth showing up for. It’s also just a great walking city when it’s not brutally hot.
Japan: Fall foliage season is as good as spring cherry blossoms and somehow less talked about. The colors are dramatic, the temples and gardens are stunning, and it’s worth planning around peak dates by region.
Mystic, Connecticut: Small, walkable, genuinely charming Mystic in fall feels like exactly what a New England autumn is supposed to look like. Easy to pair with a broader New England road trip if you want to extend it.
Full guides linked in bio 🍂
There are two kinds of travelers: people who plan a trip and then figure out where to eat, and people who book a restaurant and then build the rest of the itinerary around it.I am the second kind. I will not apologize for this.
The reservation gets locked in first. The hotel search happens within the same 24 hours. The flights get compared around the restaurant’s hours of operation. The rest of the trip exists to fill the days before and after the table I actually came for.
If this sounds unhinged, I completely understand. It has also resulted in some of the best meals of my life, so I’m going to keep doing it.
Drop a 🍽️ if you plan your trips around food too.
Let’s talk about when to actually book that Dubai trip you’ve been pinning for two years. I get asked this constantly, so here’s the honest breakdown: October through April is your window. Anything outside that and you’re basically touring in a sauna!
October and November give you warm days and cooler nights, which is basically the sweet spot for wandering around without melting. December through February is peak season: gorgeous weather. March and April are the quiet insider pick, right before summer heat shows up and ruins everyone’s plans.
Saving this for later? That’s what it’s here for. Full breakdown linked in bio.

Follow @travelwithwendyplummer for Beautiful Beach Destinations, City Guides, Foodie Spots, and Luxury Hotel Recommendations.